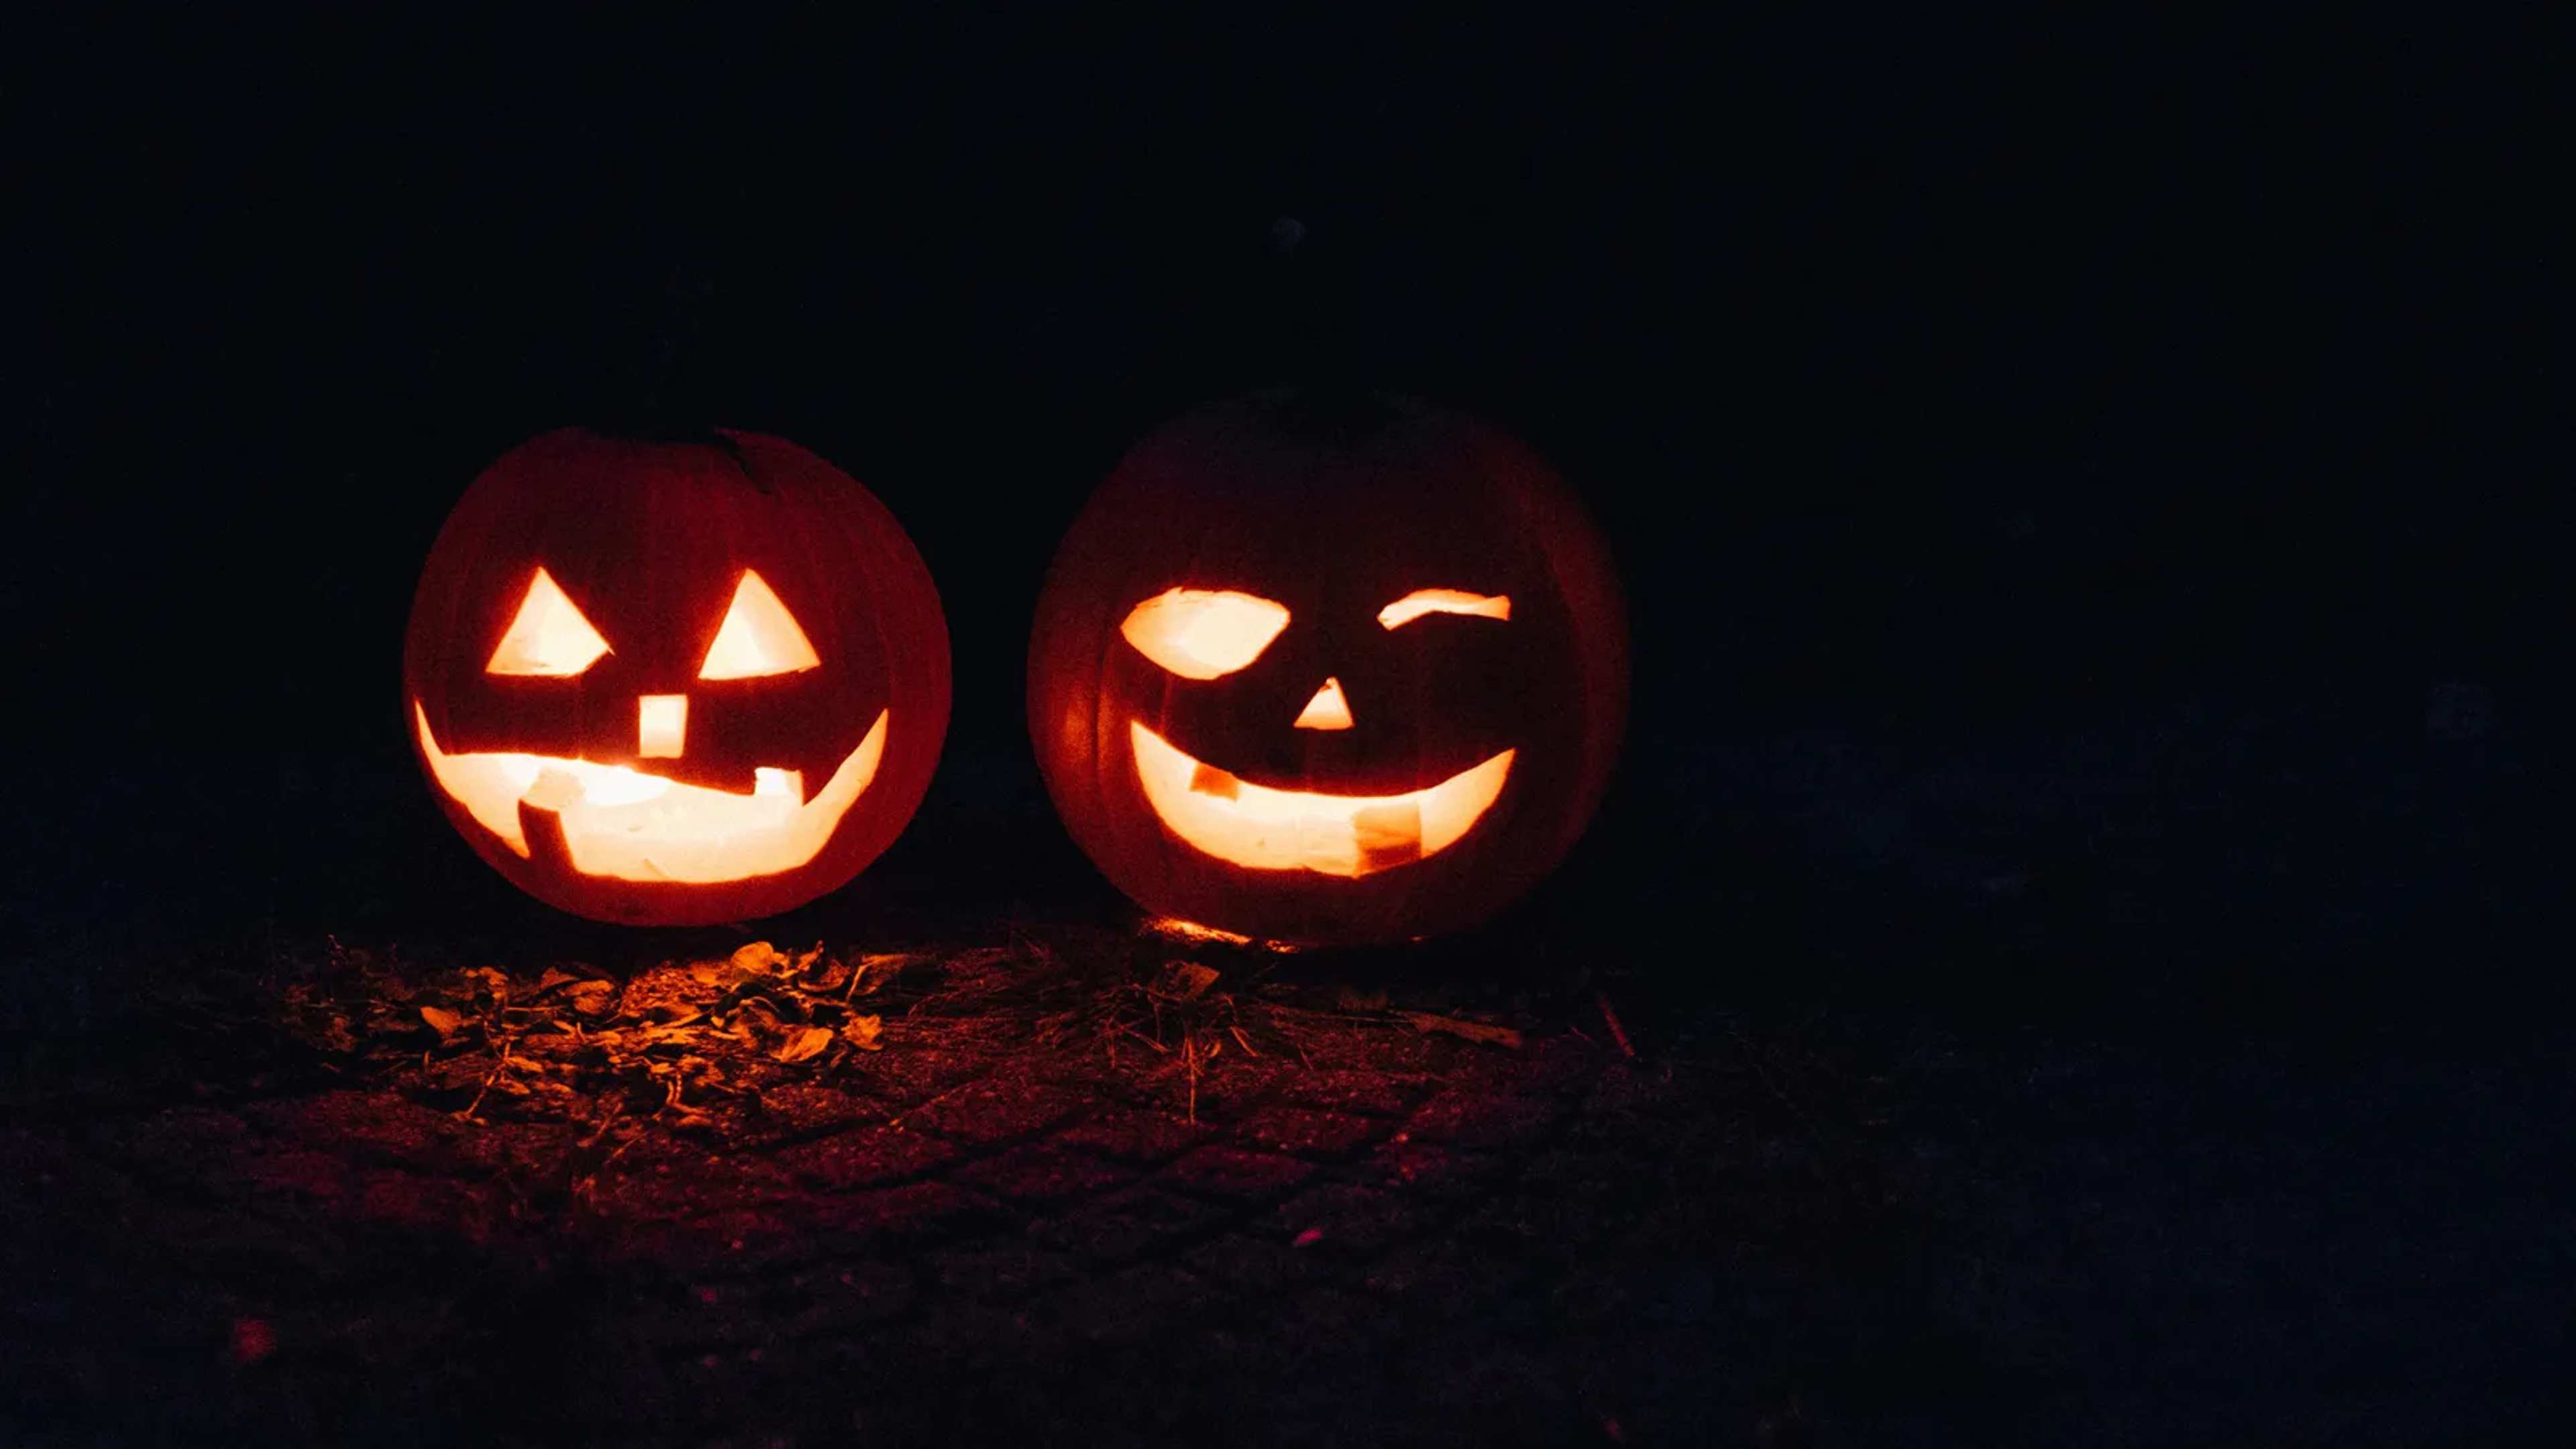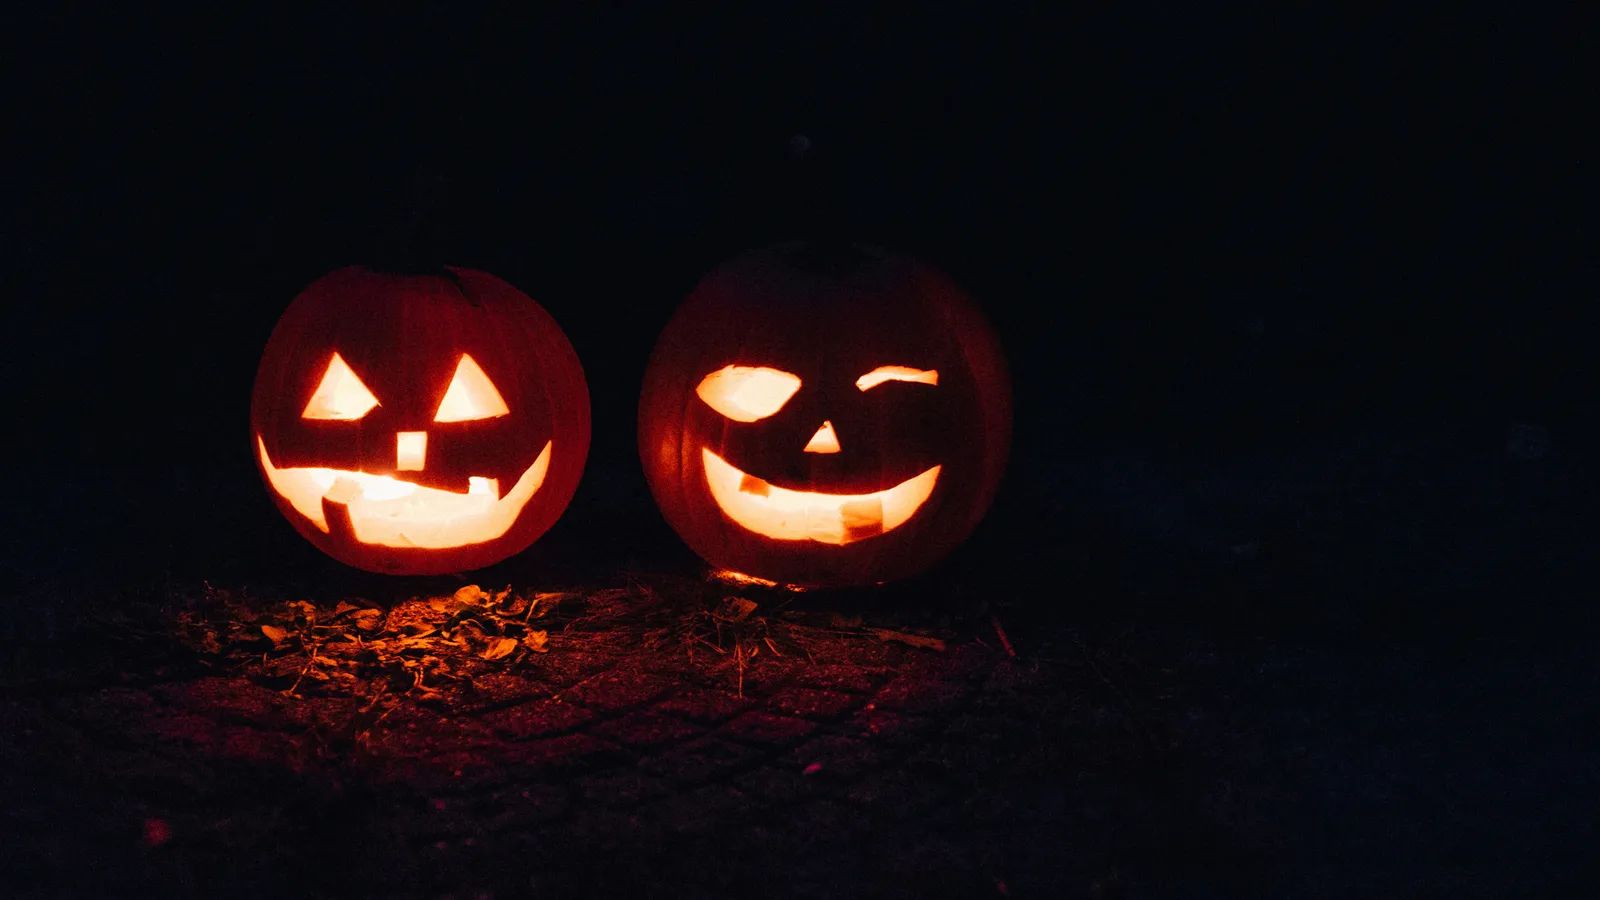
Millions of families carve pumpkins each fall only to watch them collapse days later. A few straightforward steps can change that outcome and help the jack-o’-lantern reach Halloween intact. The guidance draws from university extension services that have tested preservation methods on real pumpkins. ([1])
Choose the Right Moment to Carve
Timing matters more than most people realize. Carving too early gives mold and drying time to work on the exposed surfaces. Extension experts recommend finishing the design no more than eight to ten days before the holiday. That window leaves less opportunity for the pumpkin to soften or develop fuzzy growth.
Selecting a firm pumpkin with a green stem attached also improves the odds from the start. Soft spots or a shriveled stem signal the fruit will not hold up well once cut. Planning the carving session closer to the event reduces the total days the pumpkin must survive.
Remove the Inside and Dry Thoroughly
Complete removal of the seeds and stringy pulp is the next essential step. Any remaining moisture or organic matter feeds mold spores that travel through the air. After scooping, a quick wipe with a paper towel dries the interior and limits future growth.
Some carvers now cut the opening from the bottom or back instead of the traditional top lid. This change keeps the lid area intact and can reduce heat buildup when a light is added later. The extra drying time pays off once the pumpkin sits on display.
Apply a Diluted Bleach Solution
A ten percent bleach solution kills surface microorganisms before they can take hold. Mix nine parts water with one part chlorine bleach, then wash or spray the pumpkin and let it dry completely. Daily light sprays after carving can extend the effect.
Users must wear gloves and keep the solution away from children and pets. Vinegar offers a safer alternative for pumpkins destined for compost or wildlife, though it works more slowly. Never combine bleach with vinegar in the same container.
Seal Edges and Control Temperature
Petroleum jelly applied in a thin layer to cut edges and carved openings helps lock in moisture. The barrier slows drying and keeps the flesh from shrinking too quickly. Battery or LED lights are required when jelly is used, because the product is flammable with an open flame.
Keeping the pumpkin between 50 and 60 degrees Fahrenheit slows pathogen growth while avoiding freeze damage. A shaded porch or cool garage works well on warm evenings. Bringing the carving indoors overnight and returning it for display the next day maintains that temperature range without extra equipment.
Final Checks Before Display
Inspect the pumpkin each day for early signs of trouble. Fuzzy spots or sliminess mean it is time to discard the carving. Refrigeration offers another short-term option when the pumpkin is not on view.
These steps together give a carved pumpkin its best chance of lasting through the holiday. The combination of late carving, thorough cleaning, a bleach rinse, edge sealing, and steady cool temperatures produces noticeably better results than leaving the pumpkin untouched after carving.