


A lifetime Senior Pass for the national parks costs $80. That is what everyone else pays for a single year, and plenty of travelers still overpay before they ever reach the gate.
The bigger costs come later: a reservation nobody mentioned, a phone with no bars, a trail that looked shorter on paper. The last item on this list costs nothing, and every other plan here quietly depends on it. We start with the pass, because that is where the spending goes wrong.
#15 – The Annual Pass Bought Four Years Running
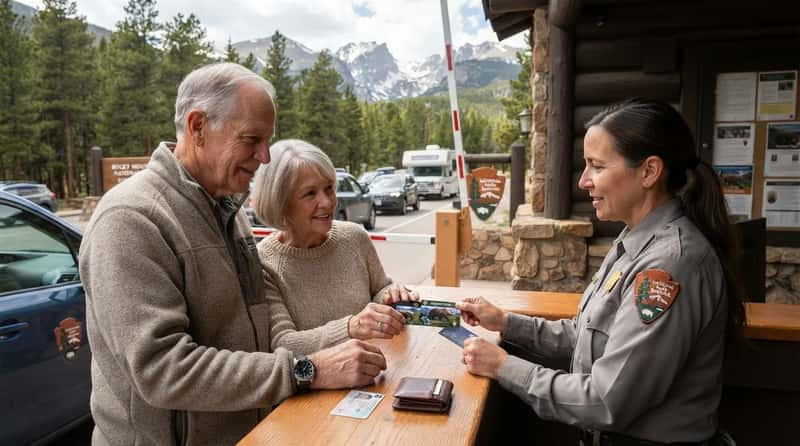
The Senior Pass is open to US citizens and permanent residents 62 and older. It costs $20 for the annual version or $80 for lifetime, and you must bring documentation of your age and residency or citizenship.1
The trap is renewing the $20 pass year after year without seeing where that leads. Each annual pass you turn in takes $20 off the lifetime price, so four of them get you the lifetime pass free, even if they have expired.2
If you expect more than a couple of trips, skip the annual and buy the lifetime pass at the first staffed entrance. Ordering a physical card online adds processing and handling fees that buying in person skips.
The pass gets you to the gate. At a few parks, a separate reservation decides whether you get through it.
#14 – The Reservation Your Pass Does Not Cover
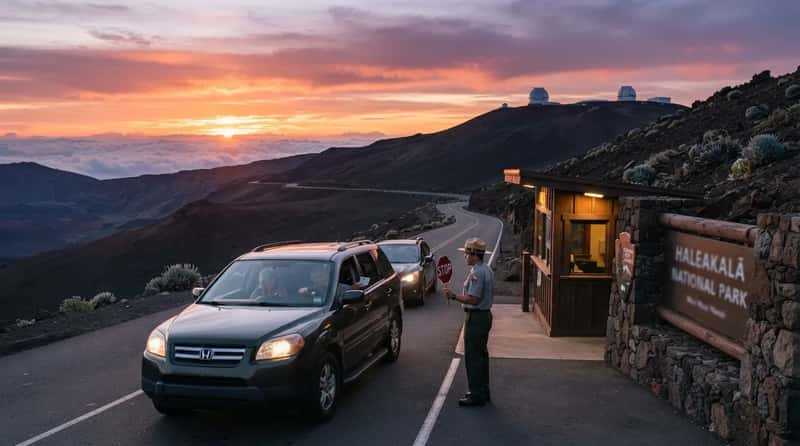
The pass covers entrance fees and standard day-use fees.1 A time slot is a different purchase, and an entry fee alone does not guarantee entry or parking.
Haleakalā on Maui requires reservations to enter between 3 am and 7 am, which is exactly when sunrise visitors arrive.3 Carlsbad Caverns uses timed entry reservations on Recreation.gov, and those slots sell out quickly.
Drive up to either one on a whim, and the pass in your wallet will not get you in. Booking ahead is the only way to keep a long drive from ending at a closed gate.
Even a rule you learned two summers ago may have vanished, and the reverse is just as possible.
#13 – Reservation Rules From Two Summers Ago
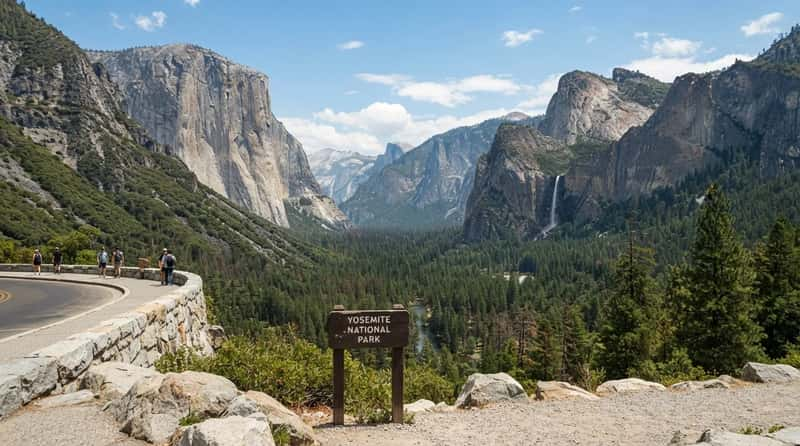
Yosemite ran a timed entry reservation system from 2020 through 2025. For 2026 it did not require advance reservations, even in peak summer months.4
Arches spent four straight years under some form of timed entry before officials pulled back. Mount Rainier dropped its requirement after using it in 2024 and 2025, while Rocky Mountain still ran a timed entry program in 2026.
That means an article, video or neighbor’s advice from two seasons back can send you into the wrong plan. Treat the park’s own website as the only source that counts, and check it again close to departure.
Quick Compare
- Yosemite: no advance reservations required in 2026
- Mount Rainier: used the requirement in 2024 and 2025, then dropped it
- Rocky Mountain: timed entry program still running in 2026
- Arches: four straight years of timed entry before officials pulled back
But a dropped reservation does not mean the crowds went away. Something else takes over.
#12 – Arriving at the Busiest Hour of the Day
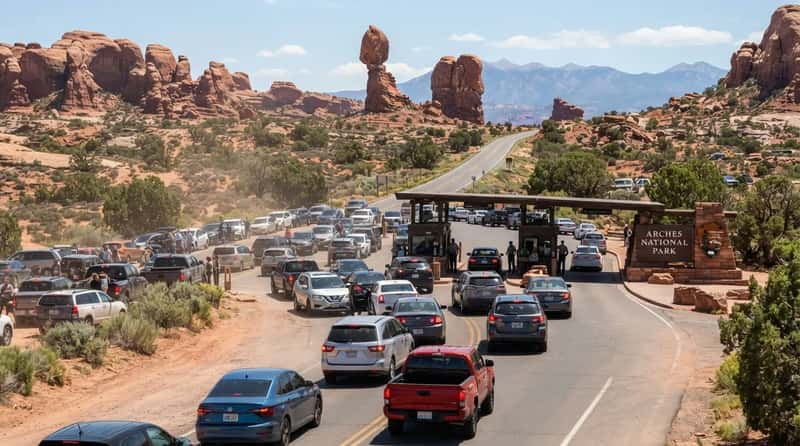
Without a reservation system, traffic and parking decide your day. Yosemite said it would rely on real-time traffic management instead, and Arches lists early arrival and traffic congestion among its pressure points.
Rocky Mountain shows how much the clock matters. In 2026, a visitor not going to Bear Lake Road could enter before 9 am and after 2 pm without a timed entry reservation.
Arriving early or late is the simplest fix at any park, even when no rule forces it. The trade-off is that a slower start can cost you the best parking.
#11 – A Phone Without the Park Saved Offline
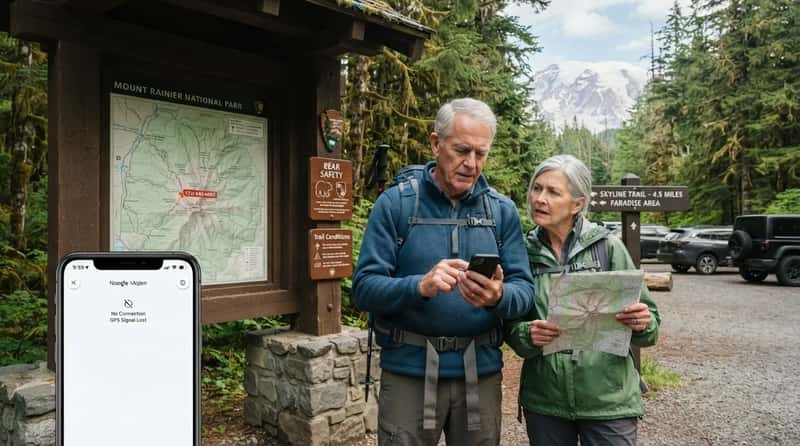
The NPS app lets you select “save this park for offline use,” so trail and visitor information stays on your phone when the signal drops. Mount Rainier has no cell service in many areas and tells visitors to download the app before they arrive.
Great Basin warns that low coverage makes last-minute campground or cave tour reservations hard to get. Book those at home, where the connection is reliable.
Do the downloading on motel Wi-Fi the night before, not in a trailhead lot where the bars are already gone.
Offline maps get you to the trailhead. They do nothing for calling anyone once you are on the trail.
#10 – Treating the Phone as the Safety Plan
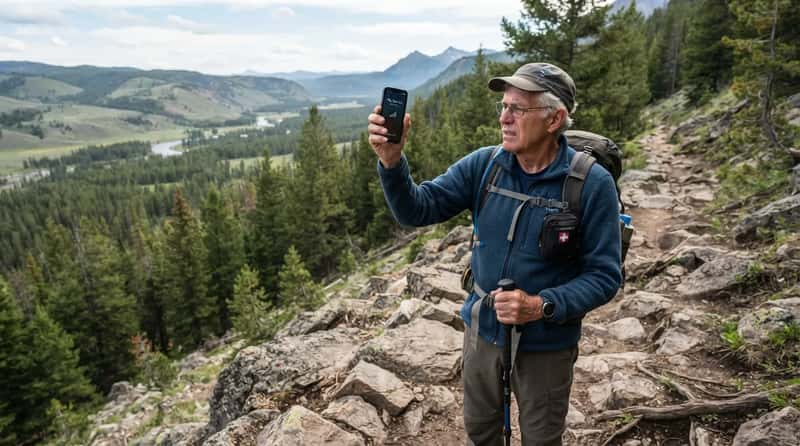
The NPS tells hikers not to rely on a cell phone, because there may be no cellular coverage in your park. It also suggests considering a personal locator beacon for calling for help.5
Yellowstone’s own page calls cellular service extremely limited. Even the towers it lists cover mainly developed areas and the north and west entrances.
Your phone can also work against you out there. Searching for a signal can quickly drain the battery, so consider airplane mode until you need it.5 6
If you hike alone or head into backcountry, a beacon and a friend who knows your route and return time are worth the trouble. On a paved rim walk beside a visitor center, they are not.
None of that accounts for the weather, which in some parks changes the trail itself from one month to the next.
#9 – A Trail Plan That Ignores the Season
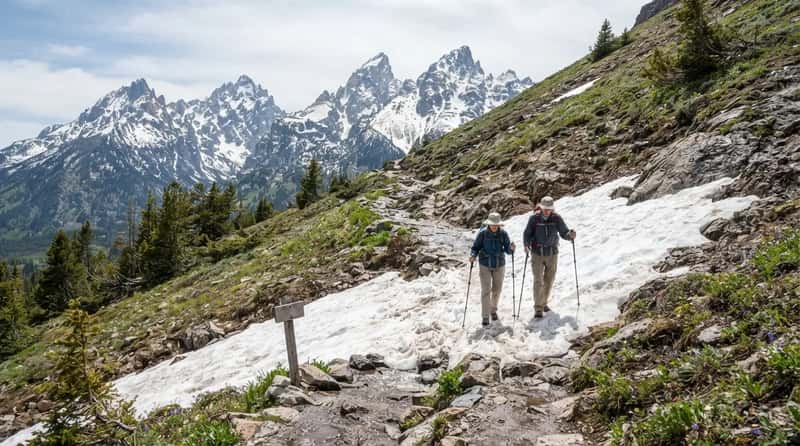
Grand Teton says winter conditions persist well into July, and high-elevation routes stay snow-covered. A July trip there can call for gear and experience that a summer packing list leaves out.
At Great Basin, thunderstorms are common in summer and make hiking extremely hazardous. The park asks visitors to be off the trails before lightning becomes a danger.
Mesa Verde swings the other way, with temperatures in the teens and low 20s from December to March and common icy roads. Chiricahua notes that snow forecast above 5,000 or 6,000 feet often affects park roads without affecting the highways leading in.
Trust the park’s conditions page over a forecast for the nearest town. The two can describe very different days.
At a Glance
- Grand Teton: winter conditions linger well into July
- Great Basin: summer thunderstorms are common, so plan to be off the trail early
- Mesa Verde: teens and low 20s from December to March, with icy roads
- Chiricahua: snow above 5,000 to 6,000 feet often closes in park roads
#8 – Skipping the Altitude Question Before You Book
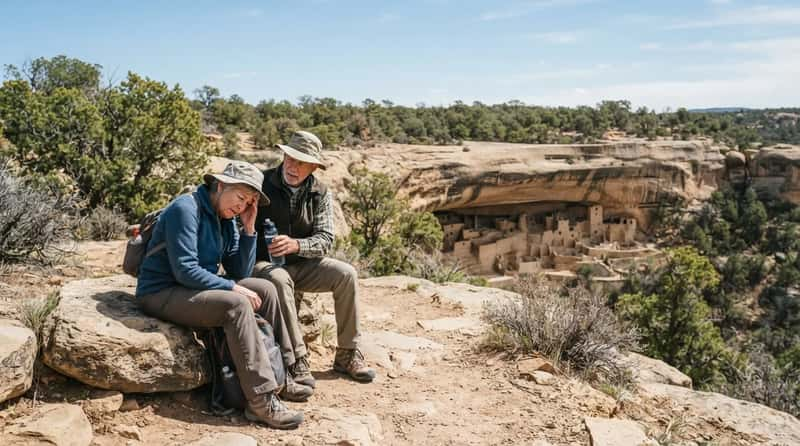
The NPS says that at 8,000 feet you are at risk of altitude illness, a potentially life-threatening condition. If you are unsure whether you can go higher, ask your healthcare provider.
Mesa Verde’s elevations range between 7,000 and 8,400 feet, and dehydration and altitude sickness are common causes of illness there. The park says visiting cliff dwellings or hiking is not recommended for those with heart or respiratory problems.
Grand Teton lists the symptoms as headache, nausea, sleeping difficulties and tiredness. It advises treating mild cases with rest and fluids, and descending if conditions persist or worsen.
Chiricahua adds that even mild blood, respiratory and heart conditions, such as anemia, can increase the impact of elevation. Ask your doctor before you book the lodging, not after you arrive with a headache.
Altitude changes how hard a walk feels, so the trail you choose matters as much as the elevation where you sleep.
#7 – Writing Off the Paved Rim Trails
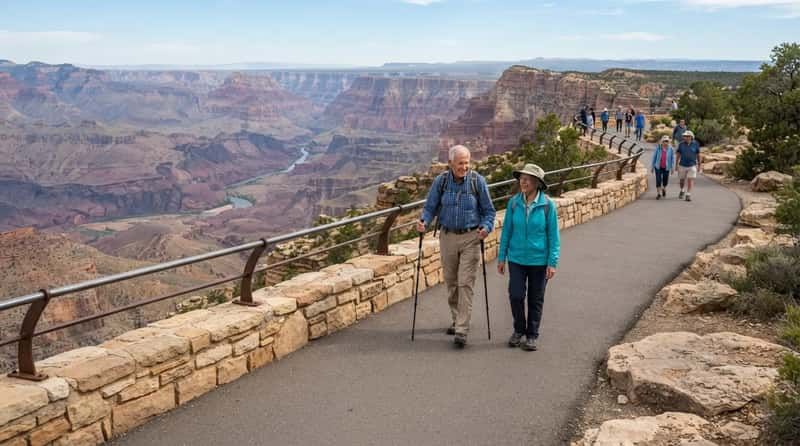
Grand Canyon’s trail guidance points out that the South Rim offers rim trail hikes with views of the inner canyon, including some paved trails.7 You see the same canyon without the climb back out.
Plenty of travelers treat the easy option as second best and push onto a steeper trail. For anyone whose knees, heart or lungs have an opinion, the rim walk is often the smarter choice.
If mobility is a concern elsewhere, call ahead. Mount Rainier says many of its facilities are over 100 years old and accessibility is not always ideal.
Whichever trail you choose, what is on your feet decides how far you get.
#6 – Brand-New Boots on a Long Descent
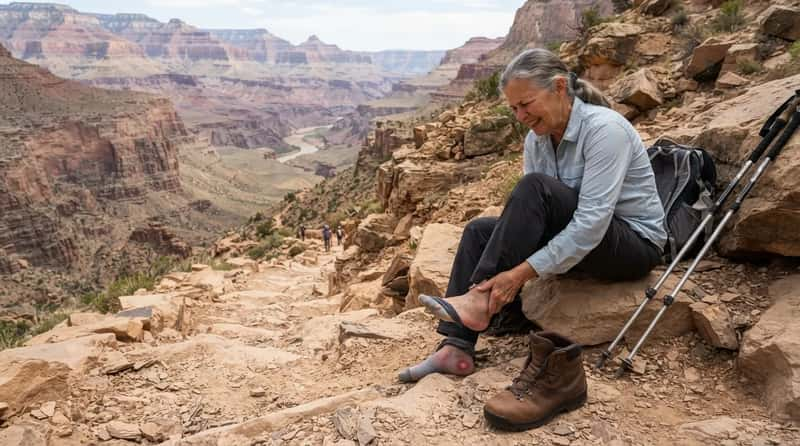
Grand Canyon guidance is to wear well-fitting, broken-in hiking boots, and Mount Rainier advises a supportive boot to reduce ankle injuries. New boots bought the week before the trip are the classic way hikers learn this the hard way.
Wear them on neighborhood walks for a few weeks first. Blisters at mile two will shorten a hike faster than any hill.
Trekking poles earn their place too, since hiking sticks take stress off your legs. On a long downhill, that stress lands on your knees and thighs.
#5 – Stepping Closer to Wildlife for One Photo
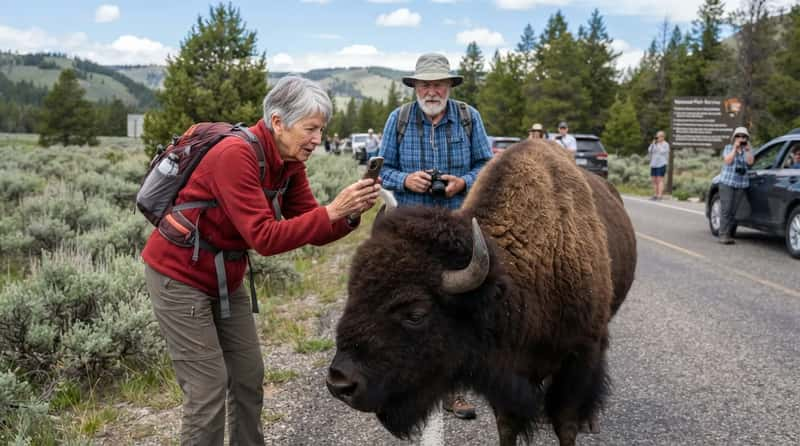
The standard NPS guidance is to stay at least 25 yards, about two bus lengths, from most wildlife. For bears and wolves, that grows to 100 yards.8
Fast Facts
- 25 yards: the minimum distance from most wildlife, about two bus lengths
- 100 yards: the minimum for bears and wolves
- Best tools: your phone’s zoom or a pair of binoculars
- Best spot: inside your car when animals are near the road
A bison or elk can look calm and still charge in seconds. A phone camera pulls people forward in a way binoculars never do.
Use the zoom, or stay in your car when animals are close to the road. A photo from a safe distance beats one that ends your trip.
#4 – Not Knowing Where the Nearest Clinic Is
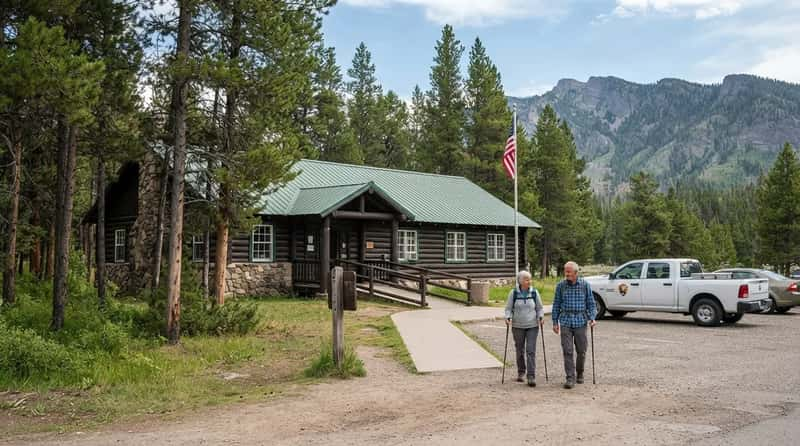
Yellowstone asks visitors to dial 911 in an emergency. The Mammoth Clinic is open year-round except some holidays, and the Lake and Old Faithful clinics open in summer.
All clinics are open to the public and equipped for most medical emergencies. Mesa Verde, where service is limited, notes that telephones are available at park facilities.
Look up the nearest clinic and phone when you check in at the lodge, and keep a current medication list in your daypack. It takes five minutes, and it matters more than most gear on the packing list.
Clinics sit along the developed roads, which does not help the hiker miles down a canyon trail.
#3 – The Easy Hike Down and the Long Climb Back
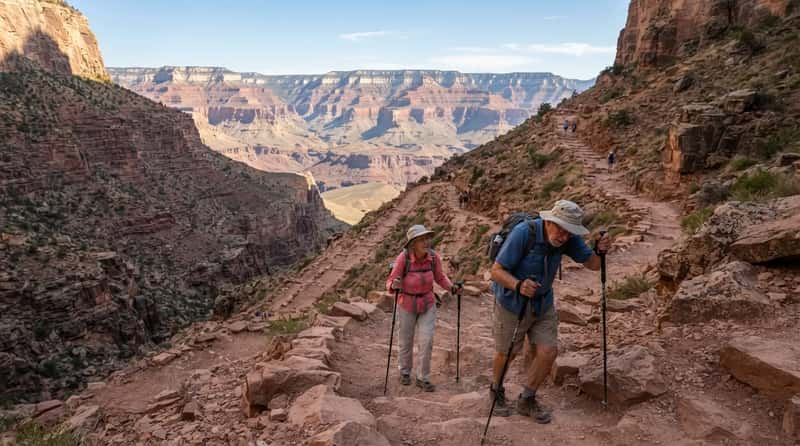
Grand Canyon‘s day-hiking page says not to attempt the rim-to-river round trip in one day, especially between May and September. It adds that more than 300 people are rescued from the canyon each year.7
The trap is simple: the way down feels easy, so the turnaround comes late. Then the climb out arrives when your legs are already spent.
Set your turnaround point before the hike. Choose it by how long the climb will take, not by how good the view is.
The hour you start the climb matters as much as the distance, and the canyon floor has its own rules about midday.
#2 – Hiking Below the Rim at Midday
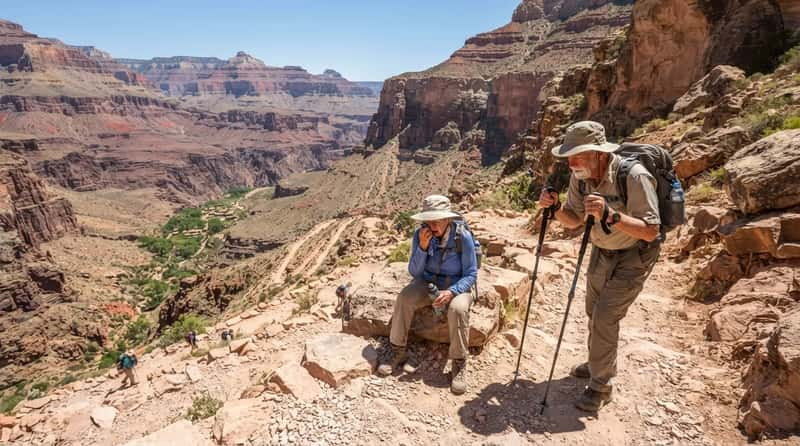
The park strongly advises avoiding strenuous hiking from 10 a.m. to 4 p.m., when Inner Canyon temperatures can soar to 109°F in the shade. Save the descent for early morning or evening.
Water alone is not the answer. The park’s advice is to drink when you are thirsty rather than force fluids, and to rest and eat often, and its heat warnings list hyponatremia among the serious risks.
Rangers at Phantom Ranch treat many cases of heat exhaustion each day in summer, and untreated heat exhaustion can lead to heatstroke. Salty snacks matter as much as the bottles.
When heat illness takes hold far from the trailhead, one question matters more than any other: how fast can someone reach you?
#1 – Counting on a Fast Rescue
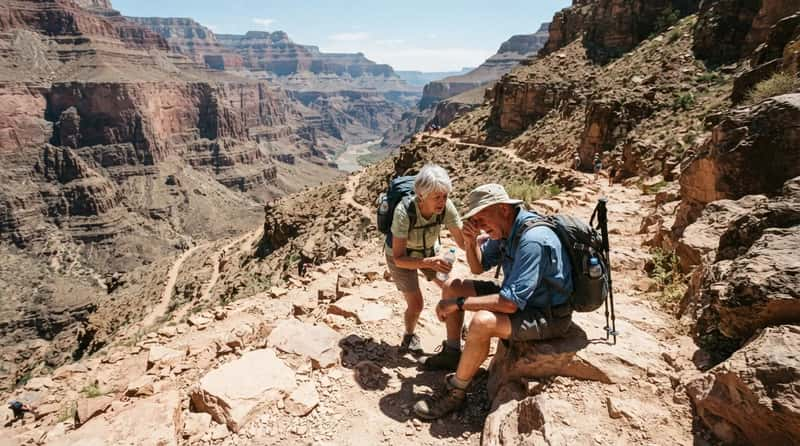
In the inner canyon, the park says self-rescue is required, because immediate assistance may not be available. Help can be delayed by limited staff, the number of rescue calls, and limited helicopter flying capability in extreme heat or bad weather.
The park also warns that the canyon is expansive and reaching a visitor in need can take time. Meanwhile, heat-related illness can develop suddenly, and a visitor’s condition may deteriorate rapidly.
So the plan has to work before anyone arrives. Symptoms include headache, disorientation and confusion, and if you suspect heat illness, do not leave the person alone if you can avoid it.
Worth Knowing
- Slow help: limited staff, heavy call volume and extreme heat can all delay a rescue
- Fast onset: heat illness can develop suddenly and worsen rapidly
- Warning signs: headache, disorientation and confusion
- Best response: stay with the person if you possibly can
This is where every other item meets. The phone with no signal, the clinic miles away and the long climb back all come down to one free choice at the trailhead: decide where you will turn around, tell someone, and keep to it.
Nearly every mistake here comes from assuming the park will work like home, with a signal, a quick answer and someone nearby. Write your plan as if none of that exists, then see whether it still holds up.
If a hike only works when a phone, a clinic or a helicopter fills the gaps, shorten the hike. It costs nothing, and it is easiest to decide at the kitchen table, months before you pack.
Which park is next on your list, and what is the first thing you will check on its official page?
Bonus: The Insider Trick Nobody Mentions at the Gate
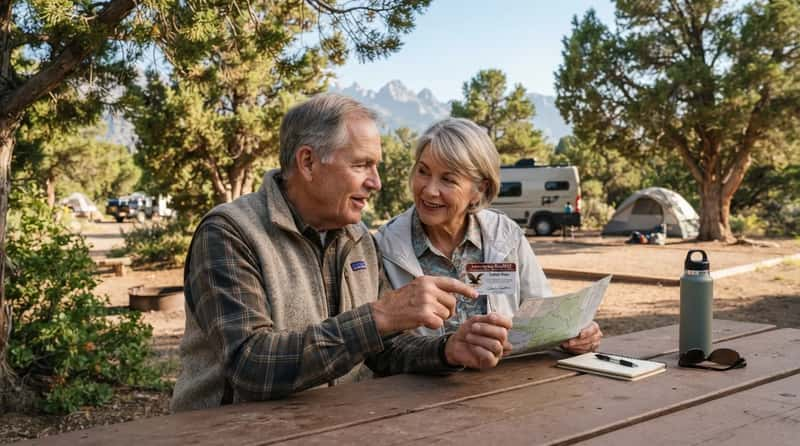
Your Senior Pass does more than open the gate. At many federal sites it can also take up to 50% off certain amenity fees, such as camping, boat launches and some guided tours.
The discount varies by site and usually goes to the pass owner only. It generally does not apply to concession-run campgrounds or flat-fee group sites, so confirm before you count on it.
- Before you book: on Recreation.gov, check whether you can add your pass to your account so the discount shows at checkout for eligible sites.
- At check-in: show the physical card with photo ID, and ask directly whether the Senior Pass discount applies to that campsite.
- Read the fine print: hookups or utilities charged as a separate fee are often not discounted, so ask what the half-price covers.
- Ask about extras: repeat the question for boat launches, swim areas and ranger-led tours before you pay full price.
One question at the counter can cut a camping bill nearly in half. Few visitors ever think to ask it.
- NPS Entrance Passes: https://www.nps.gov/planyourvisit/passes.htm
- Tumacácori Fees and Passes: https://www.nps.gov/tuma/planyourvisit/fees.htm?fullweb=1
- Haleakalā Sunrise Reservations FAQ: https://www.nps.gov/hale/planyourvisit/haleakala-sunrise-reservations-faq.htm
- Yosemite 2026 Reservations Announcement: https://www.nps.gov/yose/learn/news/yosemite-national-park-will-not-require-vehicle-reservations-in-2026.htm
- NPS Hike Smart: https://www.nps.gov/articles/hiking-safety.htm
- Mount Rainier Hiking Safety: https://home.nps.gov/mora/planyourvisit/hiking-safety.htm
- Grand Canyon Day Hiking: https://www.nps.gov/grca/planyourvisit/day-hiking.htm
- NPS 7 Ways Watch Wildlife: https://www.nps.gov/subjects/watchingwildlife/7ways.htm
