
The best-known senior break at airport security ended on July 8, 2025, when TSA dropped shoe removal for everyone.1 2 Plenty of experienced flyers are still planning around perks that no longer exist, and what replaced them is rarely explained at the belt.
Stay for #1, a fee many travelers assume buys a sure way through the checkpoint. TSA’s own FAQ says otherwise.
Getting this wrong can cost you in alarms, pat-downs, missed help and, for one mistake, $45. Everything below rests on TSA’s own guidance and recent reporting, starting with the perk that vanished.
#16 – The 75-and-Older Shoe Perk Is Gone
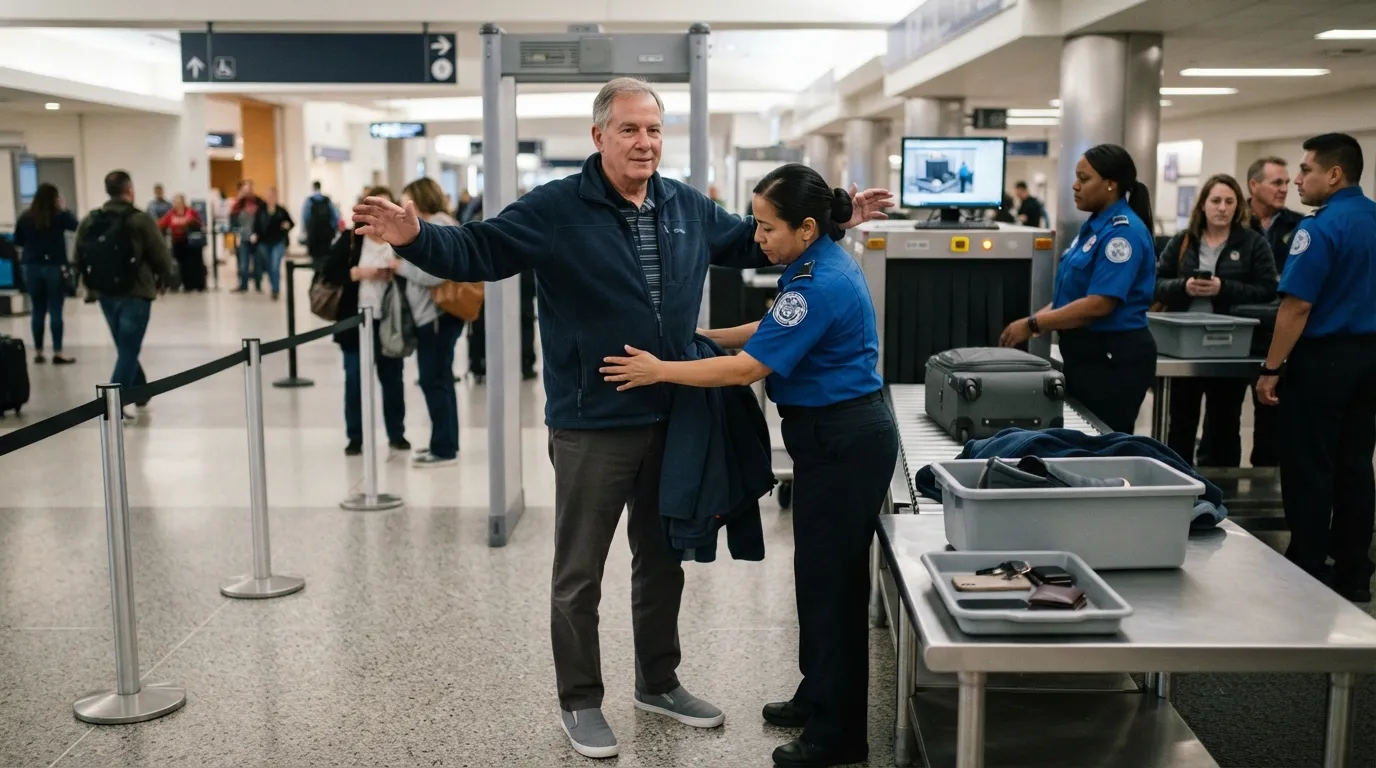
For years, turning 75 meant you could keep your shoes on. Children 12 and under and passengers 75 and older were the only travelers exempt.
TSA ended its shoe-removal mandate on July 8, so age no longer matters here. Every traveler now keeps shoes on unless an alarm or extra screening says otherwise.
AARP’s coverage points out that bending down and rushing are known fall risks, and that checkpoints often have no seat for removing shoes. If you’ve been dreading that moment, you can stop.
The number 75 still appears in TSA’s guidance, though what it earns you is thinner than the rumors suggest.
#15 – What Turning 75 Still Gets You
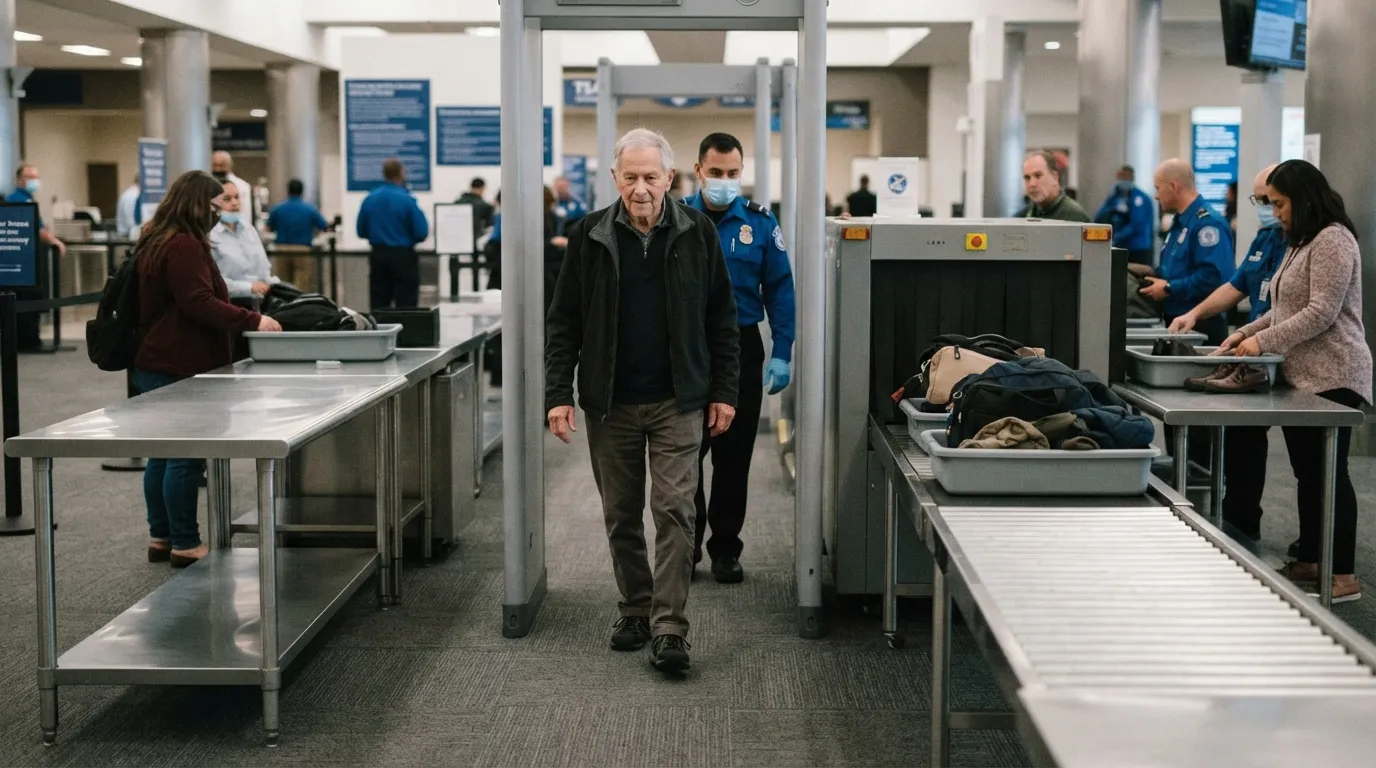
Nothing in TSA’s guidance points to a special lane that begins at 60. The same goes for 65 and 70.
TSA says passengers 75 and older can receive some form of expedited screening through its risk-based approach. At 75, you may get expedited screening, not a separate lane.
Jackets are where online advice overreaches. TSA’s page for travelers 75 and older says light jackets still come off for Advanced Imaging Technology screening.
Treat any faster treatment as a courtesy, not an entitlement.
Even that courtesy can be undone by one alarm, and what happens afterward depends partly on what you wore.
#14 – What an Alarm Still Costs You
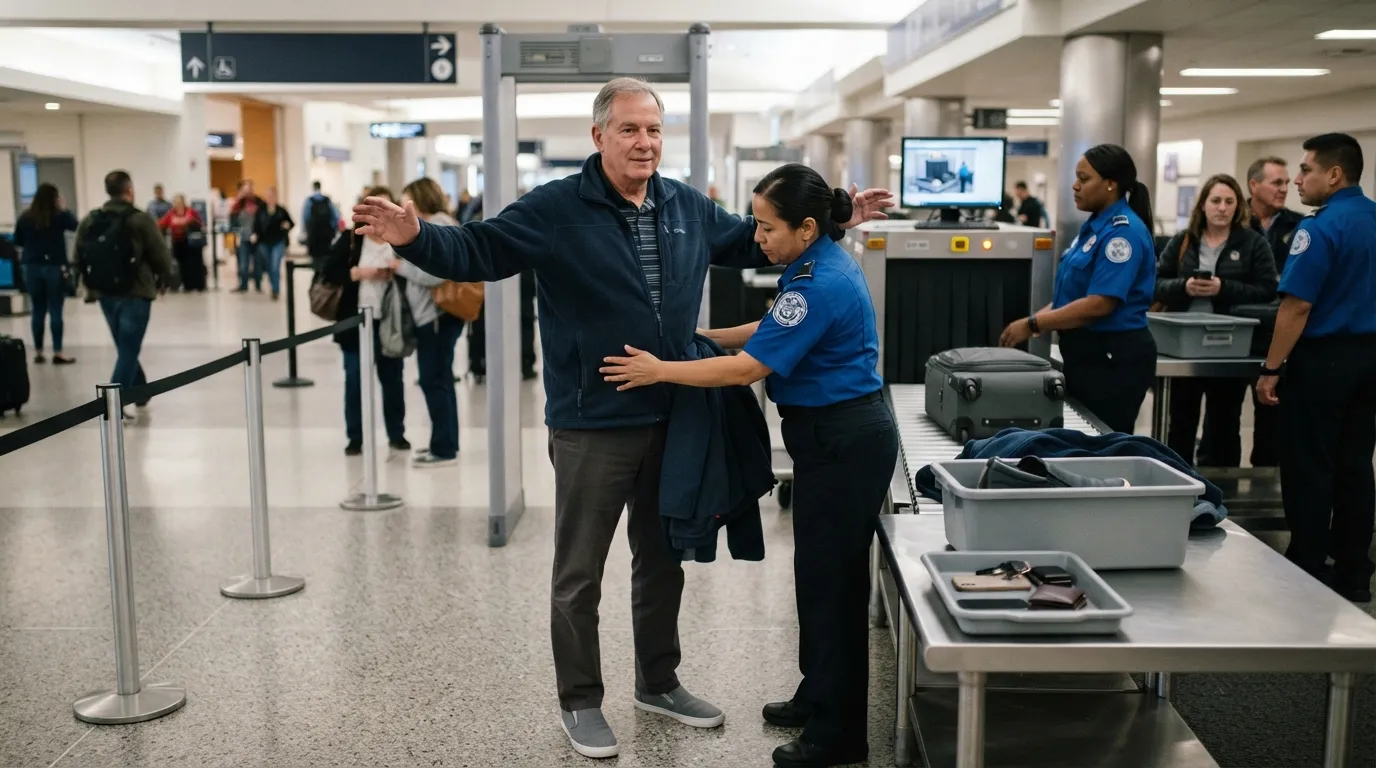
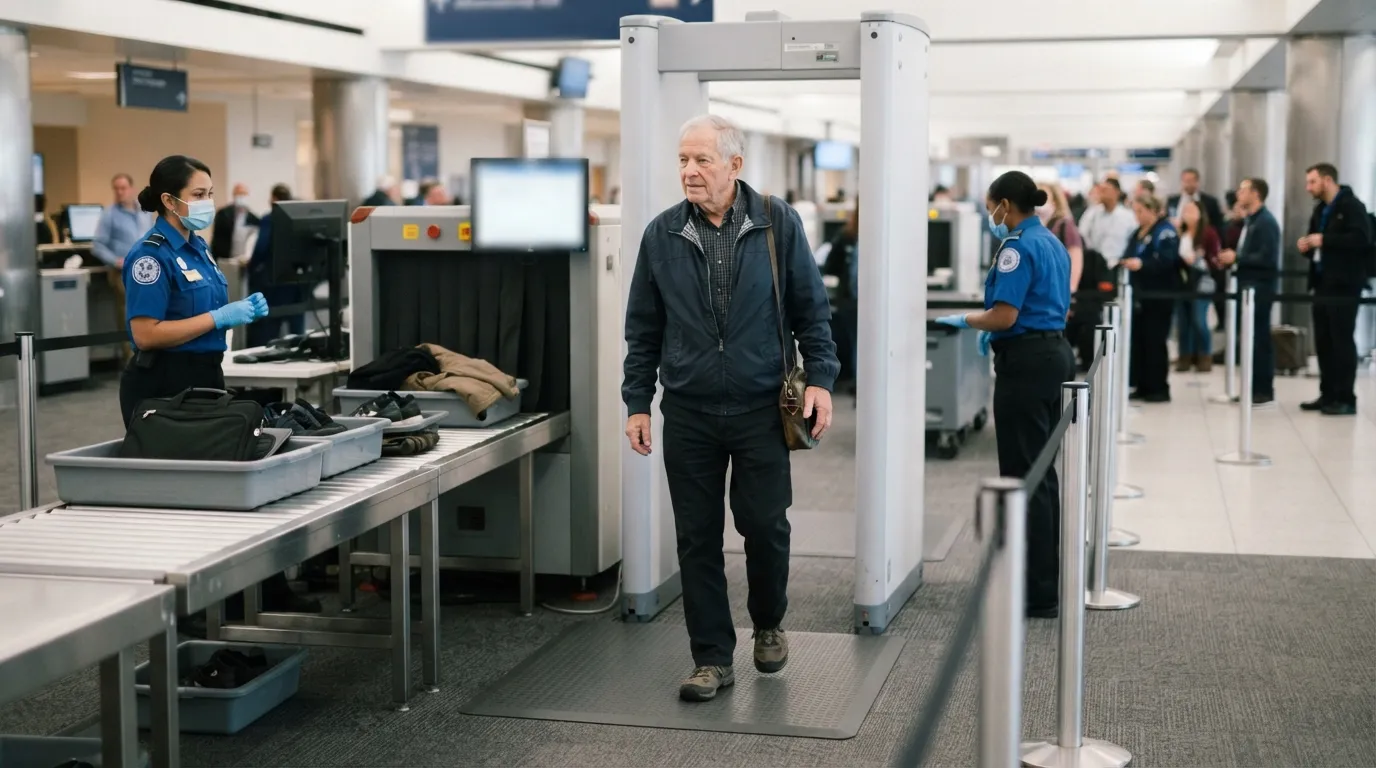
Officers can still ask anyone to take shoes off if an alarm goes off or if you’re picked for enhanced screening. TSA also says an alarm can lead to further screening or a pat-down.
If something alarms, expect shoes off or a pat-down. Equipment also varies from airport to airport, so one easy experience doesn’t promise the same at the next.
That’s why slip-on shoes and a zip-up layer make sense. They cost nothing and shorten the worst-case moment.
There’s a lane that skips most of these steps, though at $75 or more it’s no longer the bargain it was.
#13 – Why PreCheck Is a Harder Sell Now
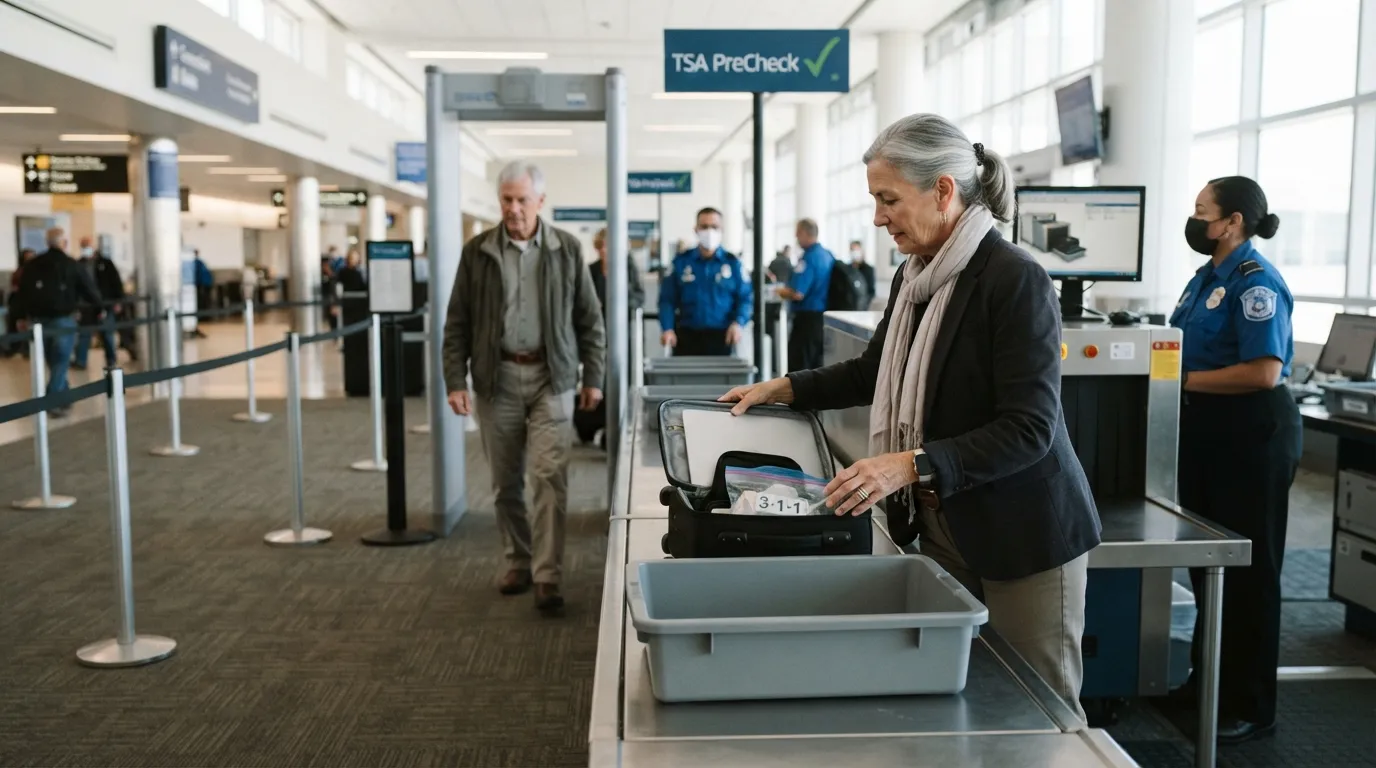
TSA PreCheck has no age-based pricing, so there’s no senior discount to find. There’s also no age limit for applying.
What the lane still spares you:
- Laptops and 3-1-1 liquids stay in your bag
- Light jackets and belts stay on
- A shorter line than the standard one
PreCheck now saves belts, jackets, laptops and liquids, not shoes.1 AARP notes that members who paid $75-plus for shoes-on screening must now decide whether the remaining perks justify the cost.
My verdict: if you fly once a year, skip it. If you fly monthly, the belt-and-laptop savings still add up.
Next comes something the lane doesn’t change at all: medicine that comes in liquid form.
#12 – Liquid Medicine Isn’t Bound by 3-1-1
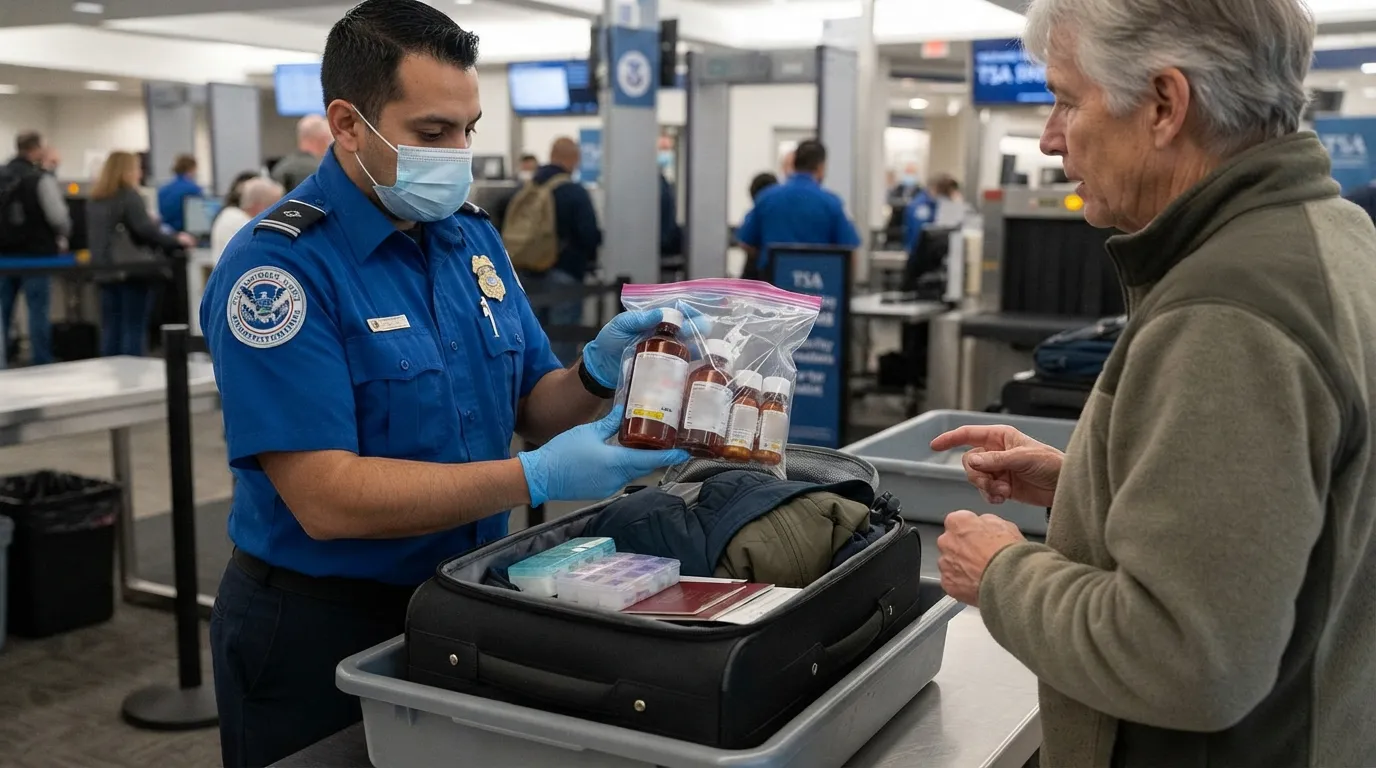
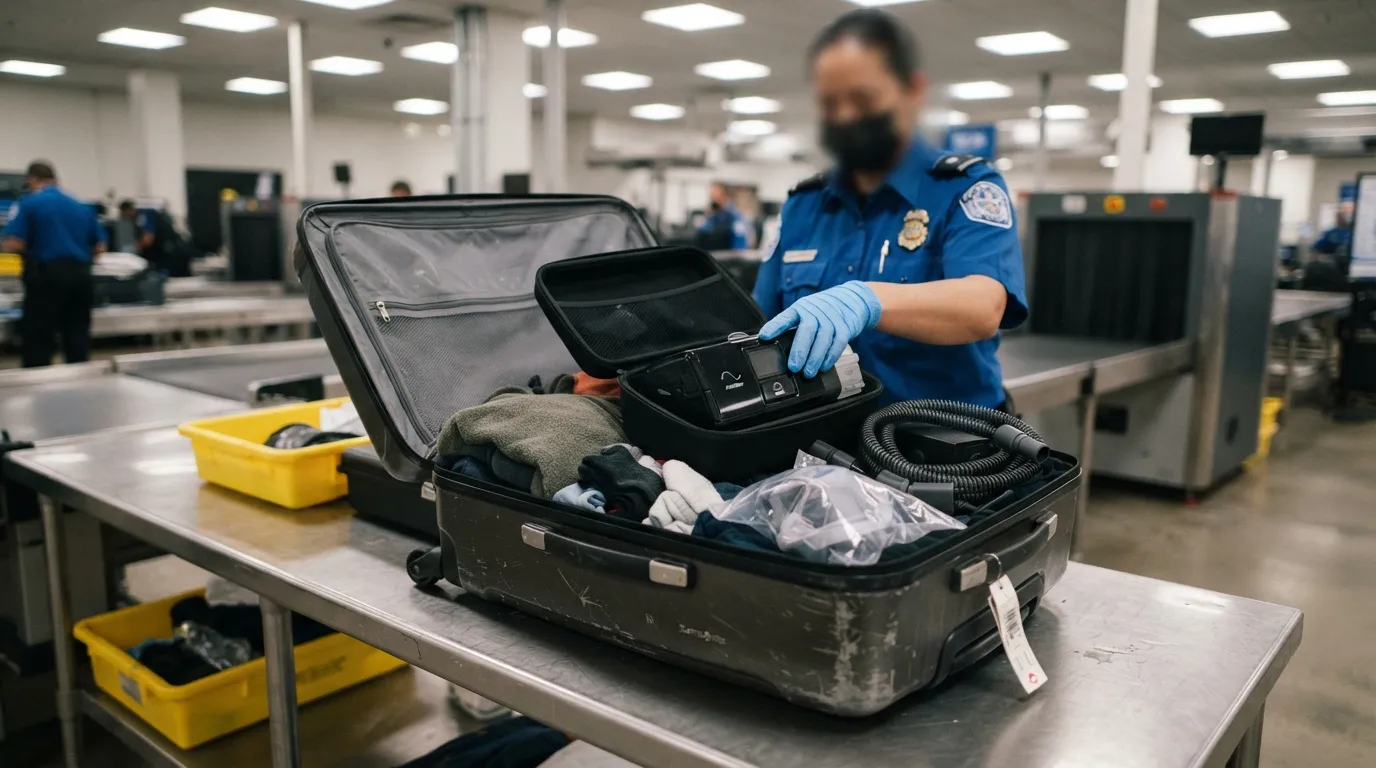
The 3.4-ounce limit has an exception for medically necessary liquids, gels and aerosols. TSA lets you bring reasonable quantities above that size in your carry-on.
Tell the officer about liquid medication before screening starts. Expect it to be inspected separately, so keep it where you can reach it.
Pills have no such limit, but original labeled bottles make any question easier to answer. Keep all of it in your carry-on, never your checked bag.
Medicine you swallow is simple to handle. A device attached to your body is where an officer needs to hear from you first.
#11 – Devices on Your Body Need a Heads-Up
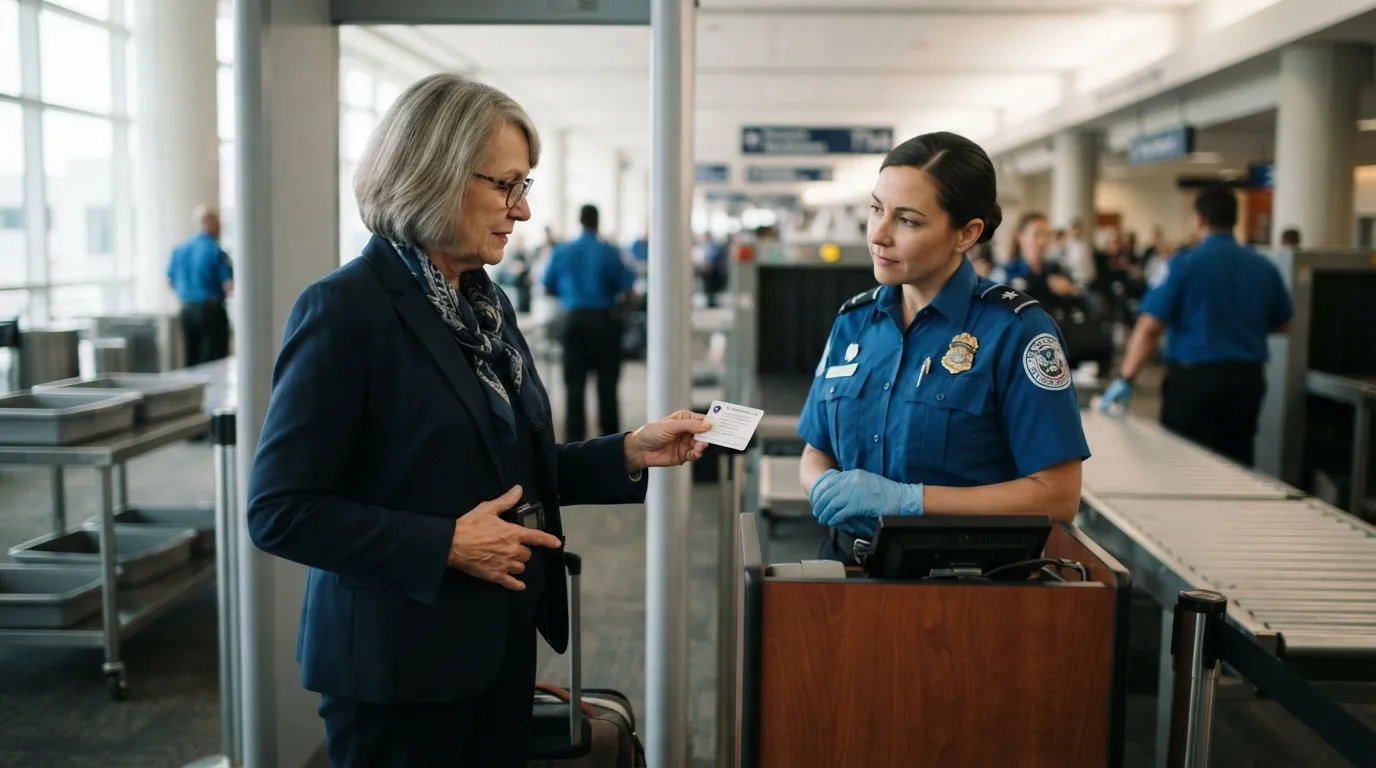
TSA wants to know about certain devices, and where they sit, before screening begins.3 Don’t wait for a pat-down to bring it up.
At a Glance
- Bone growth stimulator
- Spinal stimulator or neurostimulator
- Port or feeding tube
- Insulin pump
- Ostomy
If you can’t disconnect the device, it may require additional screening, and sensitive areas get careful and gentle inspection.3 Say what the device is and where it sits, before screening starts.
You can say it out loud, hand over a TSA Notification Card, or show medical documentation. The card is the quietest of the three.
#10 – The Free Card That Does the Talking
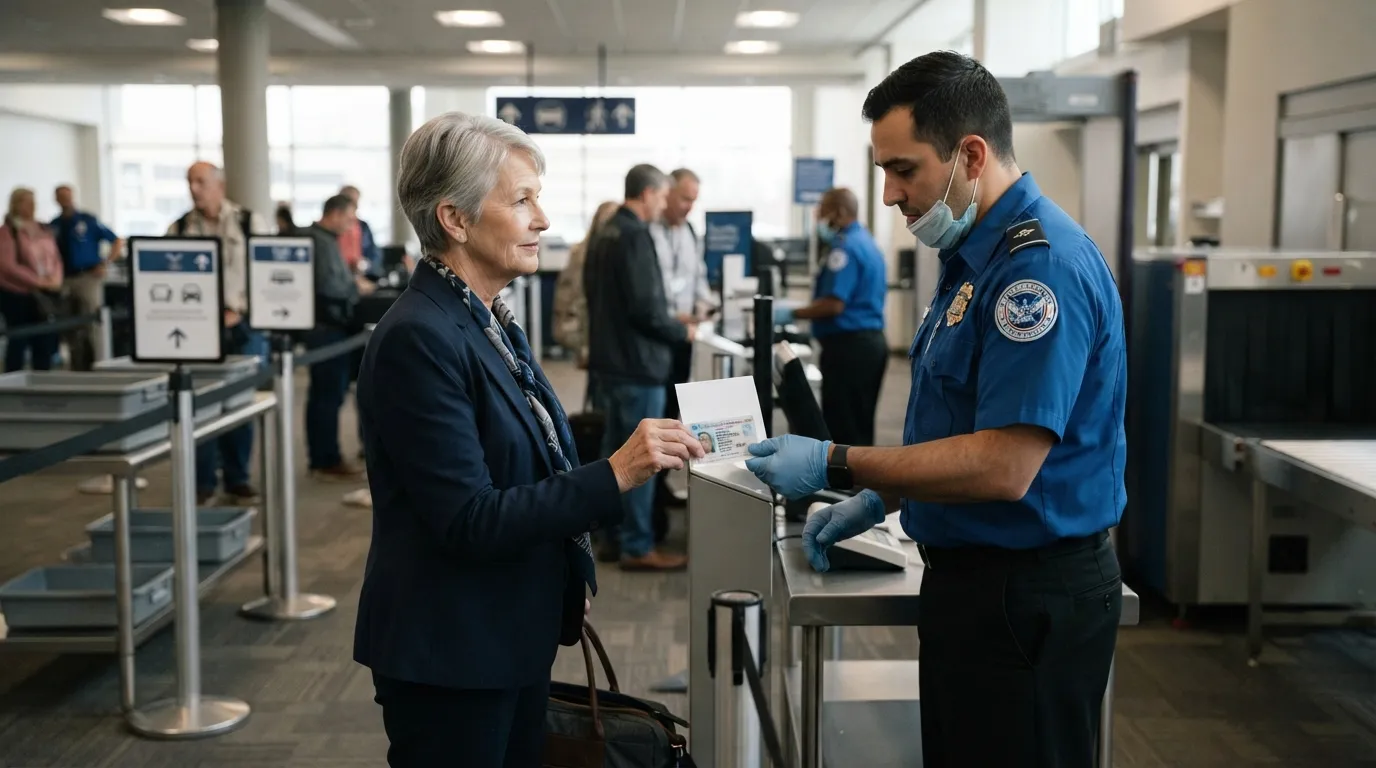
The TSA notification card involves no application, no fee and no medical documentation. You download it from TSA’s website, write your condition or device in one blank field, and hand it to an officer.
The card explains your condition, but it doesn’t exempt you from screening. TSA’s own guidance is explicit on that point.
What it does is spare you from announcing a medical device in a crowded line. Print one and keep it behind your ID.
A card is optional for a hip or knee replacement, and that’s where travelers tend to over-prepare.
#9 – Skip the Doctor’s Letter for a Joint Replacement
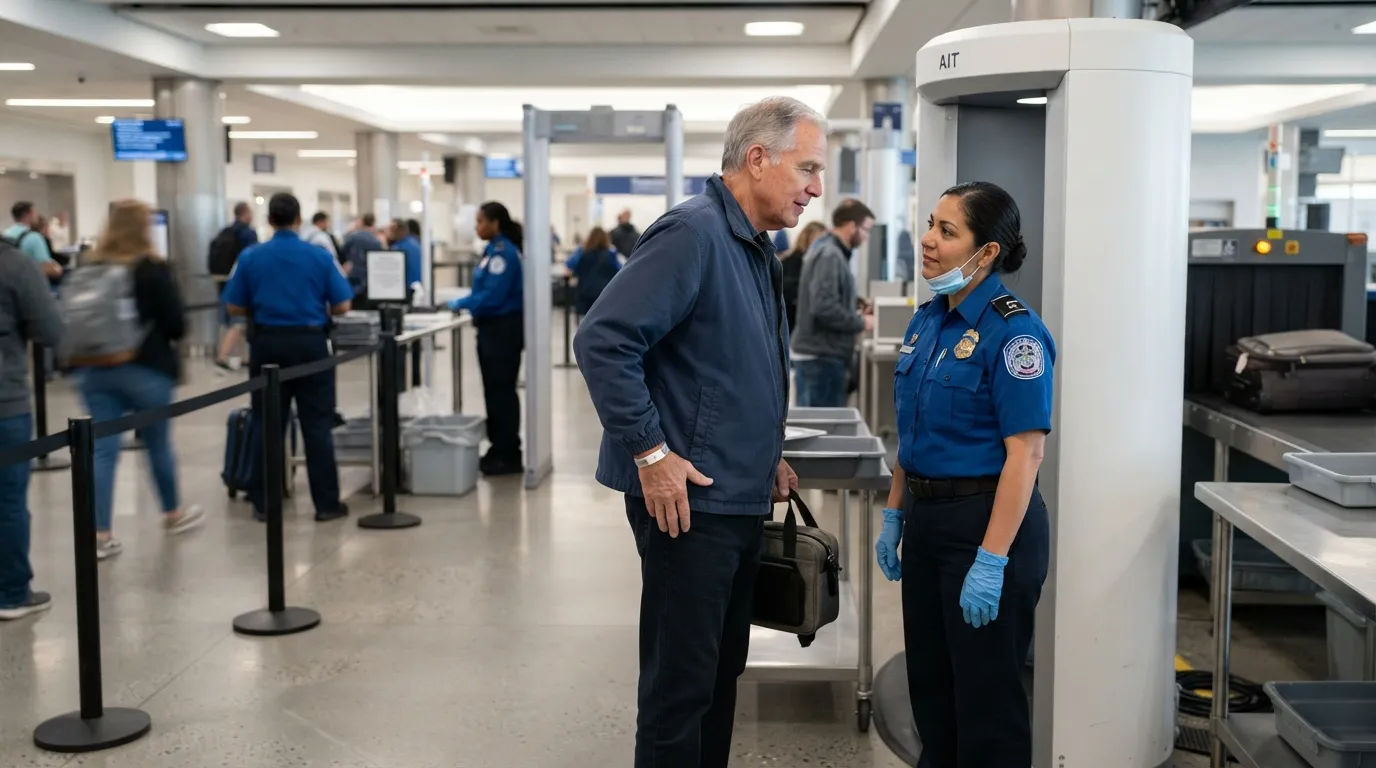
TSA asks you to inform the officer if you have metal implants. That’s a spoken sentence, not a paperwork requirement.
TSA lists three ways to say so, and they aren’t equal.
Quick Compare
- Verbally: free and instant, but said aloud in line
- Notification card: free and quieter, still no exemption
- Medical documentation: accepted, but the weakest choice for a routine joint
My verdict: don’t bother getting a letter for a routine hip or knee. Advanced imaging technology can facilitate your screening and reduces the likelihood of a pat-down.4
Tell the officer about the implant before you’re screened.
Telling an officer is easy when you can stand and raise your arms. Not every traveler can, and the scanner assumes you can.
#8 – When You Can’t Stand Still With Arms Up
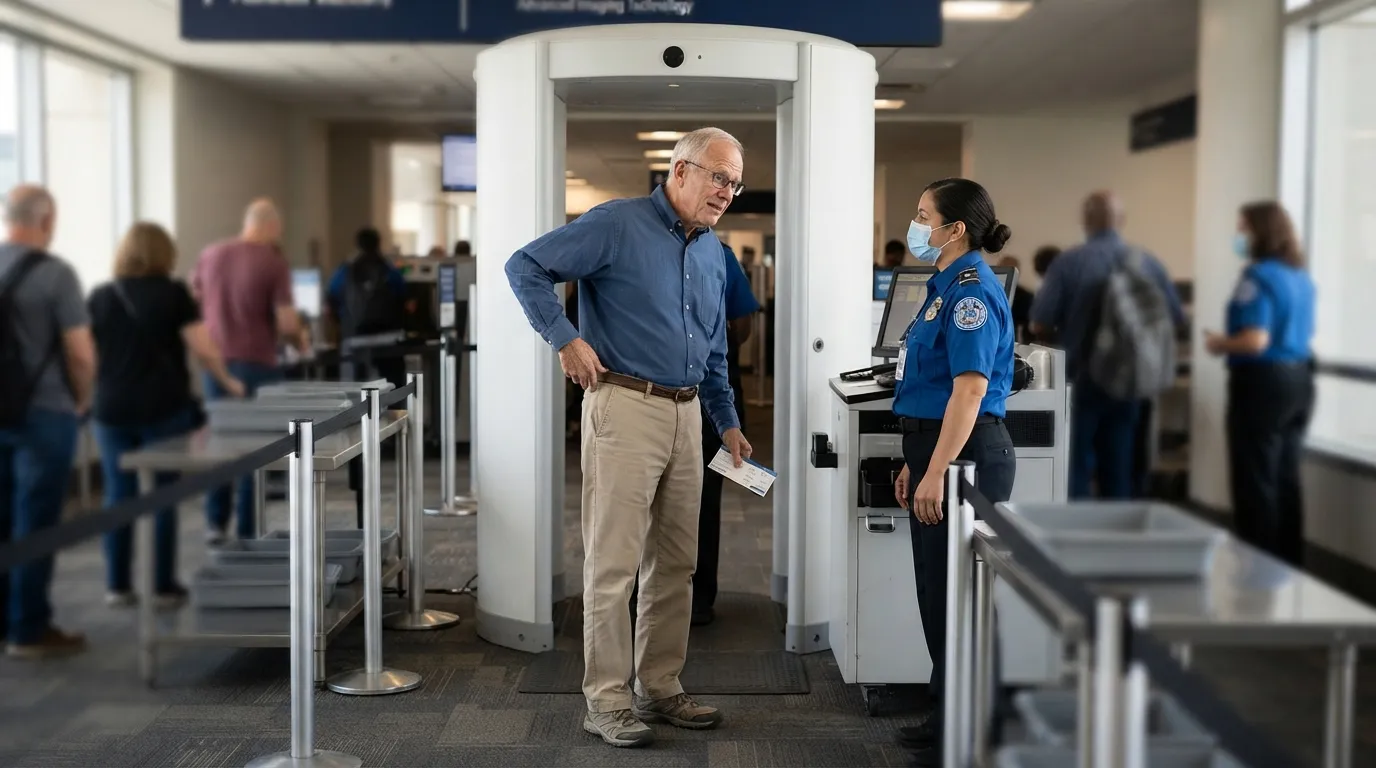
The body scanner asks you to stand still with your arms raised, and for some travelers that’s the hardest part. If that’s you, say so before stepping in.
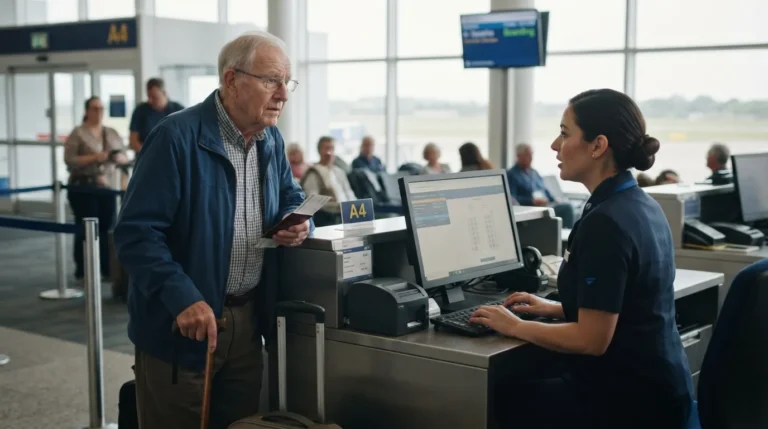
TSA says passengers 75 and older who cannot stand for screening will be screened through other security methods. If you can’t stand for the scanner, tell the officer before you step in.
Younger travelers with the same limits have a route too. You or your traveling companion may talk to the officer about the best way to complete screening.
Some conditions can’t be seen at all, and for those TSA has a rule about keeping you beside the person who knows you best.
#7 – Dementia and Autism: Companions Stay Close
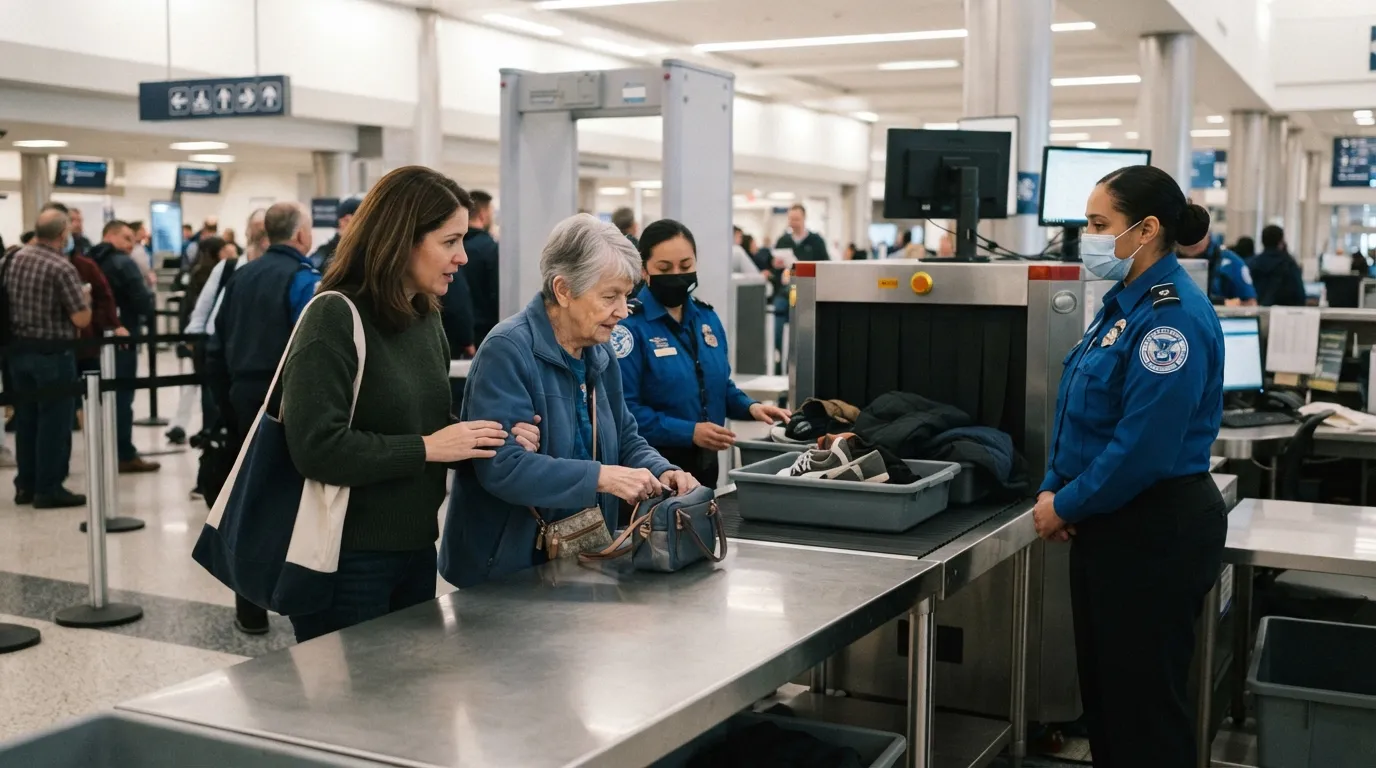
TSA’s guidance says travelers with non-visible conditions such as Alzheimer’s, autism spectrum disorder and dementia can be screened without being separated from their traveling companion. If you’re escorting a parent with memory loss, say so at the start of the line.
Ask that your companion stay with you through the whole screening. You don’t have to discuss the diagnosis in front of the person; the notification card from #10 can do that for you.
A Passenger Support Specialist is trained to assist travelers with medical conditions, and you can request one ahead of the trip. Before any of that, though, you can ask TSA a question from your couch.
#6 – Text TSA Before You Leave Home
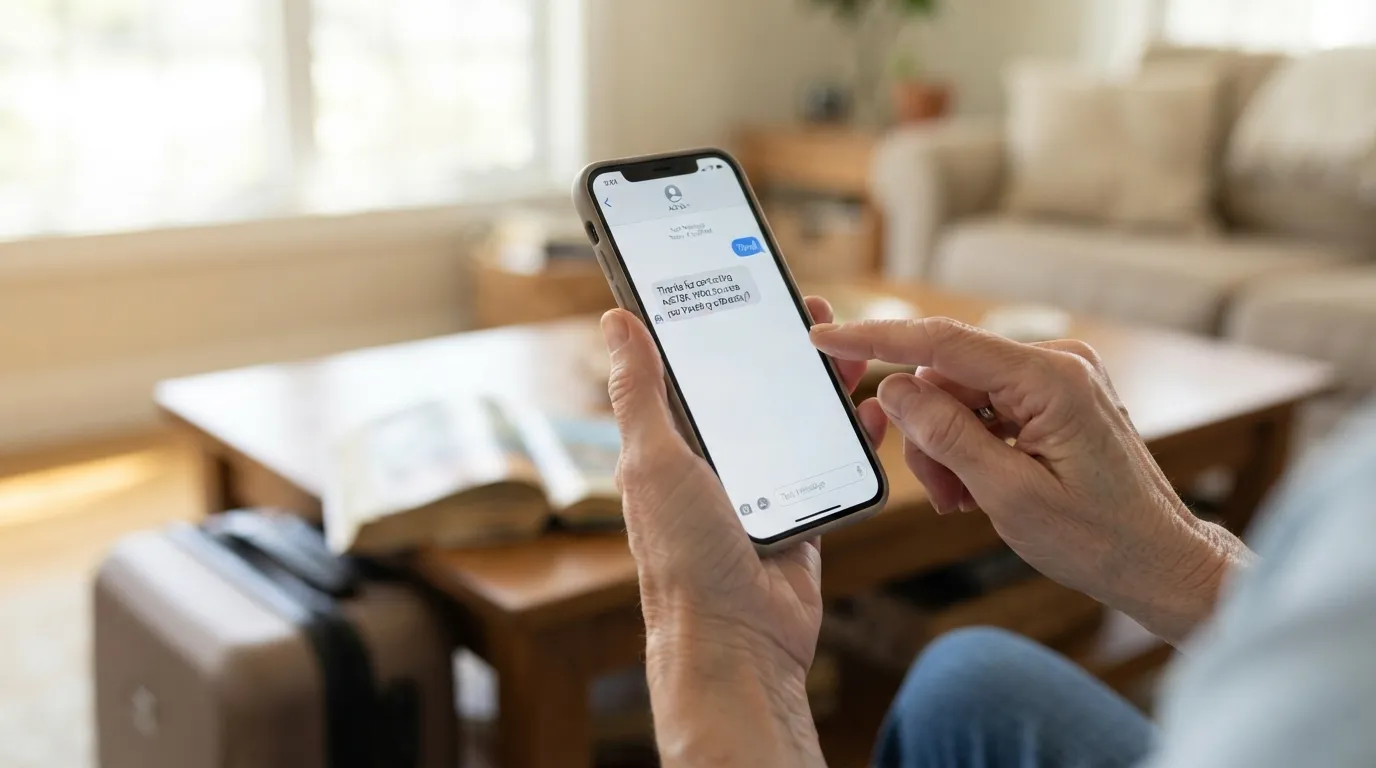
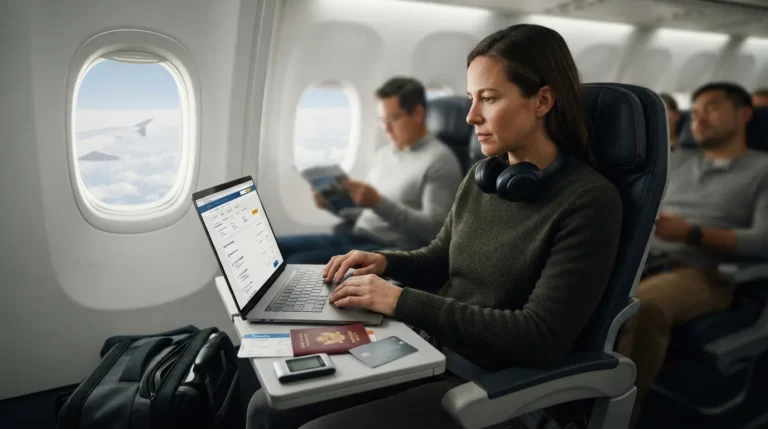
Text “Travel” to 275-872 to reach AskTSA. It also works through Facebook Messenger and X (@AskTSA).
Text “Travel” to 275-872 with any checkpoint question. An automated assistant answers common questions around the clock, and staff handle the more complicated ones.
If you already live in Messenger, that’s the easiest route. Ask whether an item or device is allowed before you pack, not at the belt.
A text answers a question, but it doesn’t put a trained officer beside you in line. TSA publishes a deadline and a phone number for that.
#5 – Ask for a Passenger Support Specialist
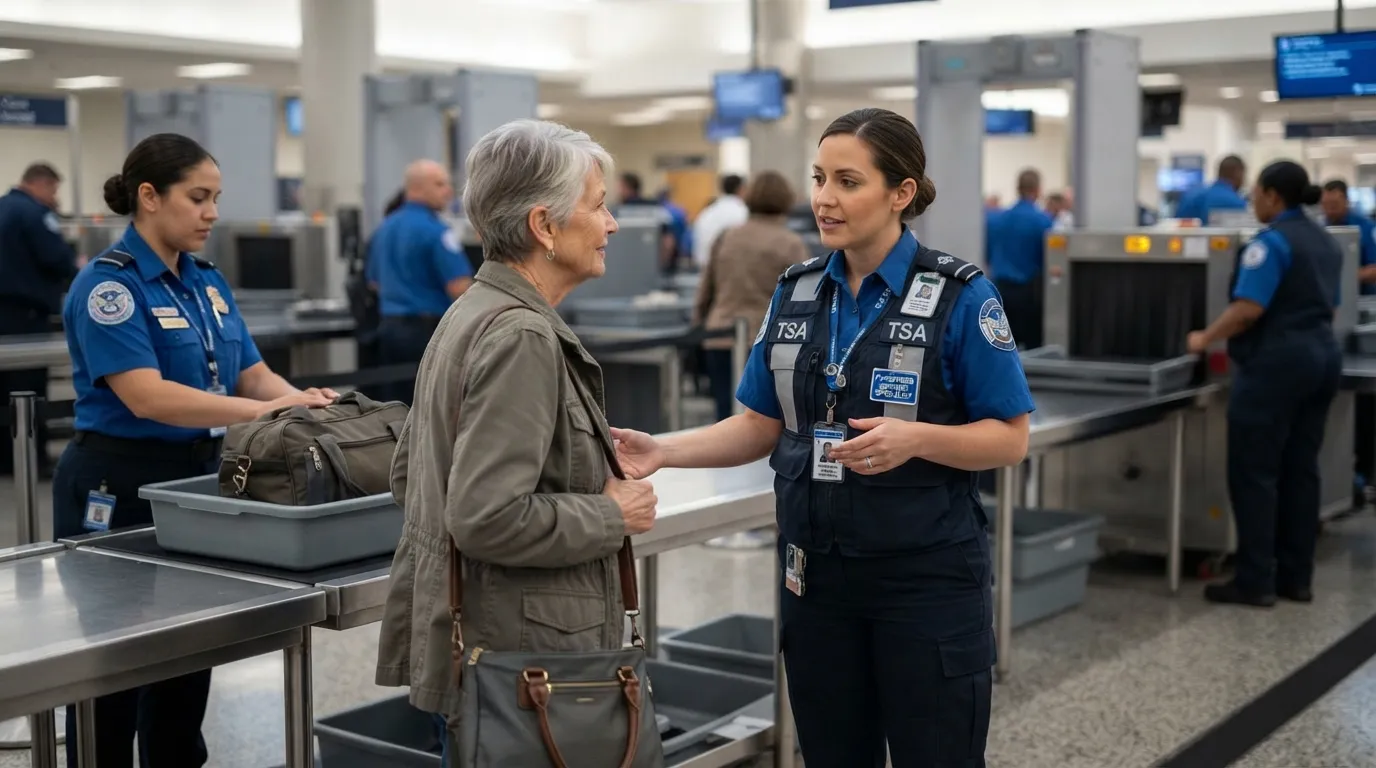
A Passenger Support Specialist is a TSA officer with specialized training in assisting travelers with disabilities, medical conditions and extra screening needs. Requesting one does not exempt you from screening.
A specialist guides you through screening; it doesn’t skip any step. Their value is explanation and a calmer pace.
If the need comes up after you’ve arrived, you’re still encouraged to ask whether help is available. That makes the request worth trying even when you haven’t planned ahead.
Asking on arrival is the fallback. The better route has its own deadline and phone number.
#4 – The 72-Hour Call and When It’s Answered

TSA says to contact TSA Cares at least 72 hours before your scheduled departure. You can complete the online form or call 855-787-2227.5 6
Call 855-787-2227 at least 72 hours before you fly. Your experience will be smoother if TSA can prepare for your needs, and the service also helps caregivers.
Make the call for any trip involving a device, a mobility limit or a companion with dementia. For a routine trip with no special needs, skip it.
Related Stories From Weather Fox
 17 Things TSA Supervisors Quietly Tell Experienced Travelers Over 60 That Agents Never Say Out Loud
 TSA Officers Reveal 21 Things They Stopped Noticing After Ten Years
 Most travelers assume airport staff keep a secret menu of perks for anyone over 60. The official rules tell a different story: the one well-documented age-based perk starts at 75, not 60.
One piece of checkpoint equipment is a different matter, because TSA says some travelers shouldn’t go through it at all.
#3 – The Metal Detector to Avoid With a Pacemaker
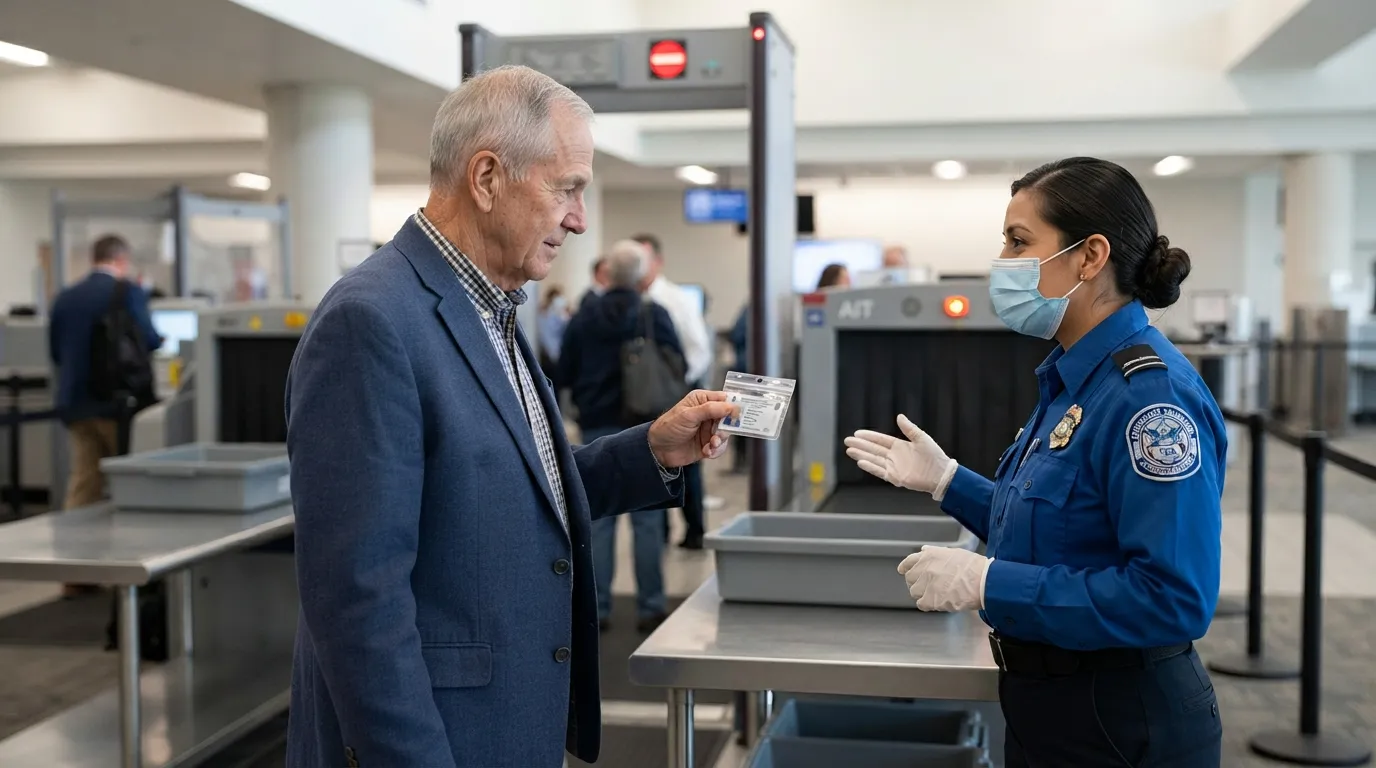
TSA says you should not be screened by the walk-through metal detector if you have an internal medical device such as a pacemaker.4 That’s a health instruction, not a courtesy.
Say “pacemaker” before you reach any machine. Tell the officer about any pacemaker, defibrillator or other internal medical device.
For metal joint replacements as well as internal devices, TSA recommends the advanced imaging scanner over the metal detector. A notification card or medical ID can help you explain the device quickly, just as in #10.
Now to what happens before any officer looks at your body: the ID in your wallet, and the star that may be missing from it.
#2 – Check Your License for the Star Today
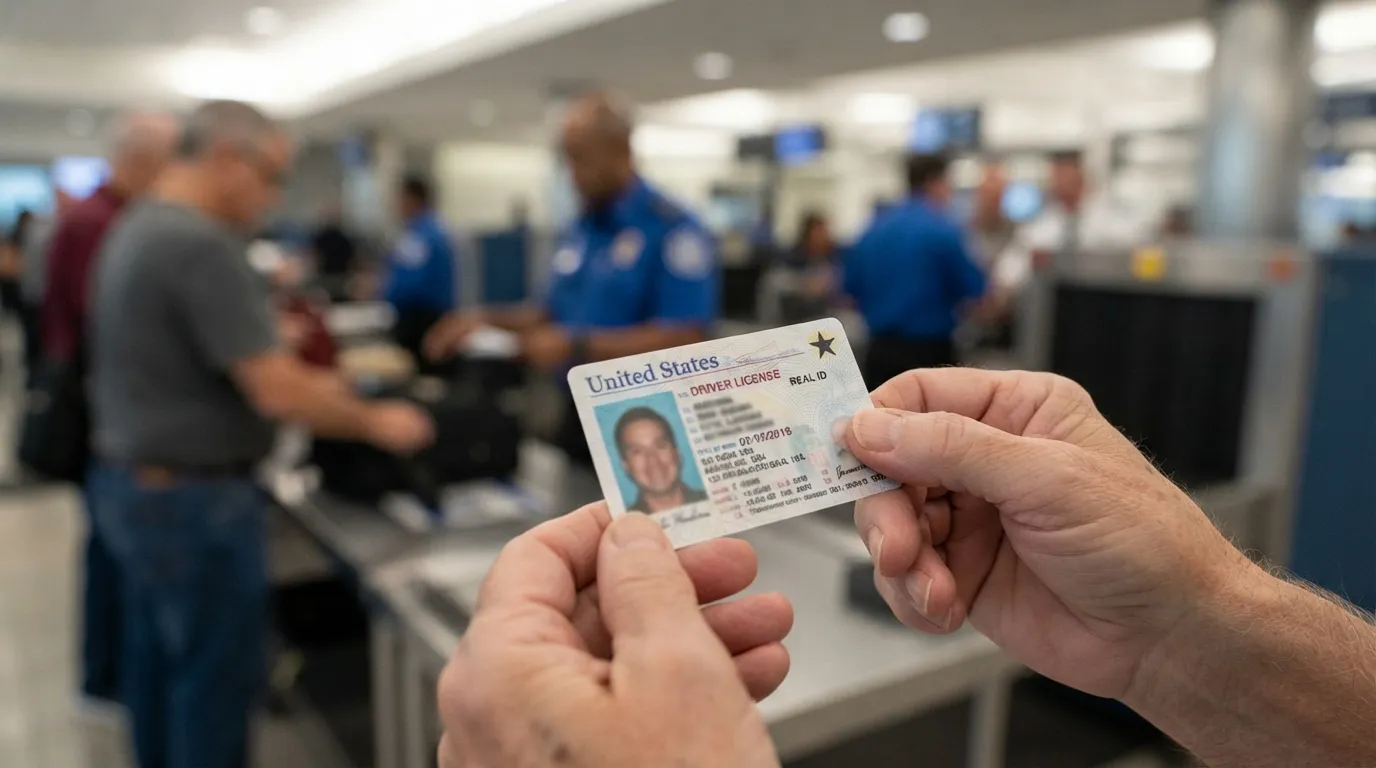
TSA began enforcing REAL ID on May 7, 2025. If your license lacks the star marking, it’s no longer enough for domestic flights.
If you bring a valid passport, you don’t need to pay the fee or use ConfirmID. A valid passport means you never pay the $45 fee.7 A passport card also works.
Quick Compare
- Star-marked REAL ID license: accepted, no fee
- U.S. passport or passport card: accepted, no fee
- Trusted traveler card (Global Entry, NEXUS, SENTRI, FAST): accepted, no fee
- No acceptable ID: $45 ConfirmID, for adults 18 and older
My verdict: a DMV appointment beats the fee as Plan A, and TSA itself urges travelers to book one.8 Compare your state’s REAL ID price with $45 before deciding.
If you land among the few without one, the fix has a price, a time limit and a catch TSA states in its own FAQ.
#1 – The $45 Fee Buys an Attempt, Not a Ticket
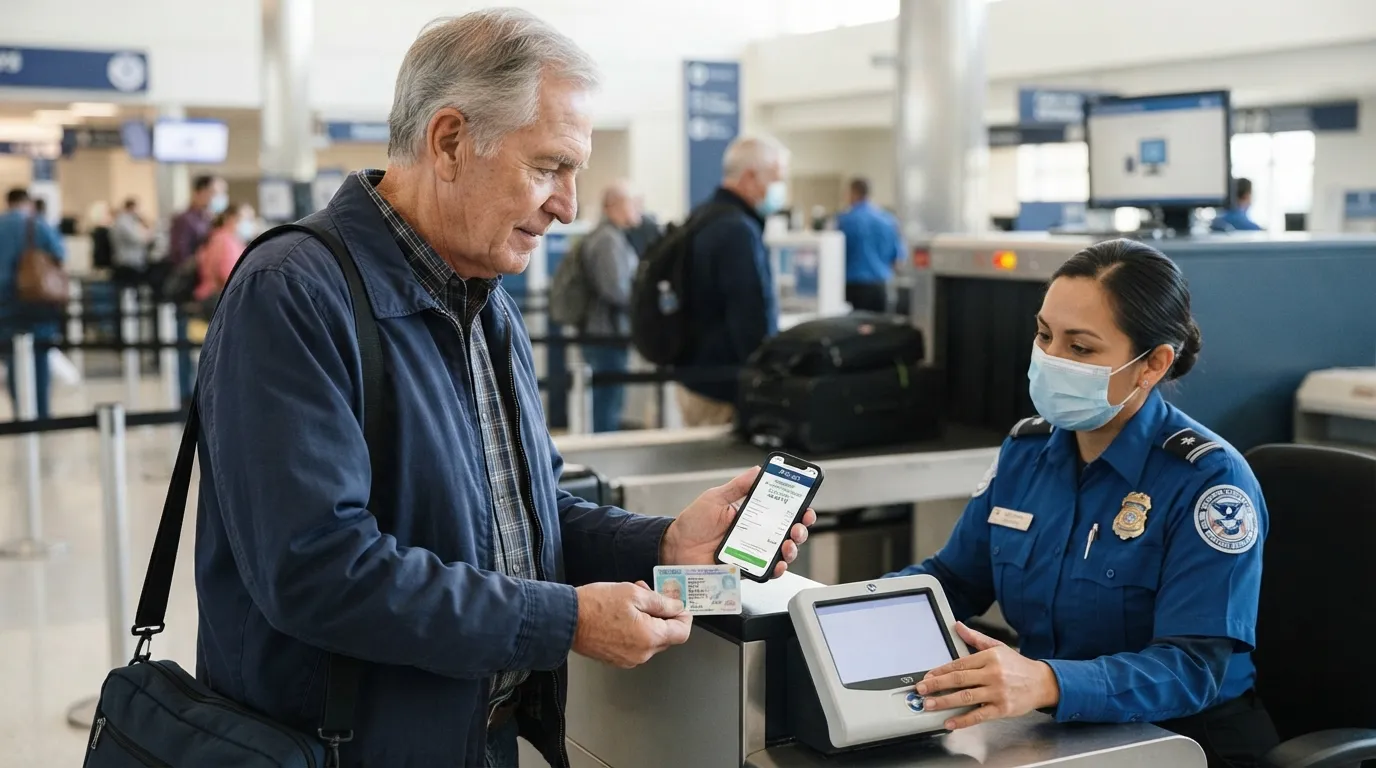
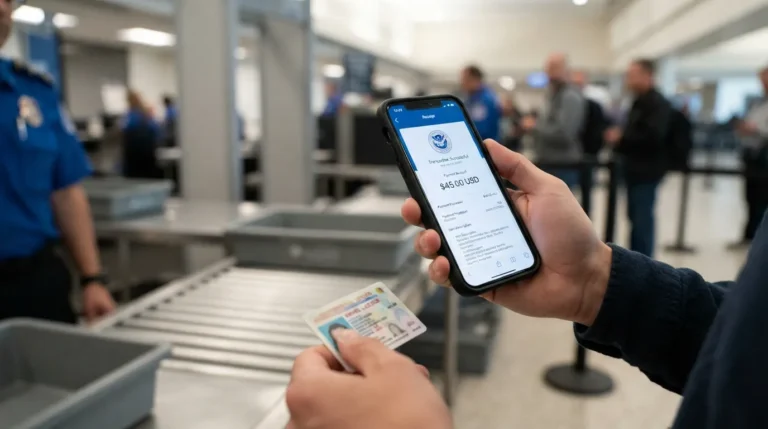
TSA’s FAQ says the $45 ConfirmID fee lets you attempt to verify your identity, but there is no guarantee TSA can do so.7 The $45 pays for an attempt at verification, with no guarantee you pass.
You pay through Pay.gov and must show proof of payment at the checkpoint. Show the receipt, printed or as a screenshot, plus any government-issued ID.8
The fee covers a 10-day travel period, not a single flight. You must pay before you arrive at the checkpoint or the airport.7 8
Budget extra time at the checkpoint as well. ConfirmID replaced the earlier fee-free manual identity checks, so the old safety net now has a price.
A fee for trying can’t be treated as a plan. That’s the quiet lesson running through all 16 of these.
The age-based perks have mostly faded: shoes are universal, and 75 earns you a possible courtesy. What’s left works only if you act before you reach the officer, by telling, texting, calling ahead and carrying the right document.
Which one item do you always put in your wallet or carry-on before leaving for the airport, and has it ever saved you at a checkpoint?
- ABC News Shoe Policy: https://abcnews.com/Politics/homeland-security-ends-mandatory-shoe-removal-airport-screening/story?id=123581156
- CBS News Shoe Rule: https://www.cbsnews.com/news/tsa-shoes-rule-expires/
- TSA Medical Items Guidance: https://www.tsa.gov/travel/security-screening/whatcanibring/medical
- NAP Personal Implants Chapter: https://www.nationalacademies.org/read/24936/chapter/7
- TSA Cares Specialist Program: https://www.tsa.gov/news/press/releases/2024/04/30/tsa-officer-den-recognized-national-passenger-support-specialist
- TSA Notification Card PDF: https://www.tsa.gov/sites/default/files/disability_notification_card_508.pdf
- TSA ConfirmID FAQs: https://www.tsa.gov/tsaconfirm-id/confirmid-faqs
- TSA ConfirmID Rollout Release: https://www.tsa.gov/news/press/releases/2026/02/05/tsa-successfully-rolls-out-tsa-confirmid-0