Experienced flyers look calm at the booth because most of the work is already done. The people behind them see a short, boring stop and never notice the free app, the £20 online form or the date check that made it that way.
Get one of those wrong and it costs you a longer wait, a fee paid twice or a flight you can’t board. The list starts at the front of the line and climbs toward the costliest mistakes, and #1 is a check you can do at home that can sink a trip before any officer sees you.
#17 – Passport in Hand Before the Front
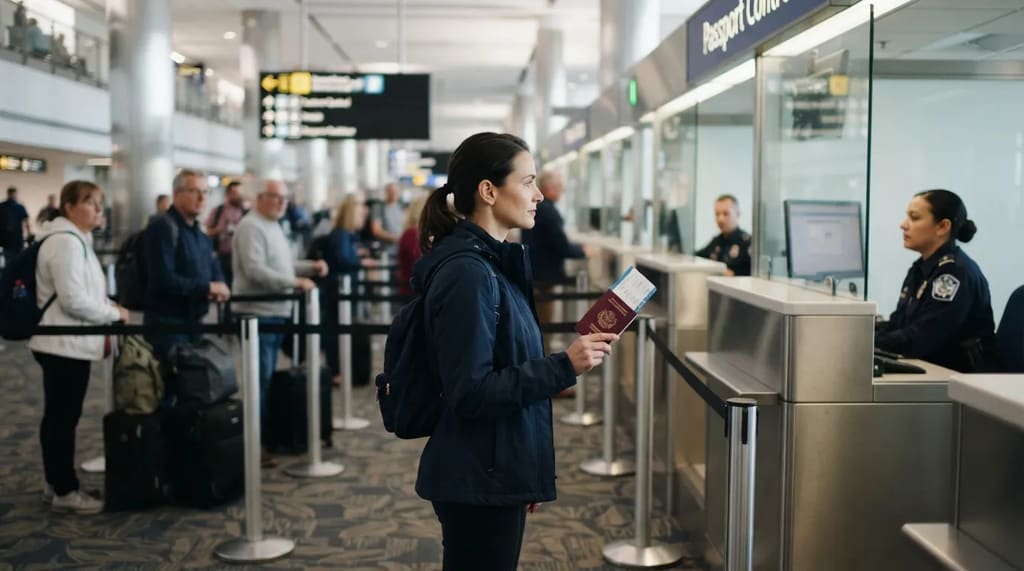
The booth is the last thing you reach, and the preparation starts in the aisle. CBP advises arriving travelers to have their passport and ID ready, plus any other documents an officer may request.
Have your passport in your hand before the line reaches the front. Then there’s no digging through a carry-on while the officer waits and the people behind you shift their feet.
Pick one pocket or pouch for everything, including the return ticket. It takes a minute on the plane and saves far more at the counter.
Documents get you to the officer. The officer’s first questions are where a rehearsed answer saves the most time.
#16 – Short Answers Rehearsed Before Landing
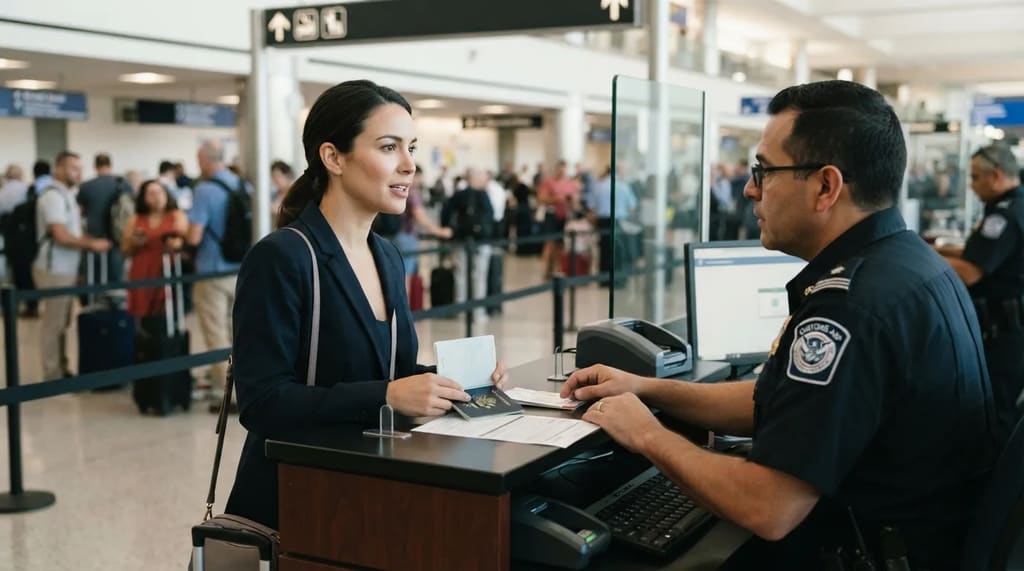
Officers ask short questions, and the best answers are just as short. Know why you traveled, how long you were away and where you’re headed next, whether that’s home or a hotel.
If you’re carrying food or gifts, know what they are so you can declare them without a pause. A pause invites a follow-up.
Answer the question asked in one sentence, then stop. Volunteering extra detail doesn’t make you look more honest, it makes the stop longer.
The same questions show up in Mobile Passport Control, where you answer CBP inspection questions electronically in the app. And with the right setup, you don’t have to face them one traveler at a time.
#15 – Walking Up Together, Not One by One
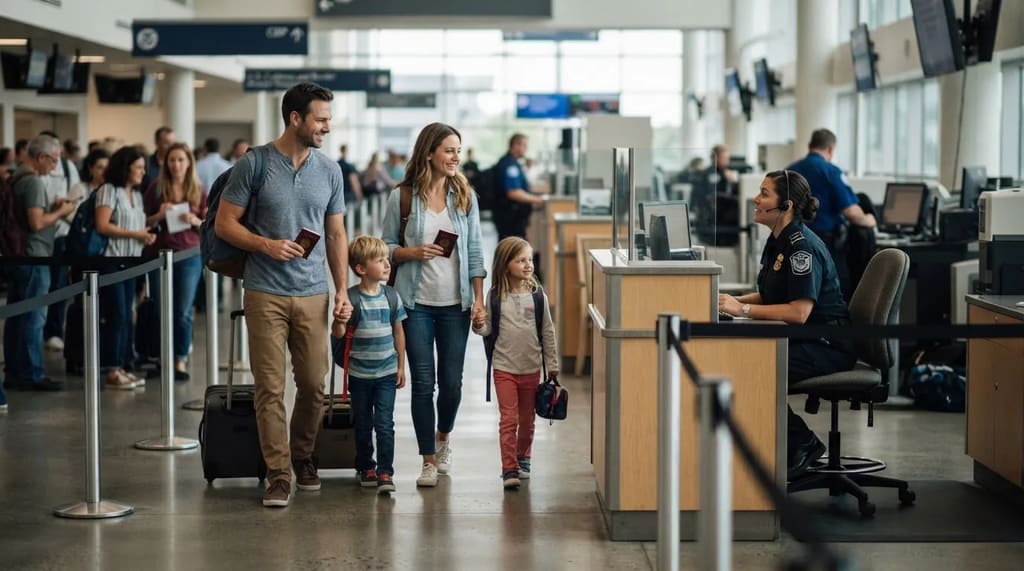
CBP says Mobile Passport Control lets travelers stay together when they speak to the officer, instead of going up to the booth one at a time. Travel details are submitted through the app ahead of time, which speeds up the interaction.
With MPC, your group speaks to the officer together. After a long flight with a spouse or grandchildren in tow, that matters more than it sounds.
Global Entry works differently. Each person submits and pays for an individual application, though minors are free with a parent already in or applying.
Quick Compare
- Mobile Passport Control: free app, and your group talks to the officer together.
- Global Entry: $120 per adult for five years, with an individual application for each traveler.
- Kids: minors are free with a parent who is already a member or applying.
For a family that isn’t ready to enroll, the free app is the simpler route. CBP itself calls it a great alternative if you don’t qualify for a Trusted Traveler Program or are waiting on approval.
#14 – Setting Up the App at Home

Mobile Passport Control costs nothing, so it’s the first item on this list worth doing today. You download the app for Apple or Android and scan your passport, and your passport information is saved for future use.1
MPC has no fee, no enrollment interview and no background check. That separates it from Global Entry, which asks for all three.
For anyone who crosses the border once or twice a year, this should come before Global Entry. CBP’s own Global Entry page points travelers with fewer international flights to TSA PreCheck and the free MPC app.
Setup is half the job. The timing of the submit button matters, and the wrong moment can leave you in the standard line.
#13 – Press Submit After You Land
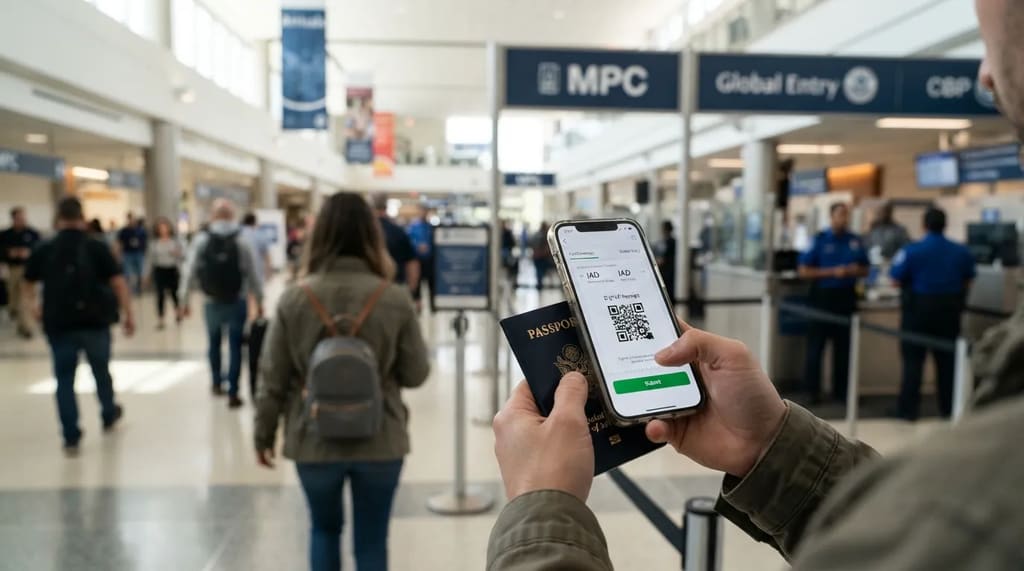
The submit button belongs to the moment you arrive, not the day before. You choose how you’re arriving and your airport, answer CBP’s questions, and CBP sends back a receipt with a QR code.
Then you take out your passport and enter the designated MPC line, marked with signage, to finish your inspection with an officer.
Submit after you land, and only at an airport that offers MPC. If your flight is diverted to an airport that doesn’t use MPC, you can’t use it as planned.
If you also hold Global Entry, submitting after landing lets you look at both lines before you commit to one.
Global Entry members have their own surprise waiting at the kiosk, a screen that tells them to go find an officer.
#12 – When the Kiosk Says “See Officer”
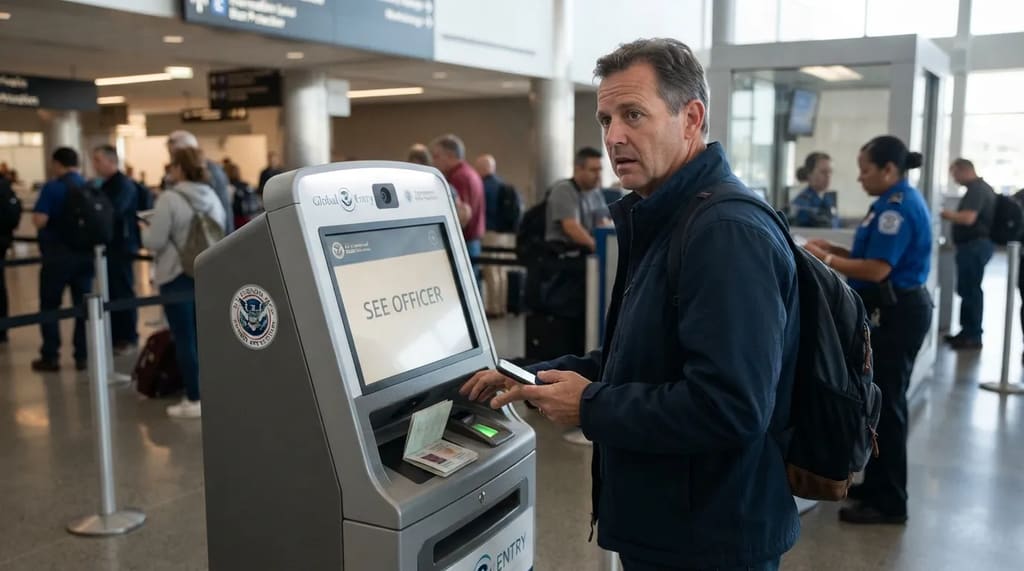
That message isn’t a denial. CBP’s instruction is that you must report to a CBP officer at the nearest staffed passport control booth.
At the booth, the officer either releases you or sends you to secondary. The officer reviews your documents, determines the reason for the referral, and decides which.
So Global Entry speeds up a clean arrival without guaranteeing one. It’s also optional, since members can choose not to use the kiosk and be processed by a CBP officer.
If you do use the kiosk, don’t reach for the card in your wallet. It isn’t what the machine reads.
#11 – At the Kiosk, Scan the Passport
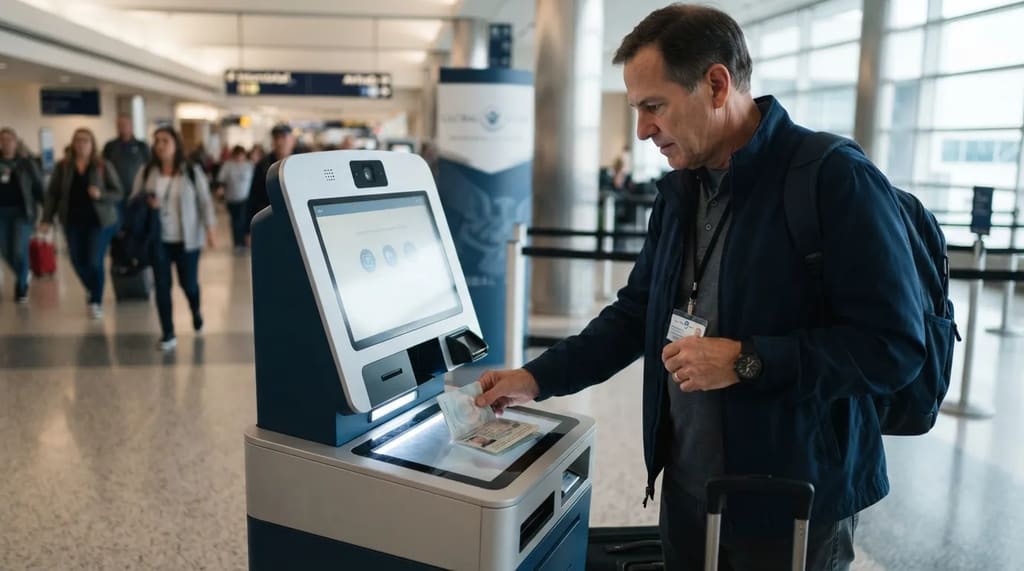
CBP’s FAQ is direct about this: when you use the Global Entry processing technology, you need your passport rather than your Global Entry card. Permanent residents are the exception, because lawful permanent residents must use their I-551 permanent resident card at the kiosk.2
At the kiosk, scan your passport, not your Global Entry card.
That doesn’t make the card useless. CBP advises Trusted Travelers to carry the card in case an officer asks for it.
CBP also rolled out touchless portals, which cut physical touchpoints and eliminate paper receipts.
Whether the whole program is worth it comes down to a $120 question. The answer depends on how often you fly abroad.
#10 – The $120 Global Entry Math
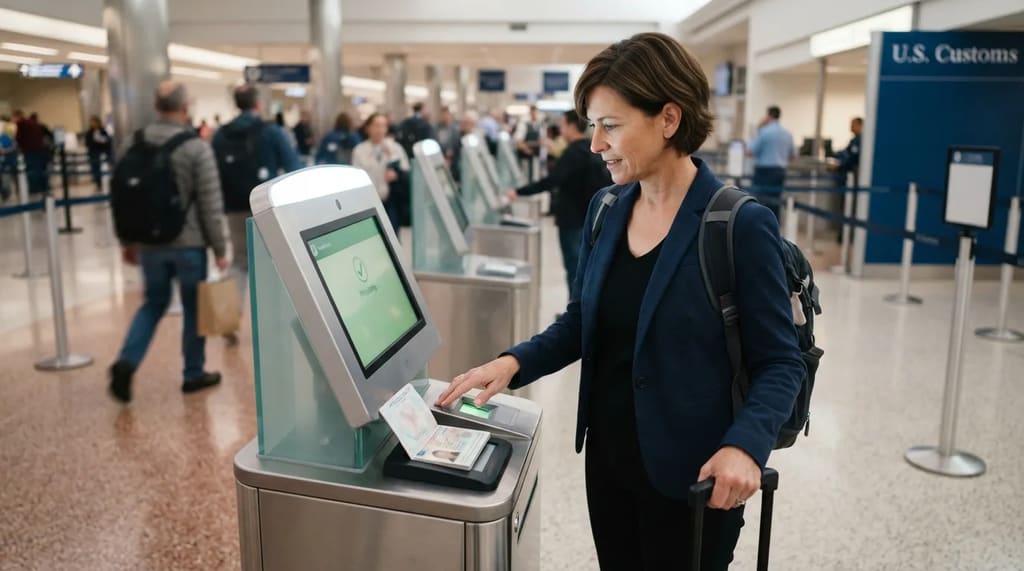
The application fee is $120, and membership lasts five years. That works out to $24 a year, or about $12 a trip if you fly abroad twice a year.
$120 covers five years, so it pays off only if you fly abroad often. For one overseas trip a year, skip it.
CBP agrees with the logic, calling Global Entry the program for frequent international or business travelers. Membership does include TSA PreCheck, which shifts the math if you fly domestically a lot too.
Even once you’ve decided to apply, the approval clock matters. It can run longer than you’d guess.
#9 – Applying Before the Trip, Not During
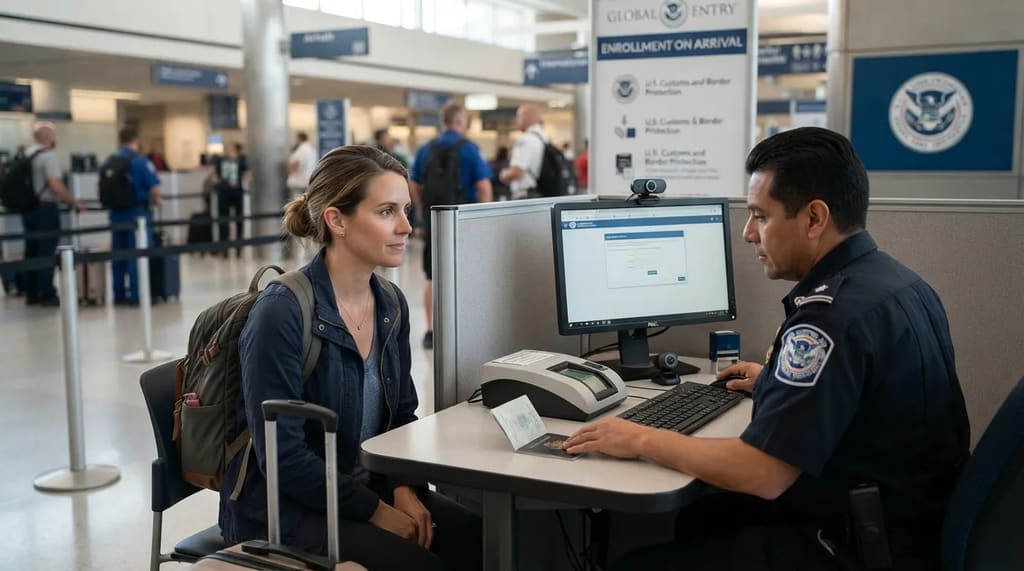
Applying a week before a flight is a gamble. CBP says most applications are reviewed within two weeks, but some take up to 12 months or longer depending on criminal history.
Most Global Entry applications clear in two weeks, but some take a year or more. You can’t tell in advance which group you’ll land in.2
CBP does offer a shortcut. Applicants who haven’t had an interview before an international trip may use Enrollment on Arrival for faster processing at select airports.
Fast Facts
- Typical wait: most applications are reviewed within two weeks.
- Longest wait: up to 12 months or longer, depending on criminal history.
- Last-minute option: Enrollment on Arrival, at select airports only.
- Stopgap: the free MPC app while you wait.
Until approval arrives, MPC fills the gap. CBP’s own Global Entry page also says the enrollment interview can be completed without scheduling an appointment at an enrollment center.
Now for the change that quietly empties passport pages across Europe.
#8 – The Missing Stamp in Europe
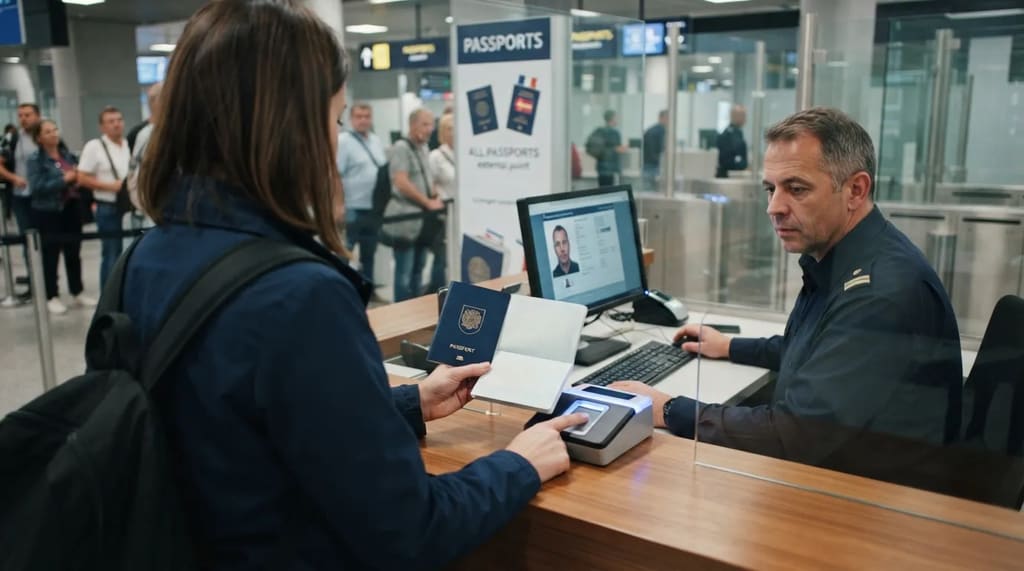
As of April 10, 2026, the EU’s Entry/Exit System is fully operational at all external border crossing points for eligible third-country nationals with biometric passports. Manual passport stamping has ended, so your pages now stay clean on Schengen entry.
Since April 10, 2026, Schengen entry is logged digitally, not stamped. The checks include biometric registration, such as a facial image and fingerprints, plus questions about your stay.
Without a stamp, keep your own record of the dates you entered and left. Boarding passes and booking confirmations do the job.
The first time through the new system costs something a stamp never did. That’s extra minutes in front of a camera and a scanner.
#7 – Extra Minutes on Your First Entry
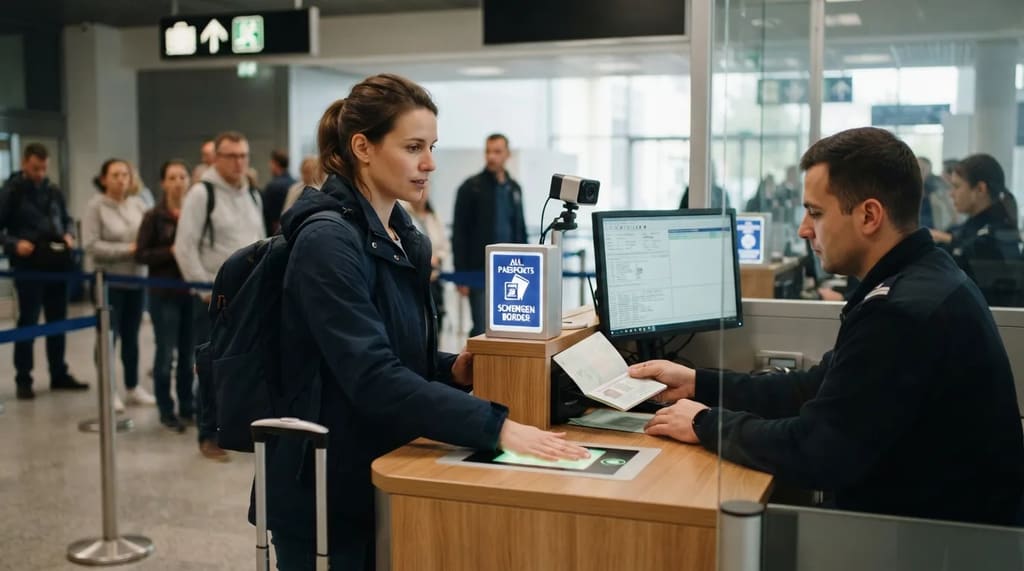
The risk here is a tight connection. ABTA warns that it will take longer to go through passport control, so travelers should allow extra time at the border.
Allow extra time at your first Schengen entry, because registration happens there. People of all ages go through the checks.
Skip the tight connection through a first-time Schengen entry. A missed onward flight costs far more than the buffer would have.
You can’t get ahead of it from home either, since the app that lets you provide some EES details in advance isn’t in operation for most countries.
Border registration isn’t the only change in Europe. A separate online permission is on the way, with a price tag of its own.
#6 – The EU Permission Not Yet Open
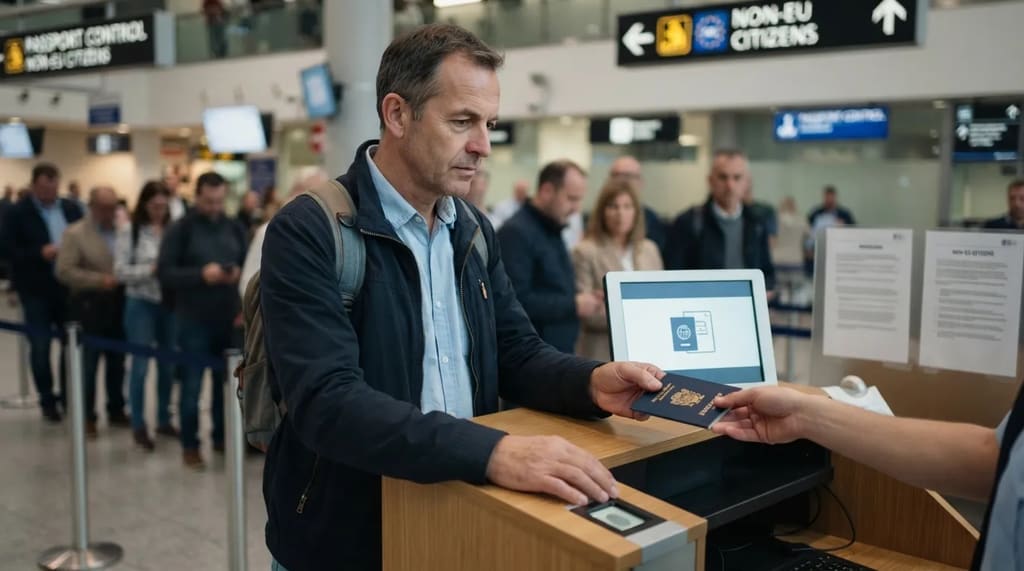
ETIAS is a pre-travel authorization, and it isn’t the same thing as the border registration. In its August 2026 update, ABTA said the EU had not confirmed a date, and travelers could not yet apply.3
ETIAS is a separate online permission, reported at €20, and it isn’t EES. Once it’s live, it’s reported to stay valid for three years or until the passport expires.
Before booking a European trip, check the EU’s official site for whether it’s open. Don’t pay anyone ahead of time.
One European country already enforces its own permission. It carries a £20 fee, and airlines won’t board you without it.
#5 – Britain’s £20 Permission Is Already Enforced
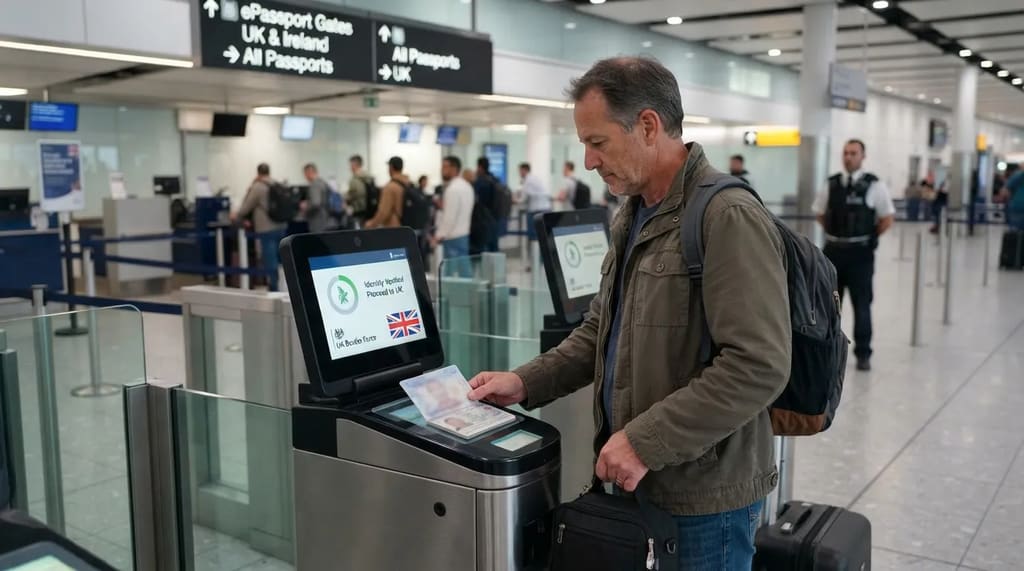
US citizens have needed a UK Electronic Travel Authorisation since January 8, 2025, and since February 25, 2026 airlines refuse boarding without one. That makes this the first check that can end your trip at the departure gate.
No approved ETA means no boarding, so apply a few days ahead. GOV.UK says a decision usually comes within a day and can take up to three working days.
The ETA costs £20, lasts two years or until the passport expires, and allows multiple visits of up to six months. Every traveler needs one, including babies and children.
The £20 is the official price. Plenty of other websites would like to charge you more for the same form.
#4 – The Lookalike Site That Charges More
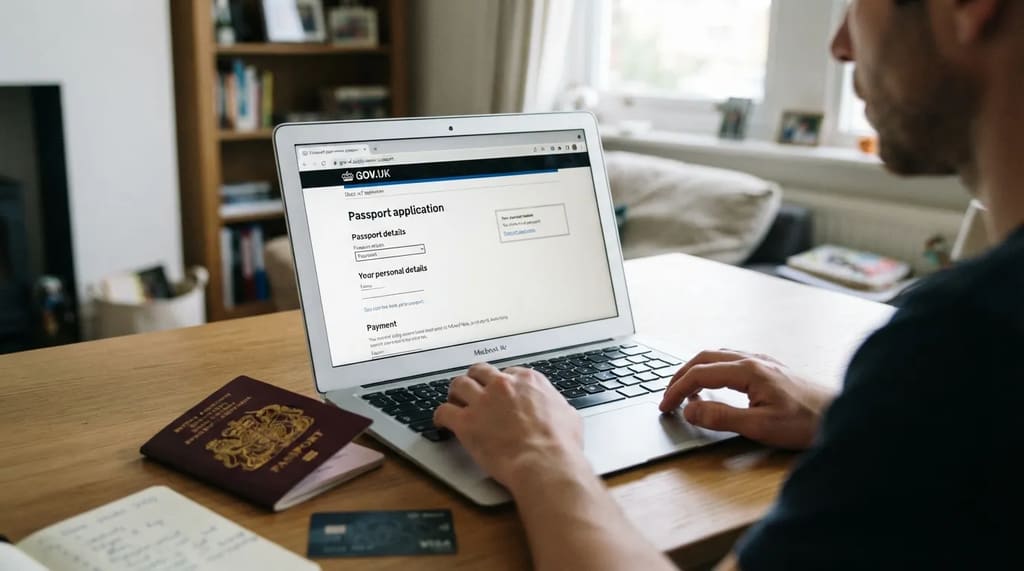
The government fee is the same whether you apply in the app or online. GOV.UK warns that other websites may charge more and tells travelers to avoid sites imitating government services.
Private application services add a service fee on top of the £20. Don’t pay for one, because no other website or app can give you a faster decision.
There’s no refund after you apply, so check your name and passport number first. A typo costs you the fee and the time to reapply, which is exactly when a departure date starts to feel close.
Worth Knowing
- Official fee: £20, in the app or online.
- What you need: your passport, an email address and a face photo.
- How you pay: a card or mobile payment.
- Red flag: any site adding a service fee or promising a faster decision.
Next, a rule that has nothing to do with forms, and everything to do with the empty paper inside your passport.
Related Stories From Travelbinger
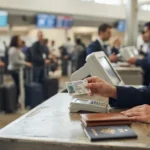
#3 – Blank Pages Some Countries Count
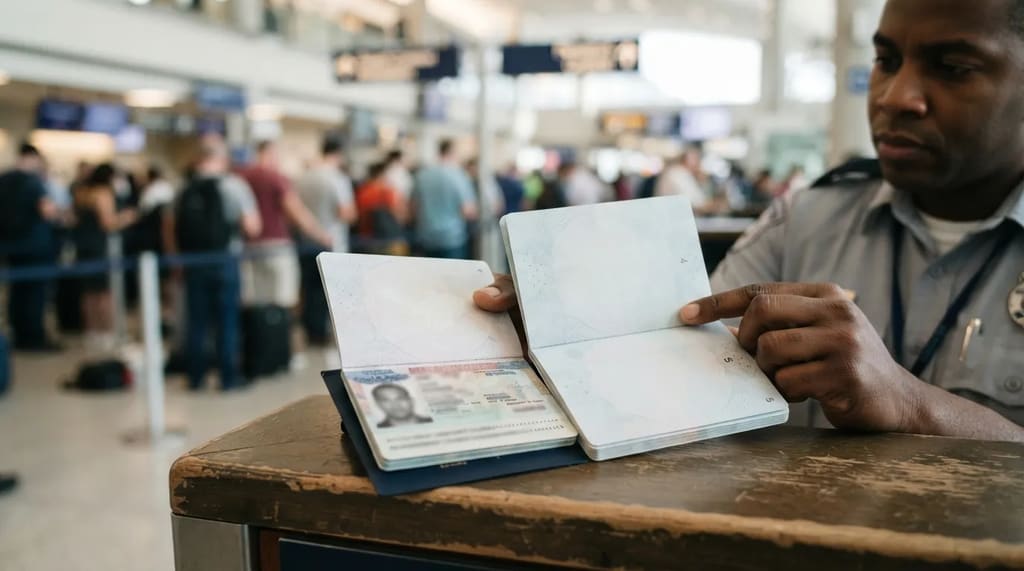
Some countries count the empty pages in your passport, and they count them at the border. For South Africa, the State Department tells U.S. travelers that a passport needs two consecutive completely blank visa pages, and travelers can be denied entry if they ignore the rule.
It isn’t one country’s quirk. Some destinations require between two and four blank visa or stamp pages.
You can’t add pages to a U.S. passport book, so count them before booking. The State Department ended that service in 2016, which means a low page count can only be fixed by renewing.4
A passport with plenty of pages can still be turned away if the paper itself has been damaged.
#2 – A Passport Damaged Without You Noticing
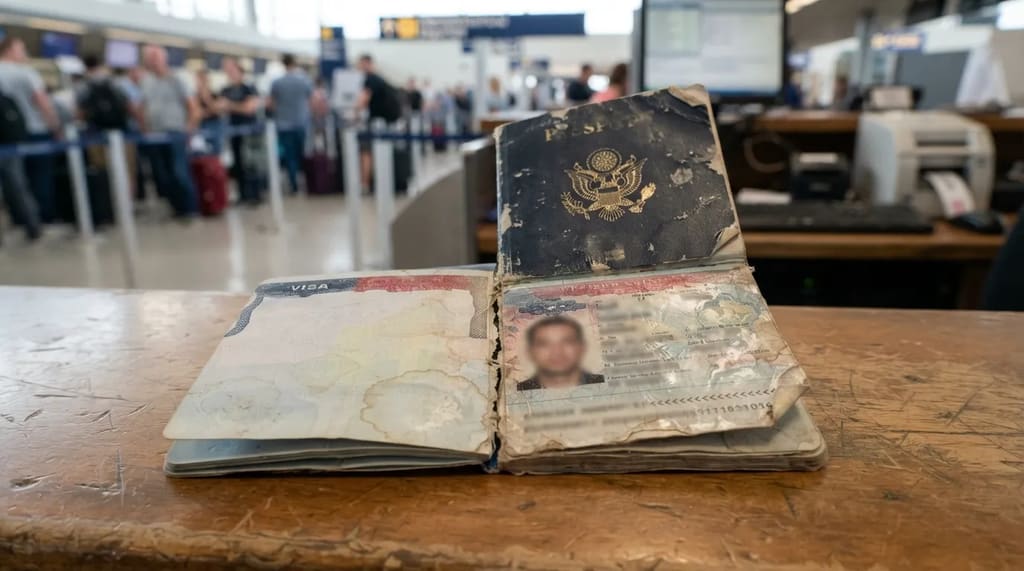
Wear doesn’t always look like damage until someone examines the book. Water exposure or a torn page can lead airlines or border officers to refuse a passport.
Water damage or a torn page can get a passport refused. The refusal can come at the check-in desk, long before the booth.
The fix is a renewal. The State Department runs an online renewal system for eligible adults, but first-time applicants, children and anyone needing urgent service must apply another way.4
The biggest cost on this list sits on the photo page, in a date that looks like a green light.
#1 – The Expiry Date That Isn’t Your Deadline
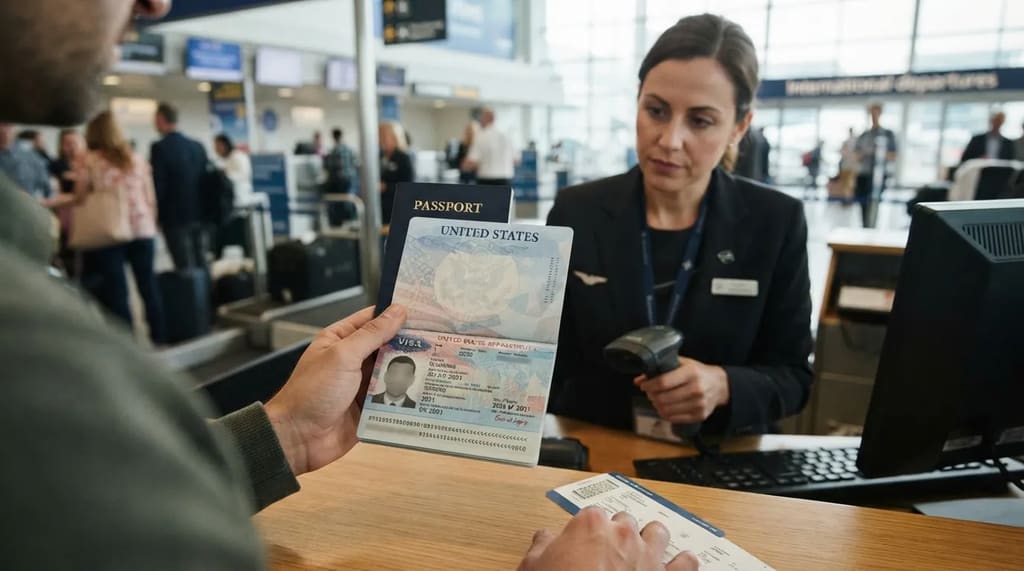
A passport that’s valid for four more months can still fail at the airline desk. The State Department says certain destinations require at least six months of validity beyond the dates of your trip, and airlines may refuse boarding when that isn’t met.5
The rule varies by destination.
At a Glance
- Some destinations: at least six months of validity beyond your trip dates.
- Schengen area: generally at least three months after your planned departure.4
- Mexico: valid at the time of entry, per the State Department.
- Airlines: may refuse boarding if the rule isn’t met.
Check each destination’s validity rule on travel.state.gov before you book.
The cost lands before any officer sees you, so the booth you’ve been preparing for never comes into it. Your trip money is spent, and renewing now has to happen on the State Department’s schedule, not yours.
Don’t squeeze the last months out of a passport. Renewing early removes the risk from the six-month rule.
Every habit above assumes you reach the booth. The passport and the permissions decide whether you do, and they’re the one part of the trip you can settle weeks ahead without standing in a line.
The app, the kiosk and the rehearsed answers shave minutes. A date, a page count or an approval email can end the trip.
So give the paperwork a calendar slot of its own, well before the packing. When you last booked an international trip, how many months did your passport have left?
Bonus: The Check to Run Before You Click “Buy”
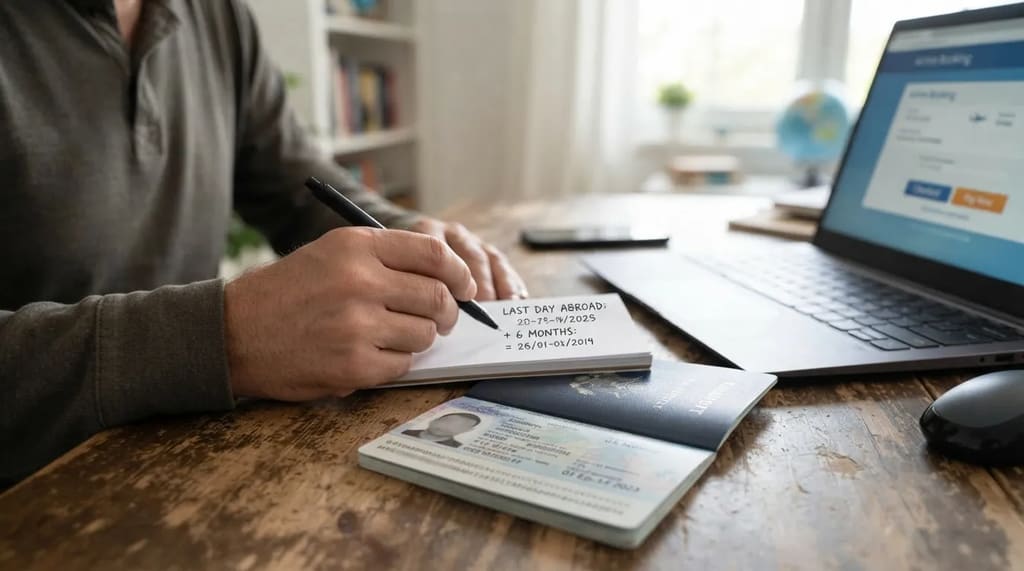
Most people check their passport after they book. Experienced flyers do it first, using the same sources the airline relies on.
- Do the date math on paper. Take your last day abroad, not your departure day, and add six months. If your expiration date falls before that, treat the trip as a risk until you’ve confirmed the destination’s actual rule.
- Read the official country page. On travel.state.gov, open your destination’s page and find the entry, exit and visa requirements section. It lists the validity rule and any blank-page requirement.
- Cross-check with the airline’s source. Airlines use the IATA Travel Centre database (Timatic) to decide who boards, and IATA offers a public lookup at iatatravelcentre.com. Enter your passport country, destination and any connections.
- Screenshot the results. Save the page with the date visible. If the gate agent disagrees, you have something concrete to show.
Run it for every stop, including layovers where you leave the airport. The strictest rule on your route is the one that counts.
- CBP MPC App Changes: https://www.cbp.gov/newsroom/national-media-release/cbp-announces-mobile-passport-control-changes
- CBP Trusted Traveler FAQ: https://www.cbp.gov/travel/trusted-traveler-programs/global-entry/frequently-asked-questions
- ABTA Upcoming Europe Changes: https://www.abta.com/tips-and-advice/planning-and-booking-a-holiday/upcoming-changes-travel-europe
- Passport Page and Validity Rules: https://www.thetravel.com/new-rules-for-us-passports-every-traveler-should-know/
- State Department Passport Validity: https://travel.state.gov/en/passports/after-you-apply/after-getting-passport.html