


Most of what travelers over 60 pass around as checkpoint insider knowledge is already printed on TSA’s own pages. The catch is that several of those rules are not what people assume.
Start with the age line. TSA’s screening page for older passengers sets it at 75, and nothing on it starts a special lane at 60 or 65.
The items below run from small misunderstandings up to the one that can stop you at the checkpoint altogether. The cheapest fix in the list is tied to that last problem, and you can settle it before you leave home.
The age line comes first.
#17 – The Age Line Is 75, Not 60 or 65
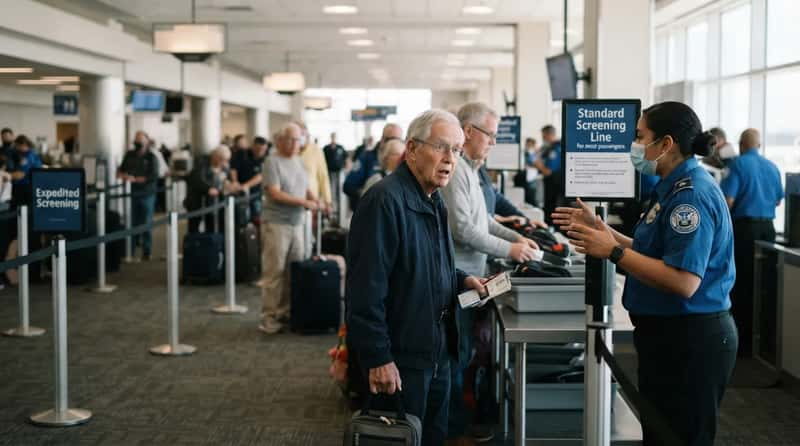
Passengers 75 and older can receive some form of expedited screening, which TSA ties to risk-based security.1 It is not a lane you walk into on your own.
Travelers between 60 and 74 go through standard screening unless they hold PreCheck, covered further down.
Many older travelers assume the benefit begins at 65, then get surprised when an officer sends them to the regular line. If you are helping a parent who is 78, stating the age at the start of the line costs nothing.
The shoe rule older travelers remember best has since changed for everyone, which leaves the 75 line with less to offer than it once did.
#16 – The Shoe Rule That Changed for Everybody
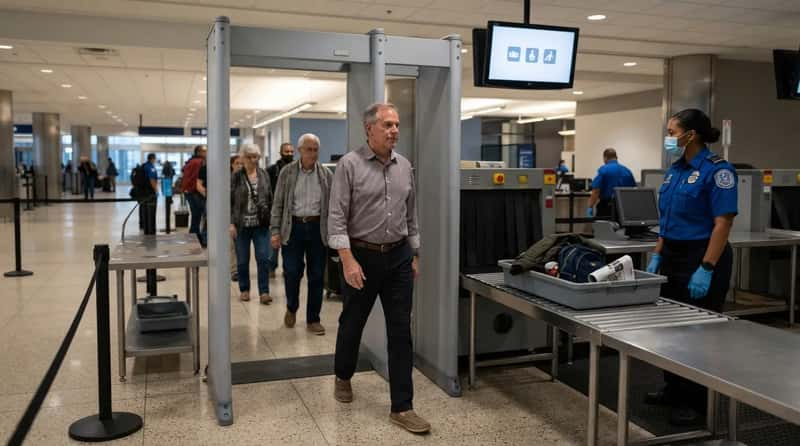
TSA ended its shoe-removal requirement nationwide on July 8, 2025. The old perk for travelers 75 and older now describes what every adult gets.
If an alarm goes off, you may still be required to remove your shoes for further screening or accept a pat-down.1
That makes shoes the least useful thing to memorize before a trip. Slip-ons are still easier if an officer does ask, but the shoe rule is no longer a reason to plan around your age or to buy anything.
Shoes were only one piece of the old routine, and the light jacket is where the 75-and-older rule still stops short.
#15 – Light Jackets Still Come Off in Standard Lanes
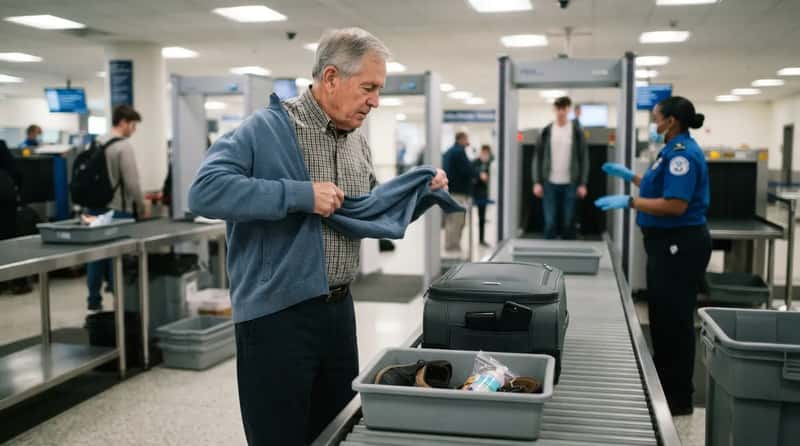
TSA’s page for older travelers says you may leave your shoes on, but removal of light jackets is required for Advanced Imaging Technology screening.1 Other advice sites tell older readers the jacket can stay on, but TSA’s own wording is the better guide.
PreCheck lanes work differently. TSA says you do not need to remove shoes, laptops, 3-1-1 liquids, light jackets or belts there.2
So the jacket is the one item that separates a 75-and-older traveler in a standard lane from a PreCheck member. A cardigan you can shrug off in one motion beats a zip-up with a dozen pockets.
Taking off a jacket assumes you can stand and raise your arms for the scanner, and some travelers cannot.
#14 – If You Cannot Stand, TSA Uses Another Method
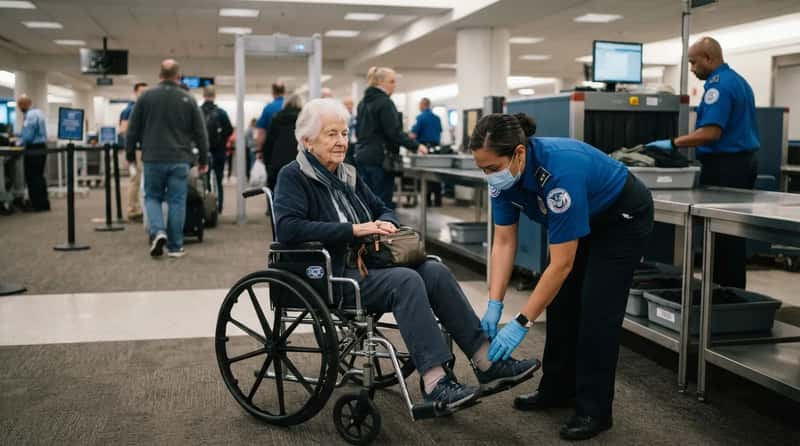
Passengers 75 and older who cannot stand for screening are screened through other security methods.1 In practice, a traveler who cannot stand is cleared by manual inspection.
The age line matters less for younger travelers with limited mobility, because TSA’s online assistance form is not limited by age. It lists difficulty standing, walking or lifting your arms among the circumstances it covers.
If standing is the problem, say so before you enter the scanner area. An officer who knows early can set up the alternative, while one who finds out mid-line has to stop everything.
Worth Knowing
- TSA’s online assistance form has no age minimum.
- It covers difficulty standing, walking or lifting your arms.
- Travelers 75 and older who cannot stand are screened by other methods.
- Speak up before you reach the scanner area, not after.
#13 – What an Alarm Sets in Motion
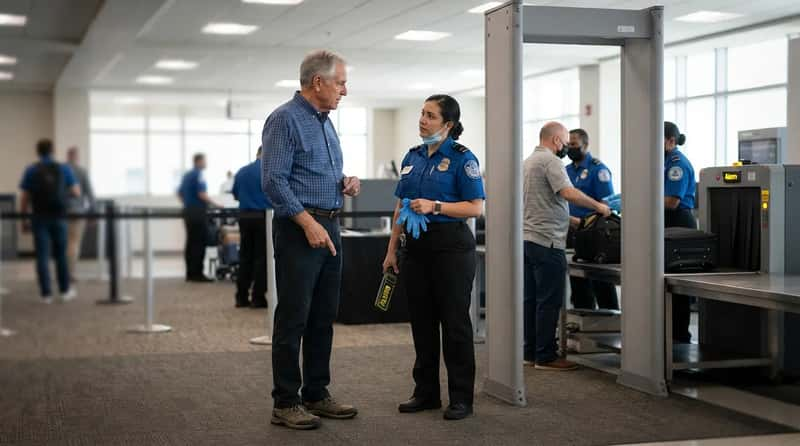
After an alarm, TSA says you may be asked to remove your shoes for more screening or to undergo a pat-down. An alarm is not an accusation.
Surgically implanted devices such as artificial joints and pacemakers may set off metal detectors.
If a pat-down is needed, ask the officer to describe what will happen before it starts. Knowing the steps keeps a stressful moment from feeling longer than it is.
The best way to shorten that pat-down is to say where the hardware is before the scan, and artificial joints are the usual case.
#12 – Artificial Knees and Hips Belong in Your First Sentence
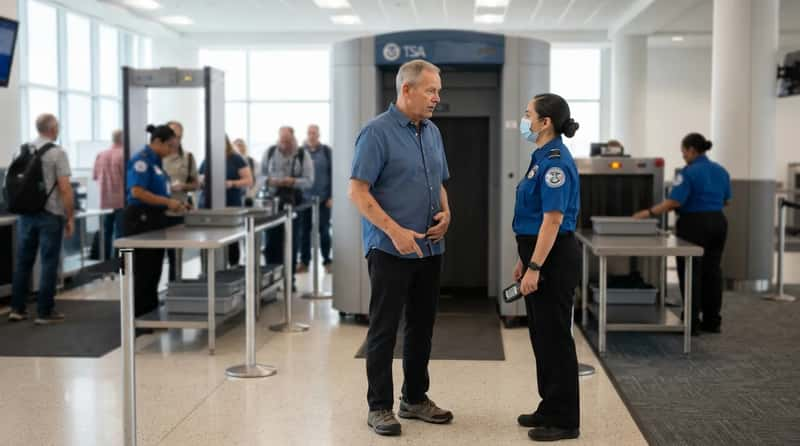
TSA tells you to inform the officer if you have an artificial knee, hip or other metal implant. Say it before you step into the machine.
Extra screening, such as a pat-down or a device inspection, may follow if the device alarms in the metal detector or imaging scanner.
Telling the officer first lets them choose the screening method, instead of reacting to an alarm. If you have had a joint replaced, that one sentence is the most useful thing you can say at the checkpoint.
A pacemaker or defibrillator changes the answer further, because it affects which machine you should walk through at all.
#11 – Pacemakers and Defibrillators Skip the Metal Detector
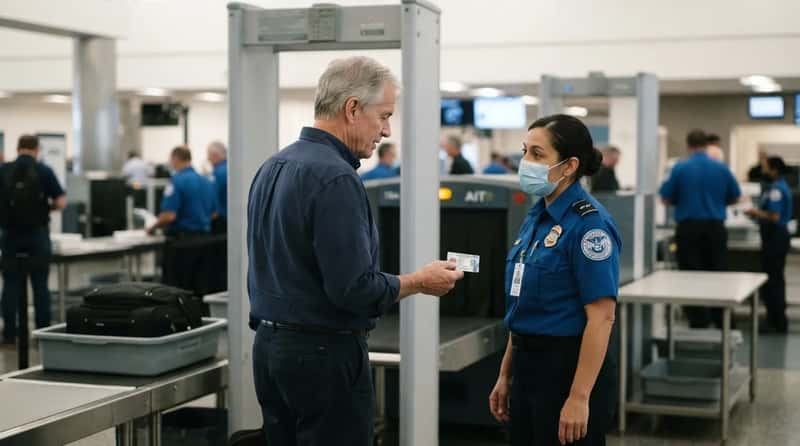
TSA says you should not be screened by the walk-through metal detector if you have an internal medical device such as a pacemaker.2 Tell the officer about any pacemaker, defibrillator, bone growth stimulator or other internal device.
Screening then uses advanced imaging technology or another alternative method. Keep your device identification card in your wallet or purse, since it gives the officer the details at a glance.
Disclosure is the only step that matters here. Do it at the front of the line, before you are asked to walk through anything.
Quick Compare
- Artificial knee or hip: may alarm the metal detector, so tell the officer first.
- Pacemaker or defibrillator: skip the walk-through metal detector and use imaging or another alternative.
- Either way: disclose before you walk through anything.
Pills that go with the device get screened too, under rules that have little to do with metal detectors.
#10 – Pills Get Screened, So Label Them Clearly
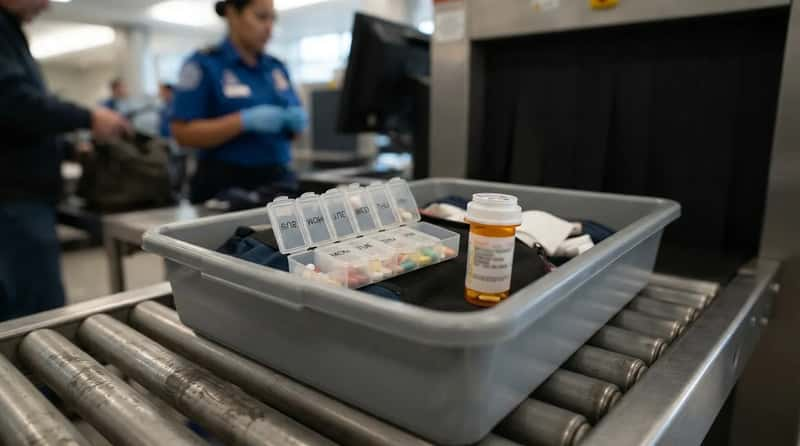
TSA says medications in pill or other solid form must go through security screening, and clear labeling makes that easier.2 Original bottles are not required, though TSA says they help.
The medication is screened however it is packed.
A labeled weekly organizer is fine for a short trip. For anything unusual or hard to explain, original bottles are the safer bet, because a pharmacy label ends the conversation quickly.
Liquid medicine follows a different rule from pills, because the usual carry-on liquid limit does not apply to it.
#9 – Medical Liquids Can Exceed the 3.4-Ounce Limit
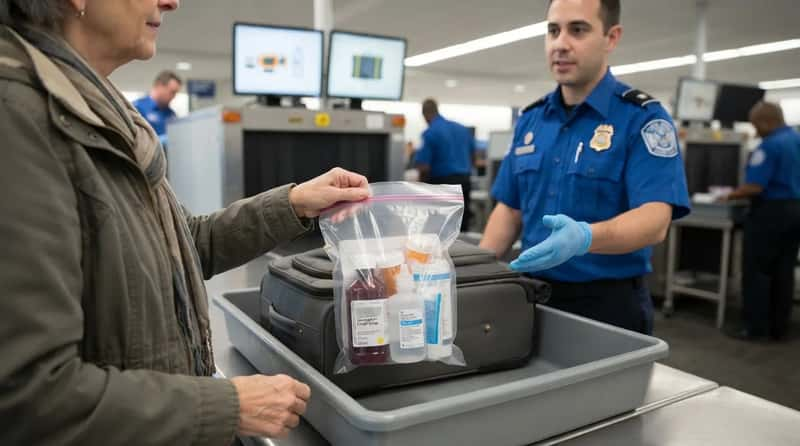
TSA allows larger amounts of medically necessary liquids, gels and aerosols in reasonable quantities for your flight, but you must declare them at the checkpoint. Officers may test them for explosives or concealed prohibited items.2
Tell the officer before screening begins. Keeping liquid medicine in its own bag, apart from your toiletries, makes the declaration quick and keeps the officer from sorting through your regular liquids.
Clearing the liquid can bring extra steps for you, which may include imaging screening, a pat-down and further screening of your carry-on. That is routine, so allow a few extra minutes.
Explaining all of this at the belt works, but TSA also offers a card that does the explaining for you.
#8 – A Free Notification Card Does the Talking
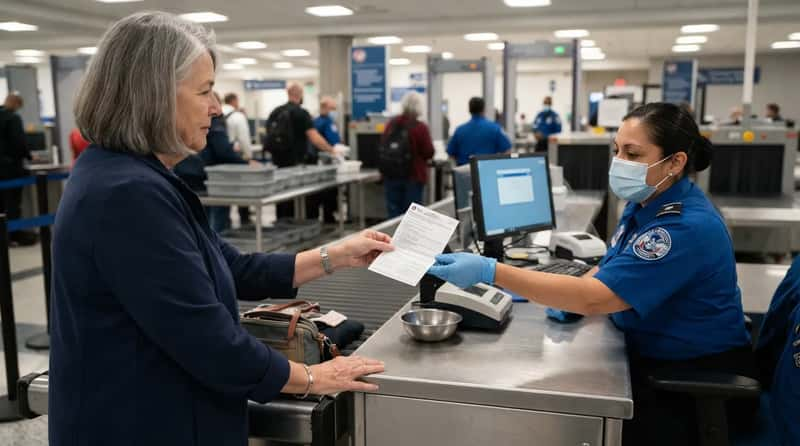
TSA’s Notification Card lists health conditions, disabilities or medical devices that may affect your screening. You hand it to the officer at the checkpoint so they can make special considerations.
It is free and can be downloaded from TSA.gov. If you have an implant, a pump or any condition you tire of explaining, print one, because a checkpoint is loud and a card does not get misheard.
#7 – PreCheck Lanes Skip the Jacket and Belt Routine
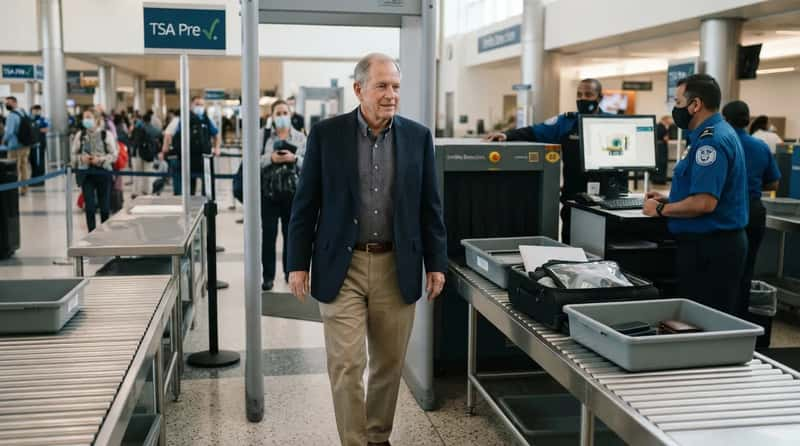
At PreCheck lanes, TSA says you do not need to remove shoes, laptops, 3-1-1 liquids, light jackets or belts. Since shoes now stay on for everyone, the savings are the jacket, belt, laptop and liquids bag.
PreCheck also gives you a dedicated, shorter lane.
If you are 75 or older and fly once a year, enrolling for the jacket alone is hard to justify. If you fly several times a year and carry a laptop and a liquids bag, the saved unpacking is where PreCheck earns its fee.
Check the current enrollment cost on TSA’s site before you decide.
At a Glance
- Keep on: shoes, light jacket and belt.
- Leave packed: laptop and 3-1-1 liquids bag.
- Bonus: a dedicated, shorter lane.
- Best fit: several trips a year with a laptop or liquids bag.
Even a PreCheck boarding pass does not guarantee a PreCheck lane, and the standard line has its own rule for that.
#6 – When the PreCheck Lane Is Closed
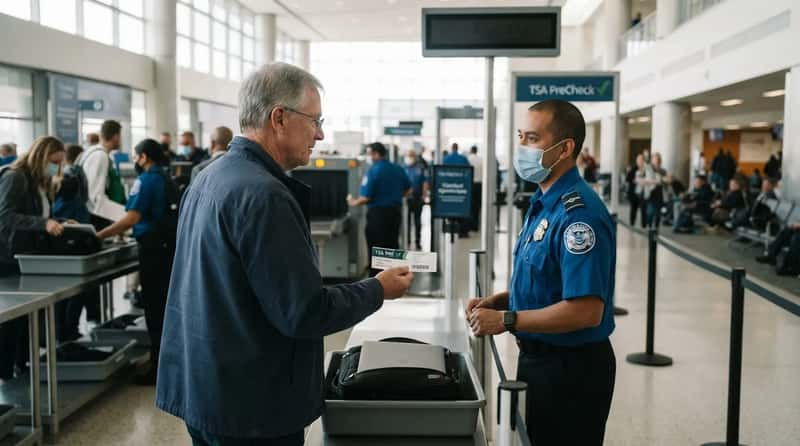
TSA says PreCheck screening may still be available through the standard lane when dedicated lanes are not. Show your PreCheck boarding pass, and you may be able to keep liquids, laptops, shoes and light jackets in place.
The wording is “may,” so ask politely instead of assuming. Officers at a crowded standard lane will not know your status until you show the pass.
PreCheck also ties back to the implant conversation. TSA says to tell the officer about a metal implant or medical device, and with the PreCheck indicator on your boarding pass you may request imaging screening if it is available.3
Questions about any of these rules do not have to wait for the airport, because TSA staffs a channel for them every day of the year.
#5 – AskTSA Answers Questions Every Day of the Year
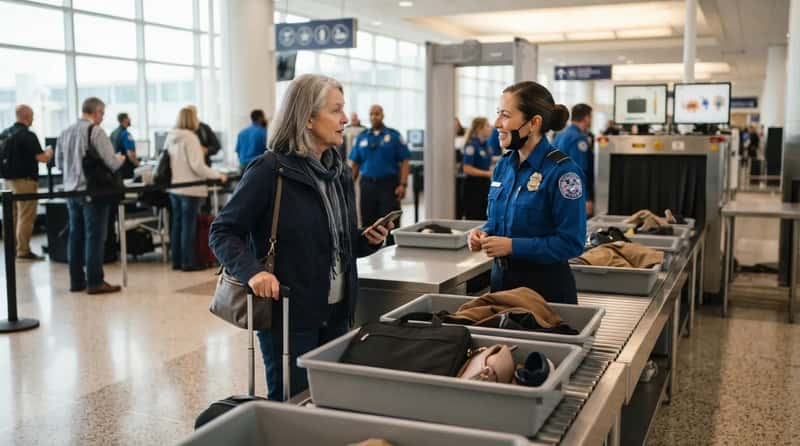
TSA says AskTSA answers questions on prohibited and permitted items, identification requirements and more, 365 days a year, before, during and after your travels. The TSA Contact Center answers questions about checkpoint and checked-bag screening.4
Use these for the odd item you are unsure about, such as a medical supply or a gift. A confirmed answer before packing beats a surprise at the belt.
These channels handle general questions. The TSA Cares helpline is built for travelers with a disability or medical condition.
#4 – The TSA Cares Helpline Wants 72 Hours

TSA asks travelers with a disability, medical condition or other specific circumstance to contact TSA Cares 72 hours before traveling.4 The helpline answers questions on screening policies, procedures and what to expect.
It is a free help line. The number is (855) 787-2227, open weekdays from 8 a.m. to 11 p.m. Eastern, and weekends and holidays from 9 a.m. to 8 p.m. Eastern.5
That 72-hour window lets TSA coordinate support with a customer service manager at your airport. If you use a walker, carry liquid medicine or have an implant, make the call once your flight is booked, and treat 72 hours as the latest point, not the target.
Calling gets you help through the checkpoint and nothing beyond it, where a separate set of arrangements begins.
#3 – TSA Cares Stops at the Checkpoint
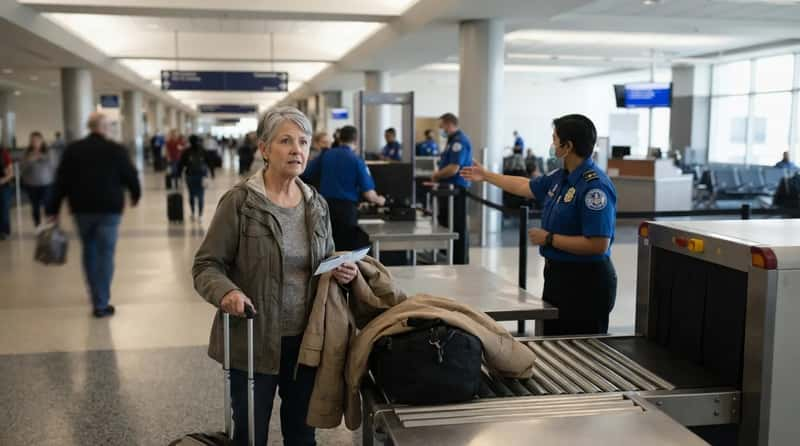
TSA says its assistance covers only the screening checkpoint. For in-flight help, or a wheelchair from the curb to the aircraft, you contact your airline.6
A trip therefore has two sets of arrangements, one with TSA and one with the airline. A traveler who makes only one call may be helped at security and then be on their own at the gate.
If your flight is within 72 hours, TSA asks you to call rather than use the online form. The form is only for flights leaving from a U.S. airport.
Fast Facts
- TSA covers: the screening checkpoint only.
- Your airline covers: in-flight help and a wheelchair from curb to aircraft.
- Flying within 72 hours: call TSA instead of using the form.
All of this assumes you reach the checkpoint at all, and that depends on the identification in your hand.
#2 – Several IDs Work Besides a REAL ID
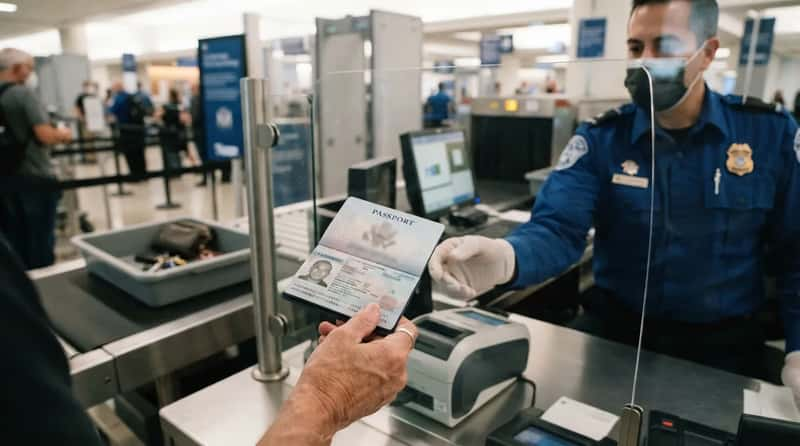
A REAL ID-compliant card has a star marking near the top. It is not the only document TSA accepts.
Accepted alternatives include a U.S. passport or passport card, DHS trusted traveler cards such as Global Entry, and a state-issued Enhanced Driver’s License.
If you already hold a passport for trips abroad, it settles the domestic question at no extra cost. A license without a star is the problem case, and TSA says to check with your state’s DMV if you are unsure.
A traveler holding none of these is offered a paid option at the checkpoint, and its terms matter more than its price.
#1 – The $45 ConfirmID Fee Guarantees Nothing
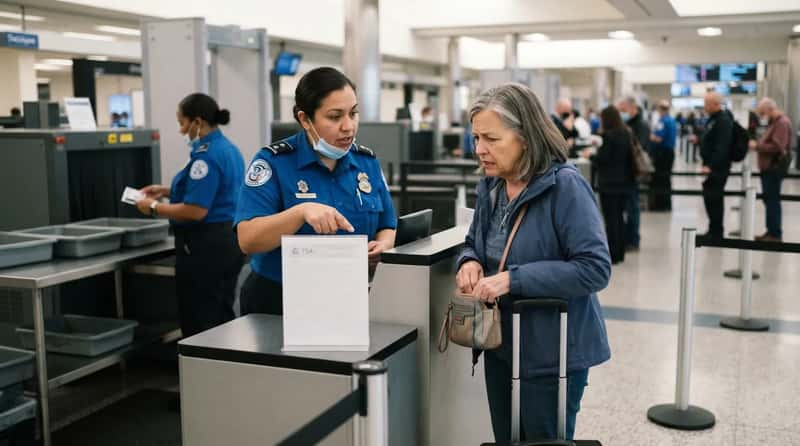
Since February 1, 2026, a traveler without an acceptable ID can pay $45 to use TSA ConfirmID, after which TSA attempts to verify identity. TSA says it cannot guarantee that the verification will succeed.
TSA says ConfirmID travelers face additional ID verification, extra screening and possible delays. Anyone who arrives without acceptable ID and has not paid ahead faces delays that may cost them the flight.
Each adult must complete the process separately, so a couple pays $90. The fee covers a 10-day travel period.7
The fix at home is a look at your license for the star and, if it is missing, an appointment with your state DMV. It costs far less than the $45 fee plus the risk at the airport, and it is the cheapest item in this list.
Almost every item above comes down to one move: telling the right person early. The officer at the belt has seconds, while you have days before the flight.
The helpline call, the notification card and the DMV appointment all cost less when done at your kitchen table than at the front of the line. Does the license in your wallet have the star, and if you weren’t sure, how did you find out?
Bonus: The Checkpoint Request Most Travelers Never Make
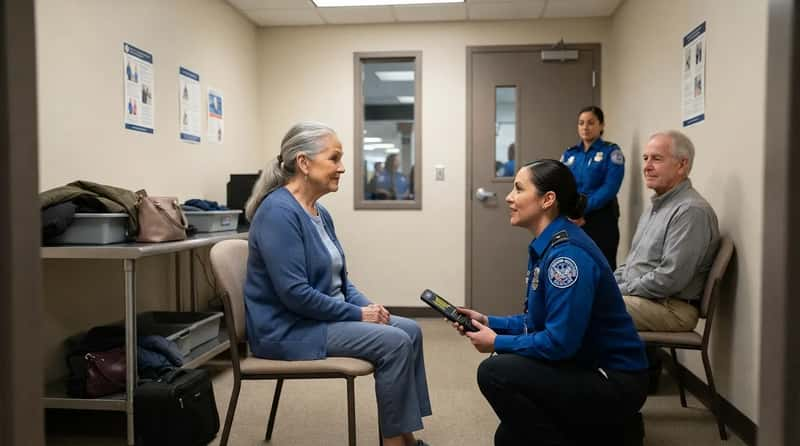
If a pat-down or extra screening is coming, you do not have to take it in the open lane while standing. TSA lets you ask for options, and most travelers never do.
- Ask for a Passenger Support Specialist. Say, “I have a medical condition and would like a Passenger Support Specialist.” These are officers with extra training in screening travelers with medical needs.
- Request a private screening. You can ask for a private room for a pat-down at any point, and you can ask to have a companion you choose in the room with you.
- Ask to sit. If standing is hard, ask to be screened seated rather than pushing through it.
- Ask early. Make the request when you first reach the officer, before the scanner or the alarm, not halfway through the process.
Pair this with your notification card and your TSA Cares call, and you walk up with a plan instead of hoping for the best.
- TSA Screening 75 and Older: https://www.tsa.gov/travel/tsa-cares/screening-passengers-75-and-older
- TSA Disabilities and Medical Conditions: https://www.tsa.gov/travel/tsa-cares/disabilities-and-medical-conditions
- TSA PreCheck Medical Device FAQ: https://www.tsa.gov/travel/frequently-asked-questions/i-am-tsa-precheck-passenger-and-i-have-metal-implant-or-medical
- TSA Customer Service: https://www.tsa.gov/news/press/factsheets/customer-service
- TSA Cares Helpline Hours: https://www.tsa.gov/videos/tsa-cares-traveling-medication-0
- Request TSA Cares Assistance: https://www.tsa.gov/contact-center/form/cares
- TSA ConfirmID Rollout: https://www.tsa.gov/news/press/releases/2026/02/05/tsa-successfully-rolls-out-tsa-confirmid-0
