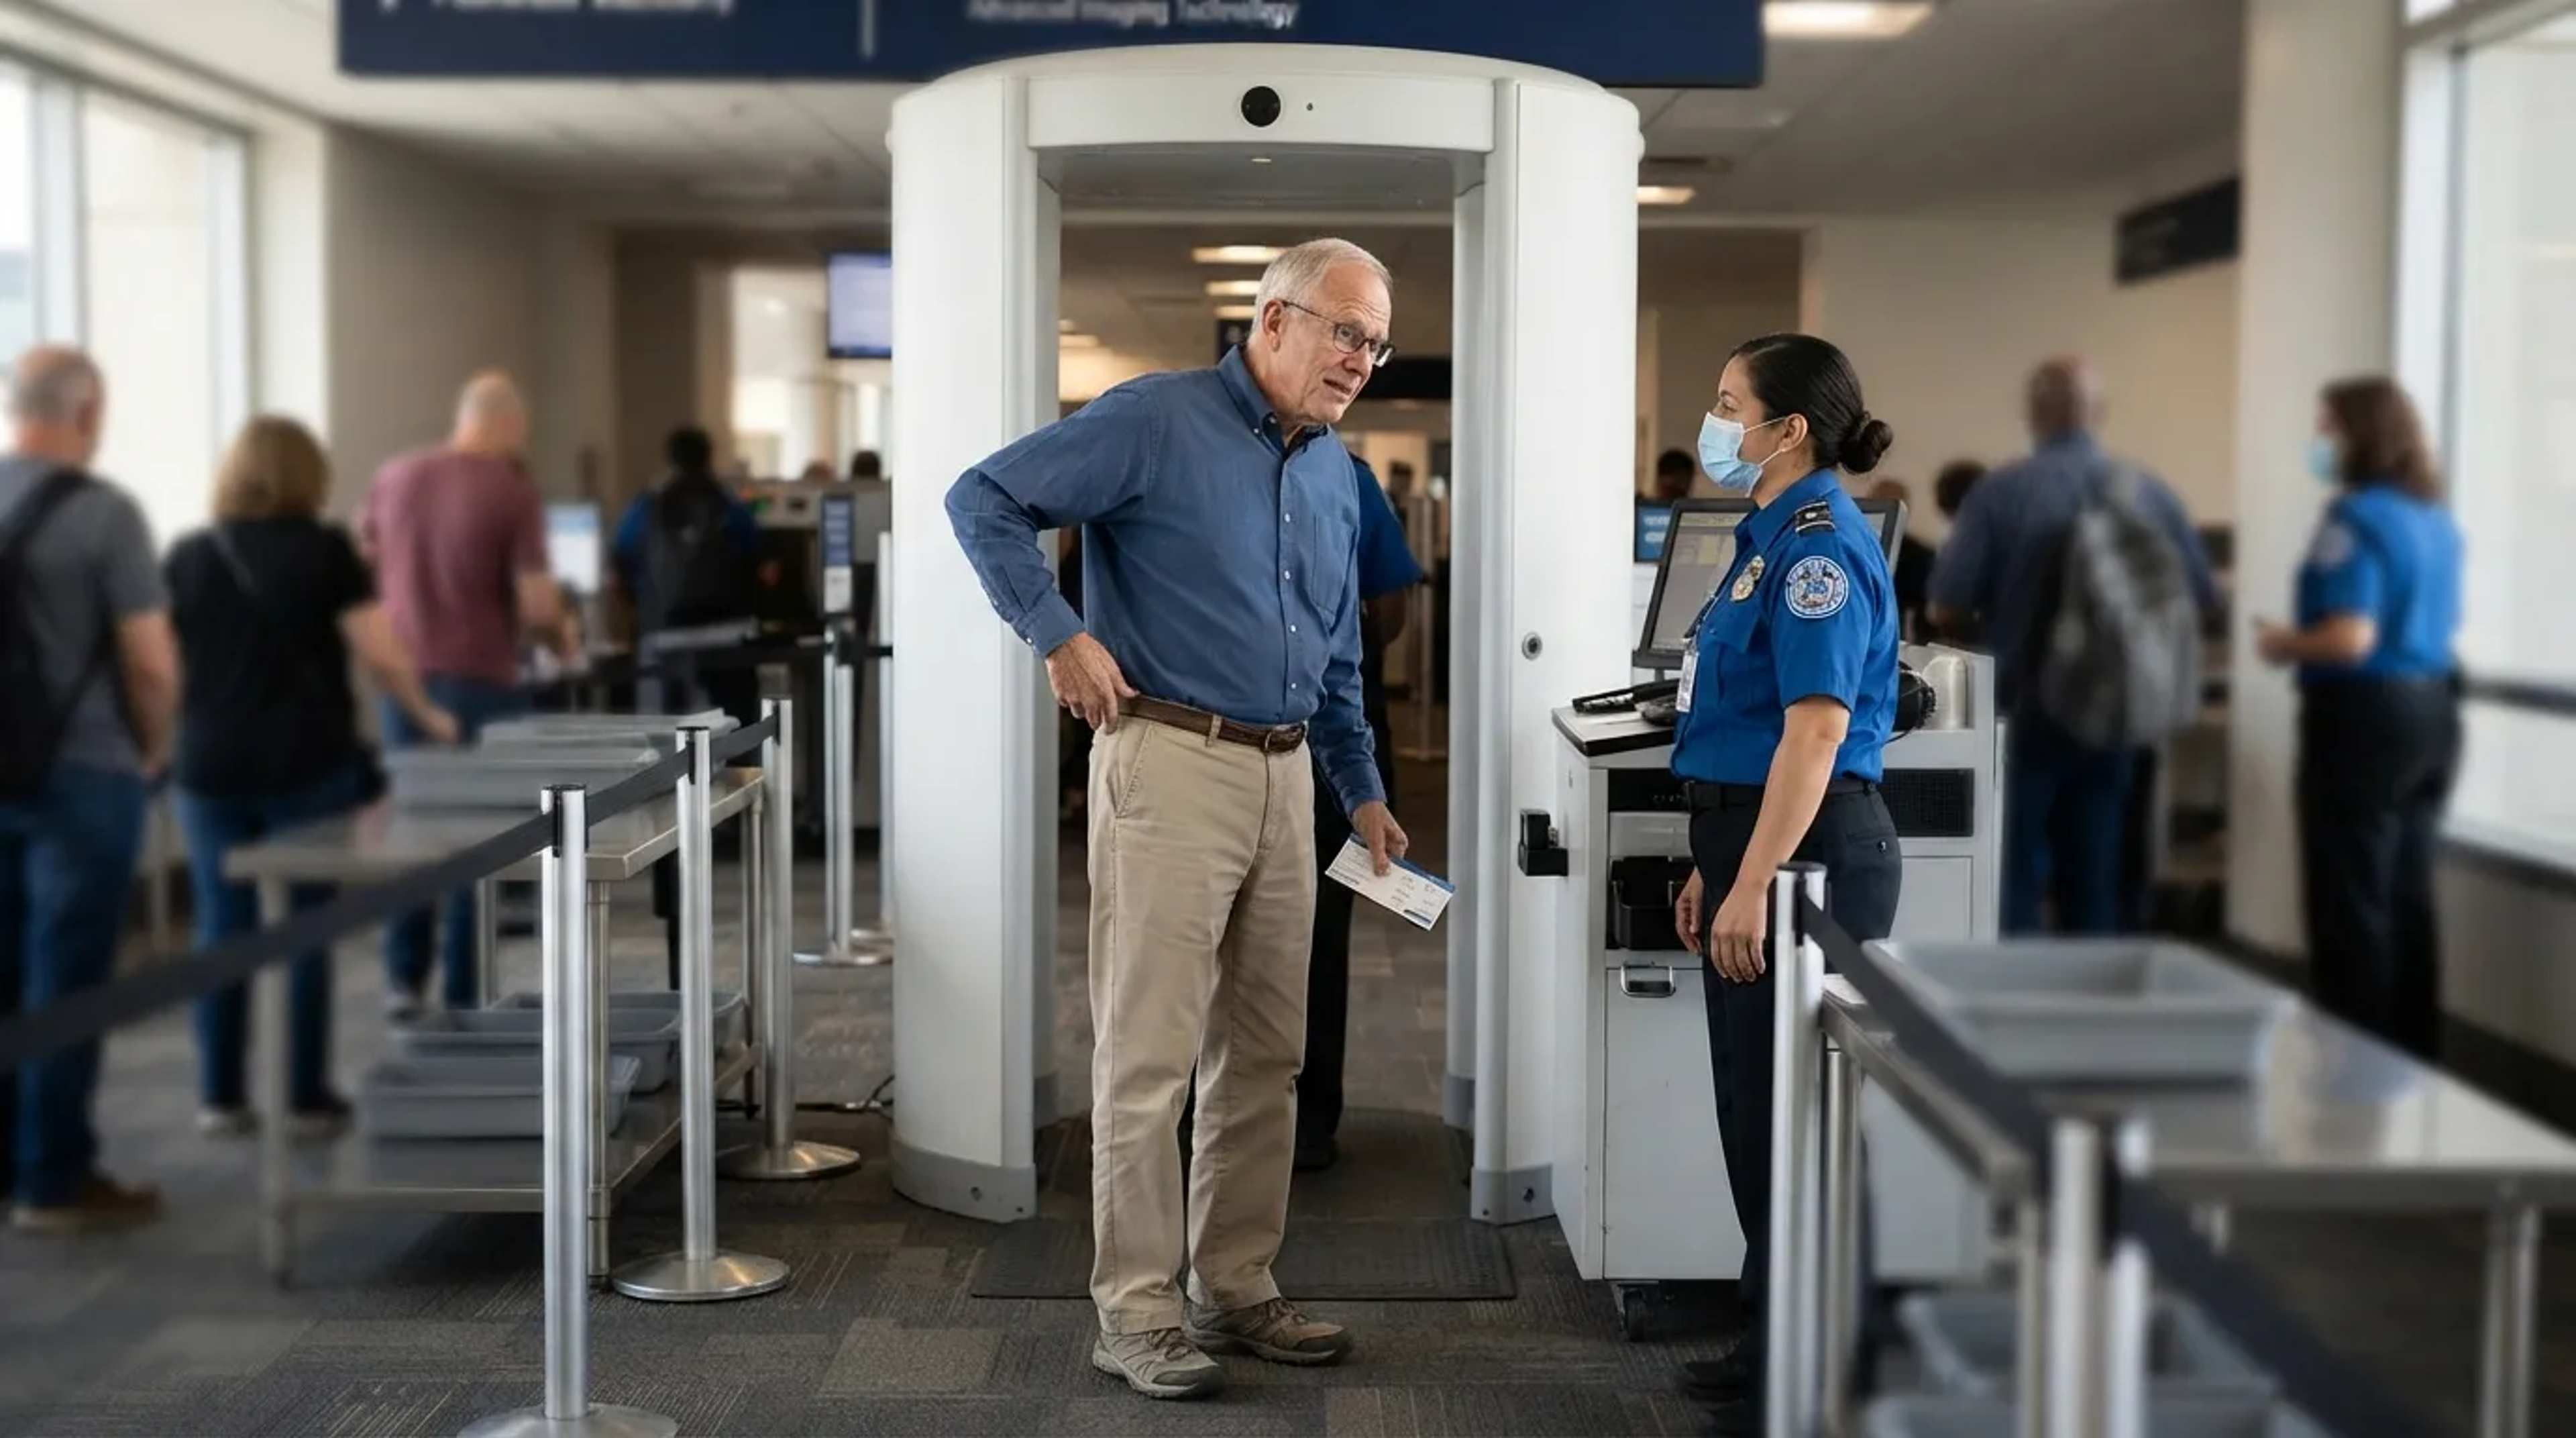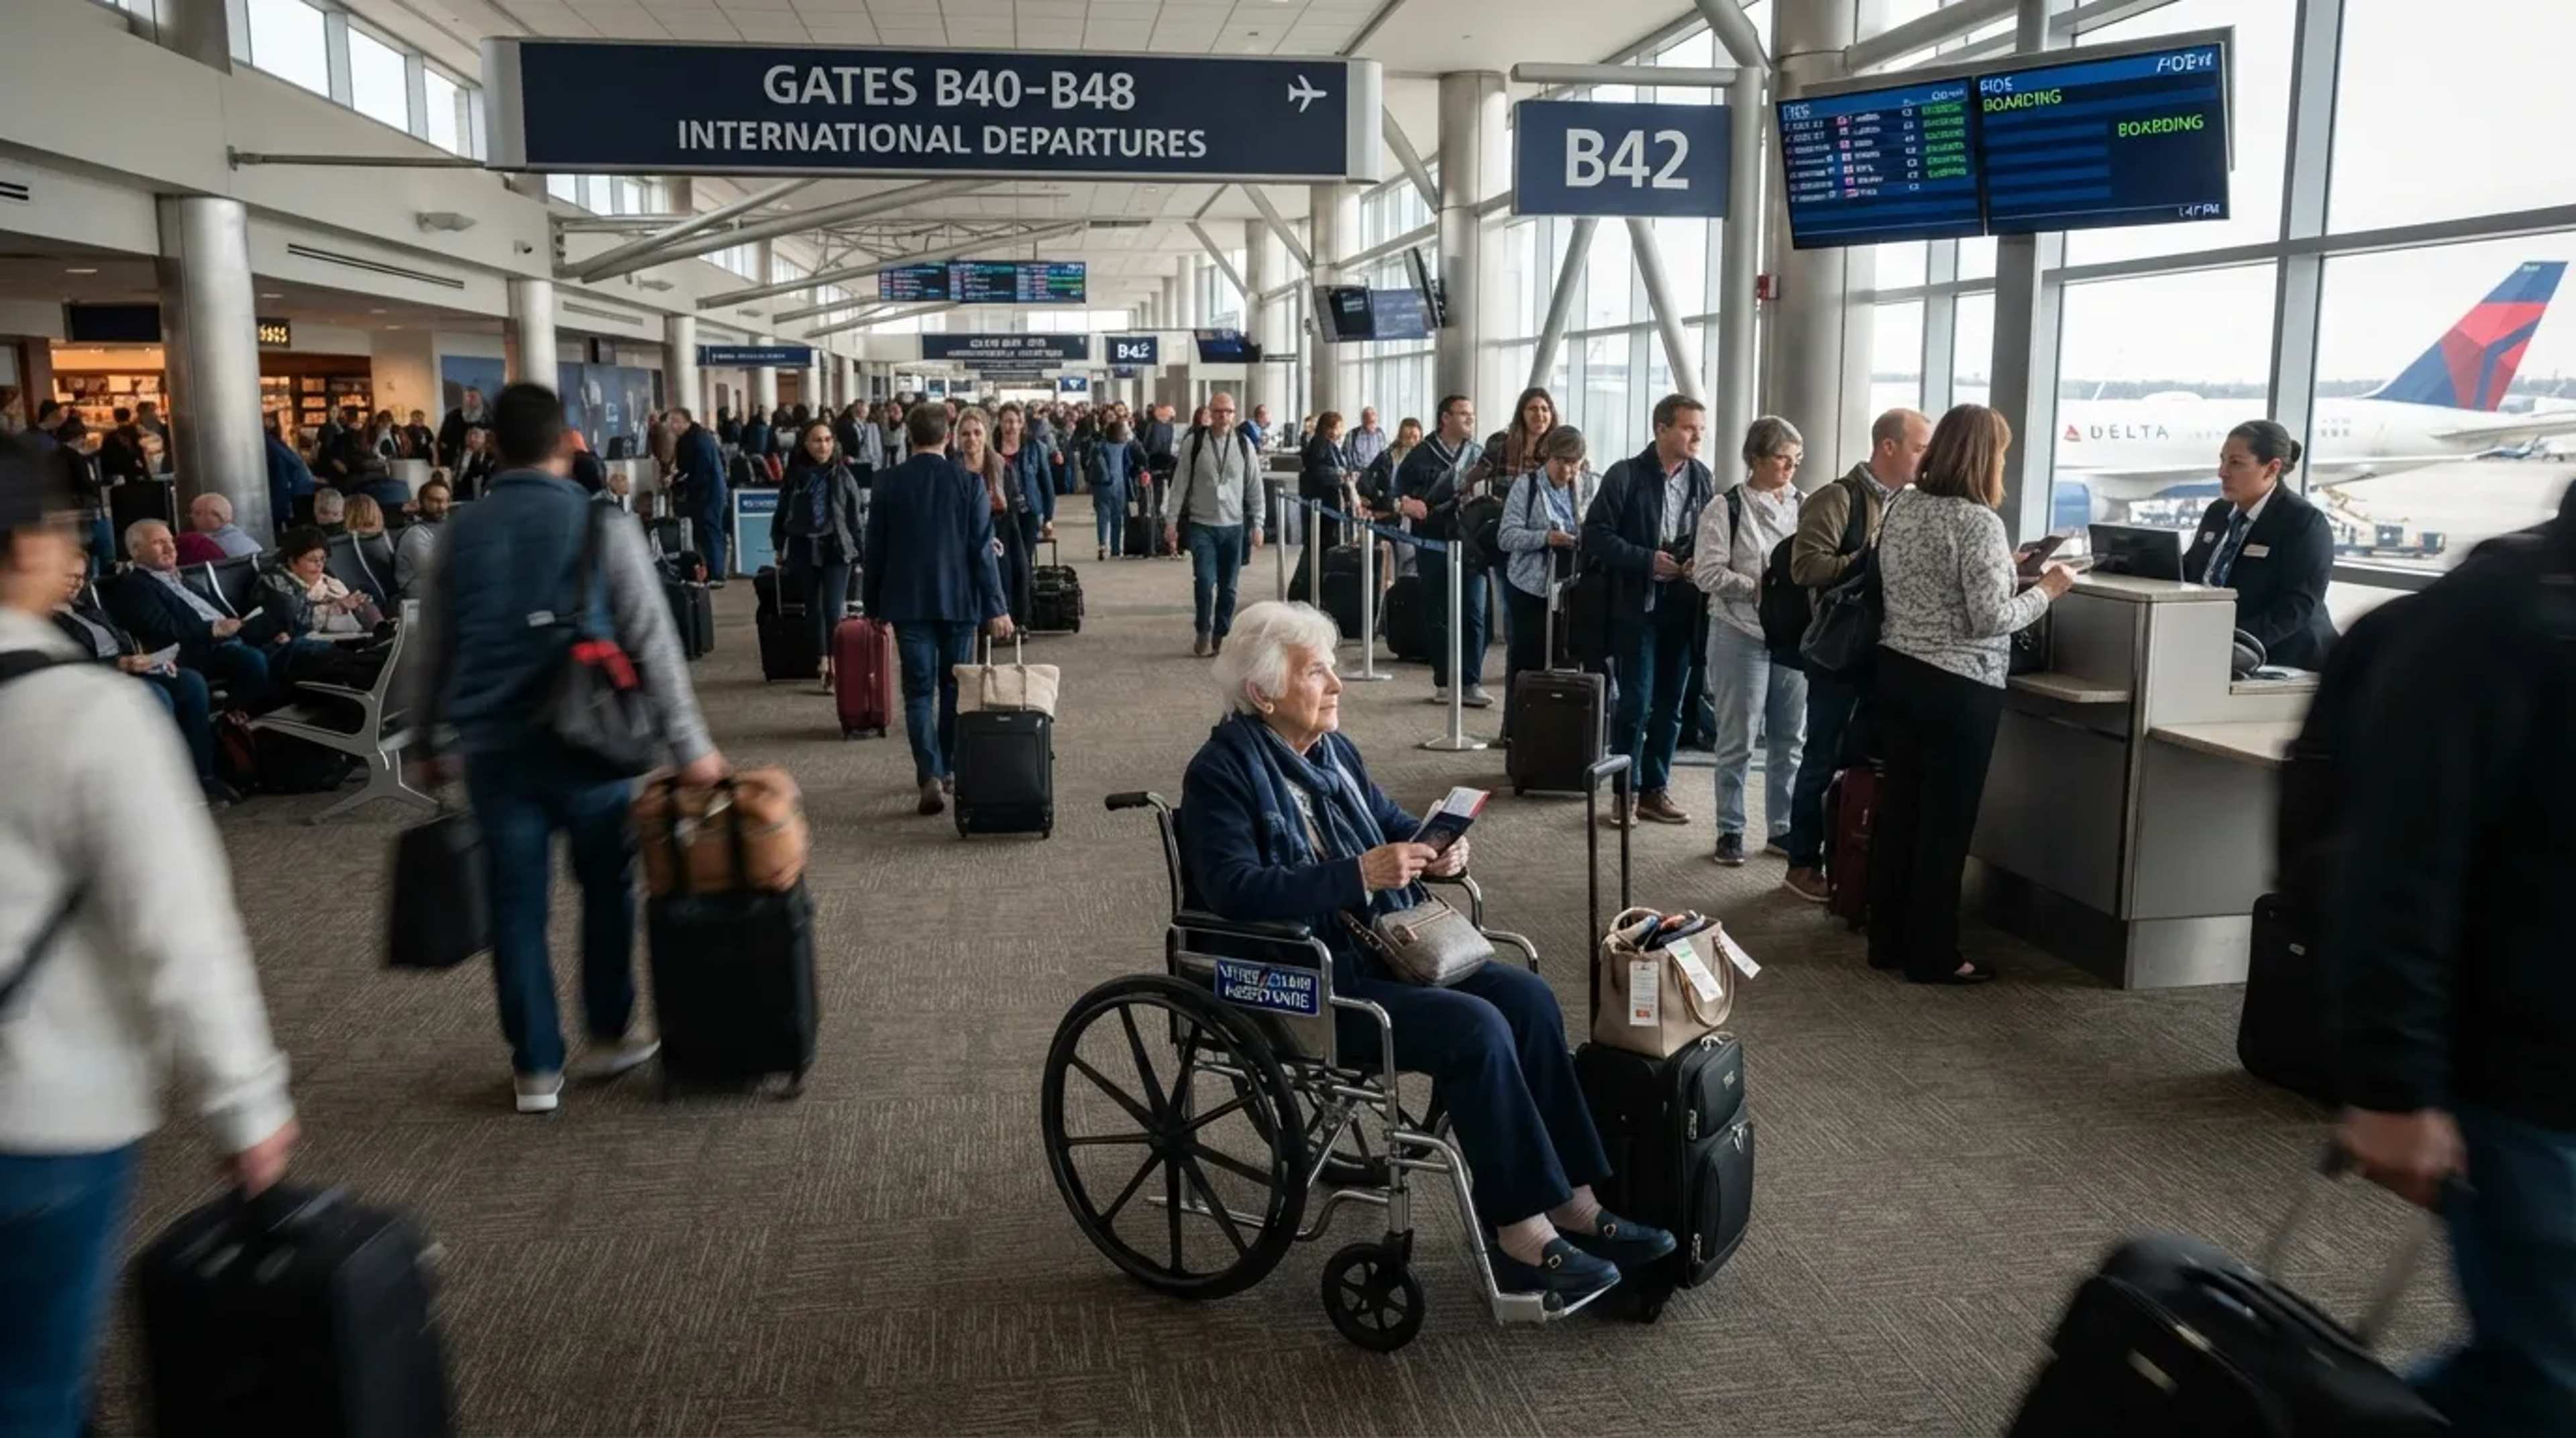
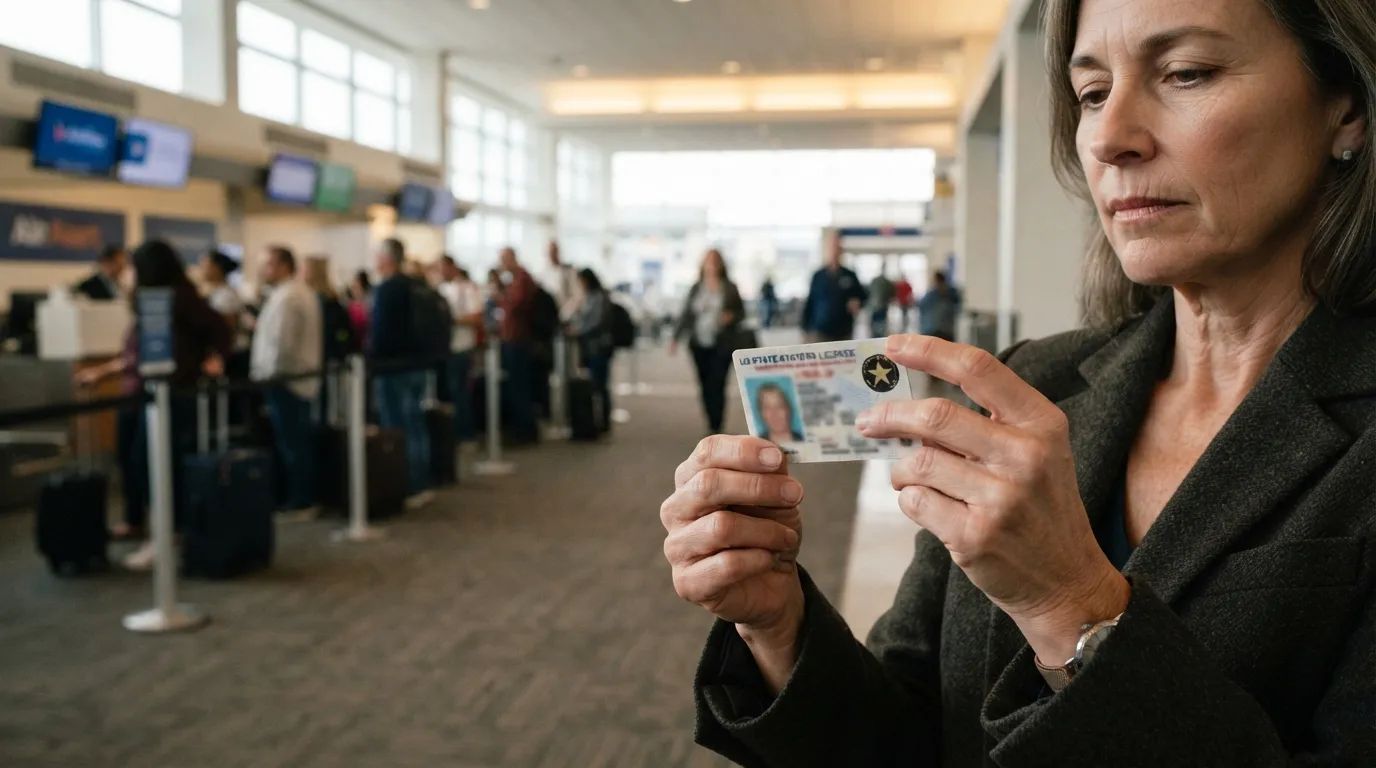
You can often spot a seasoned traveler in the security line without ever seeing their luggage. Their shoes are already on, their water bottle is empty, and their pockets were cleared before they reached the bins. The rules keep moving, too. Since July 2025, shoes can stay on at U.S. security. A global standard that took effect March 27, 2026 limits passengers to two power banks. And travelers whose ID falls short can now be charged $45 to have their identity checked.
The cheapest habit on this list costs nothing and takes about a minute, yet it is tied to the largest bill on the list. Almost every habit here gets settled at home, long before the terminal. The countdown starts with what is on your feet, because that is where the rules changed most visibly.
#18 – Shoes Stay On, and the Bench Scramble Is Over
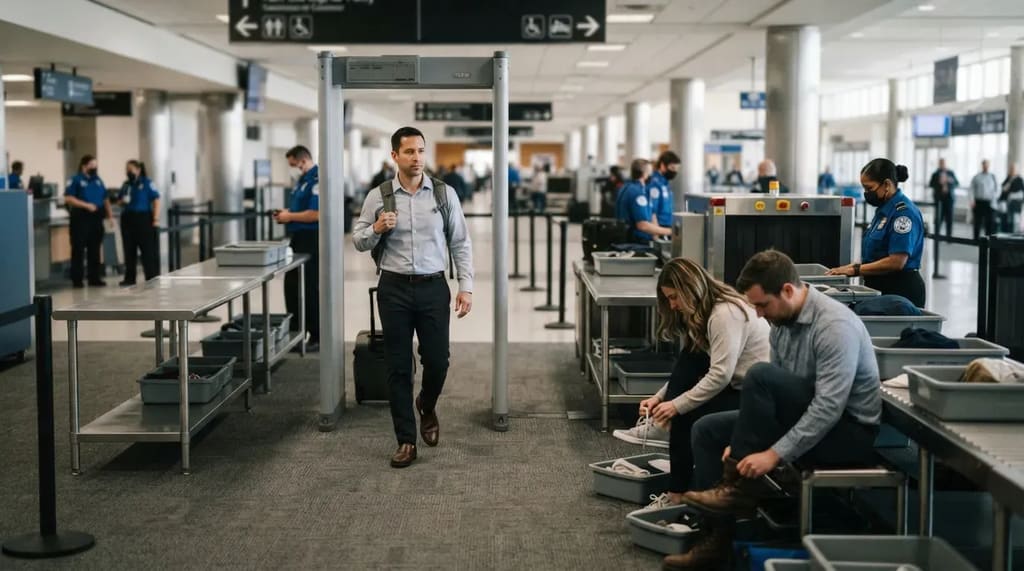
In July 2025 the Department of Homeland Security ended the “shoes-off” policy at U.S. airports.1 The requirement dated to August 2006, and until the change only travelers enrolled in TSA PreCheck could keep their shoes on.2 A seasoned traveler now walks straight to the scanner while everyone else is still hunched over their laces on the bench.
It is not a guarantee, though. Travelers are generally allowed to keep their shoes on unless additional screening is necessary, so an officer can still ask for them.
Keeping your shoes on does not exempt them from the scanner, and some pairs still get a second look.
#17 – The Boots That Send You Back Through the Scanner
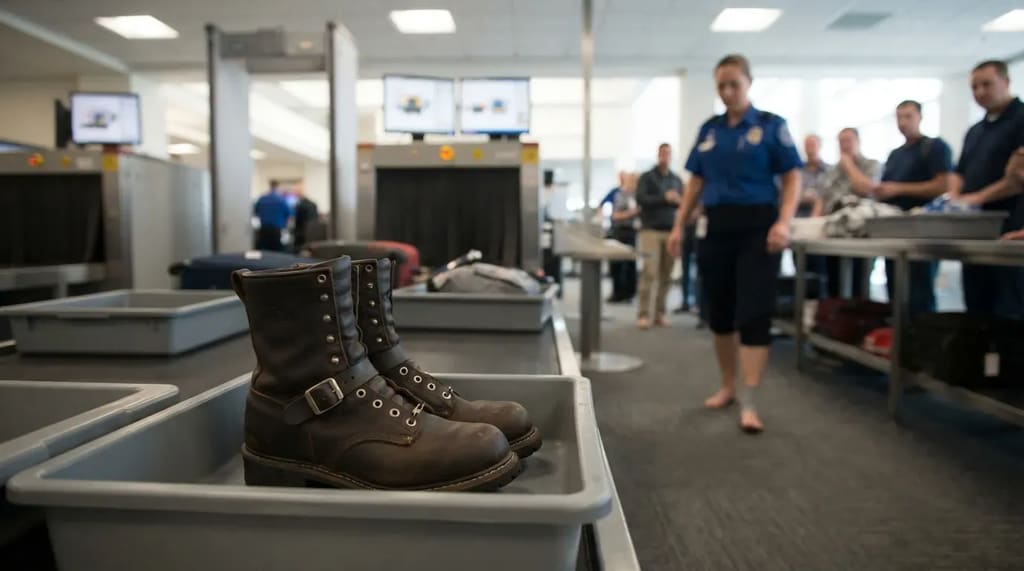
Shoes with hidden metal are the most likely to cause delays.1 That includes steel toes, buckles, heel rods, vintage metal shanks and some orthopedic inserts. Many work and military-style boots hide steel toes and plates.
The result is a trip back through the body scanner, now barefoot, while the whole line watches. For a travel day, slip-on sneakers with no hardware beat any boot. If you wear orthopedic inserts for medical reasons, keep them in and allow a few extra minutes at the checkpoint.
Footwear is the easy part, since the item most likely to be stopped at the belt is a full bottle in your bag.
#16 – The Empty Water Bottle That Refills After Security
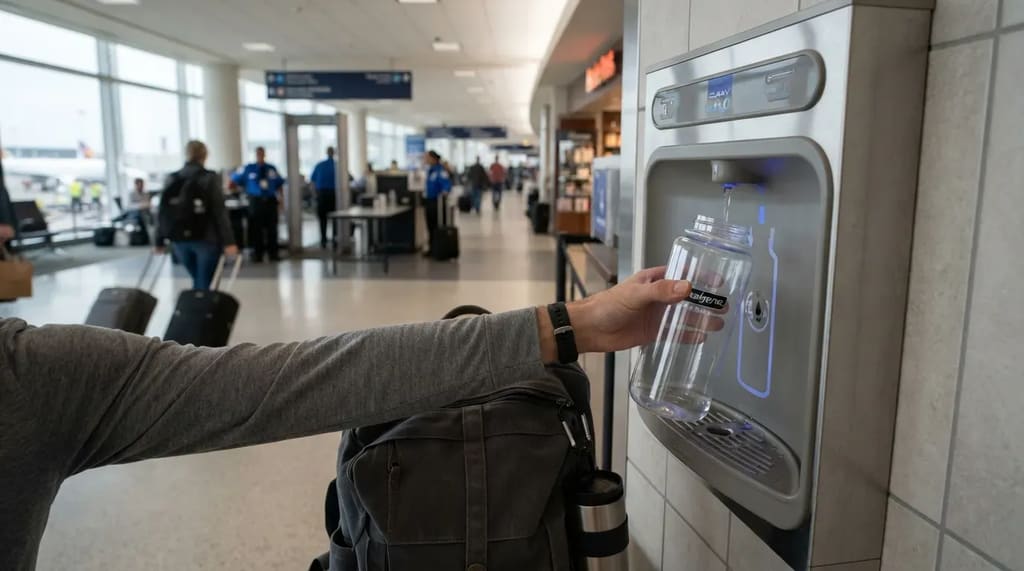
Liquids in a carry-on follow the 3-1-1 rule: containers of 3.4 ounces or less, all packed in one quart-size clear bag. A full water bottle is far over that limit, so it gets poured out or surrendered at the checkpoint. Experienced travelers carry the bottle empty and fill it once they are past security.
Many terminals have bottle-filling stations beyond the checkpoint, and an empty refillable bottle weighs almost nothing. That saves the airport price of a bottle of water and the small ritual of dumping one out in front of an officer.
#15 – Prescriptions Ride in the Carry-On, Labeled
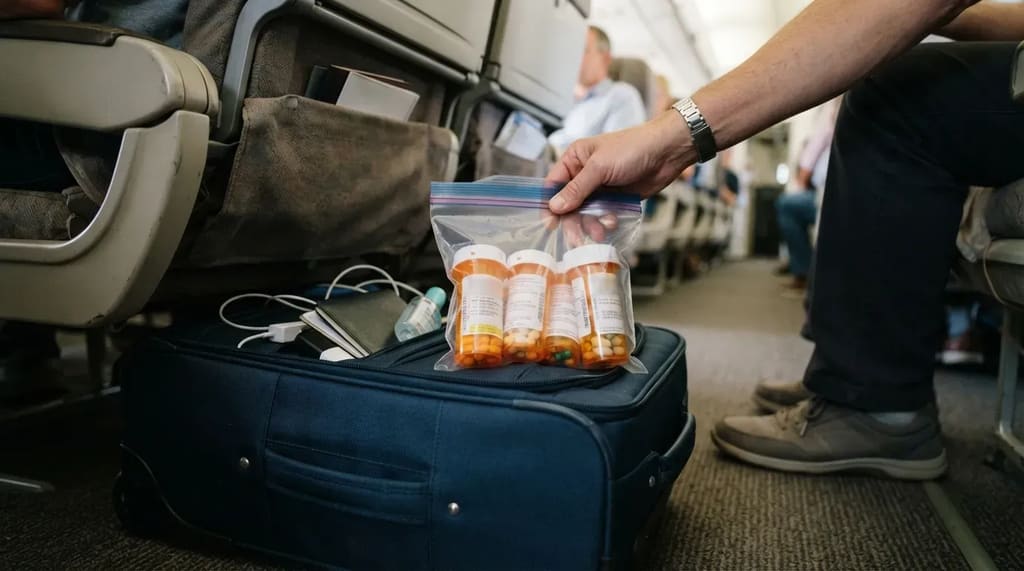
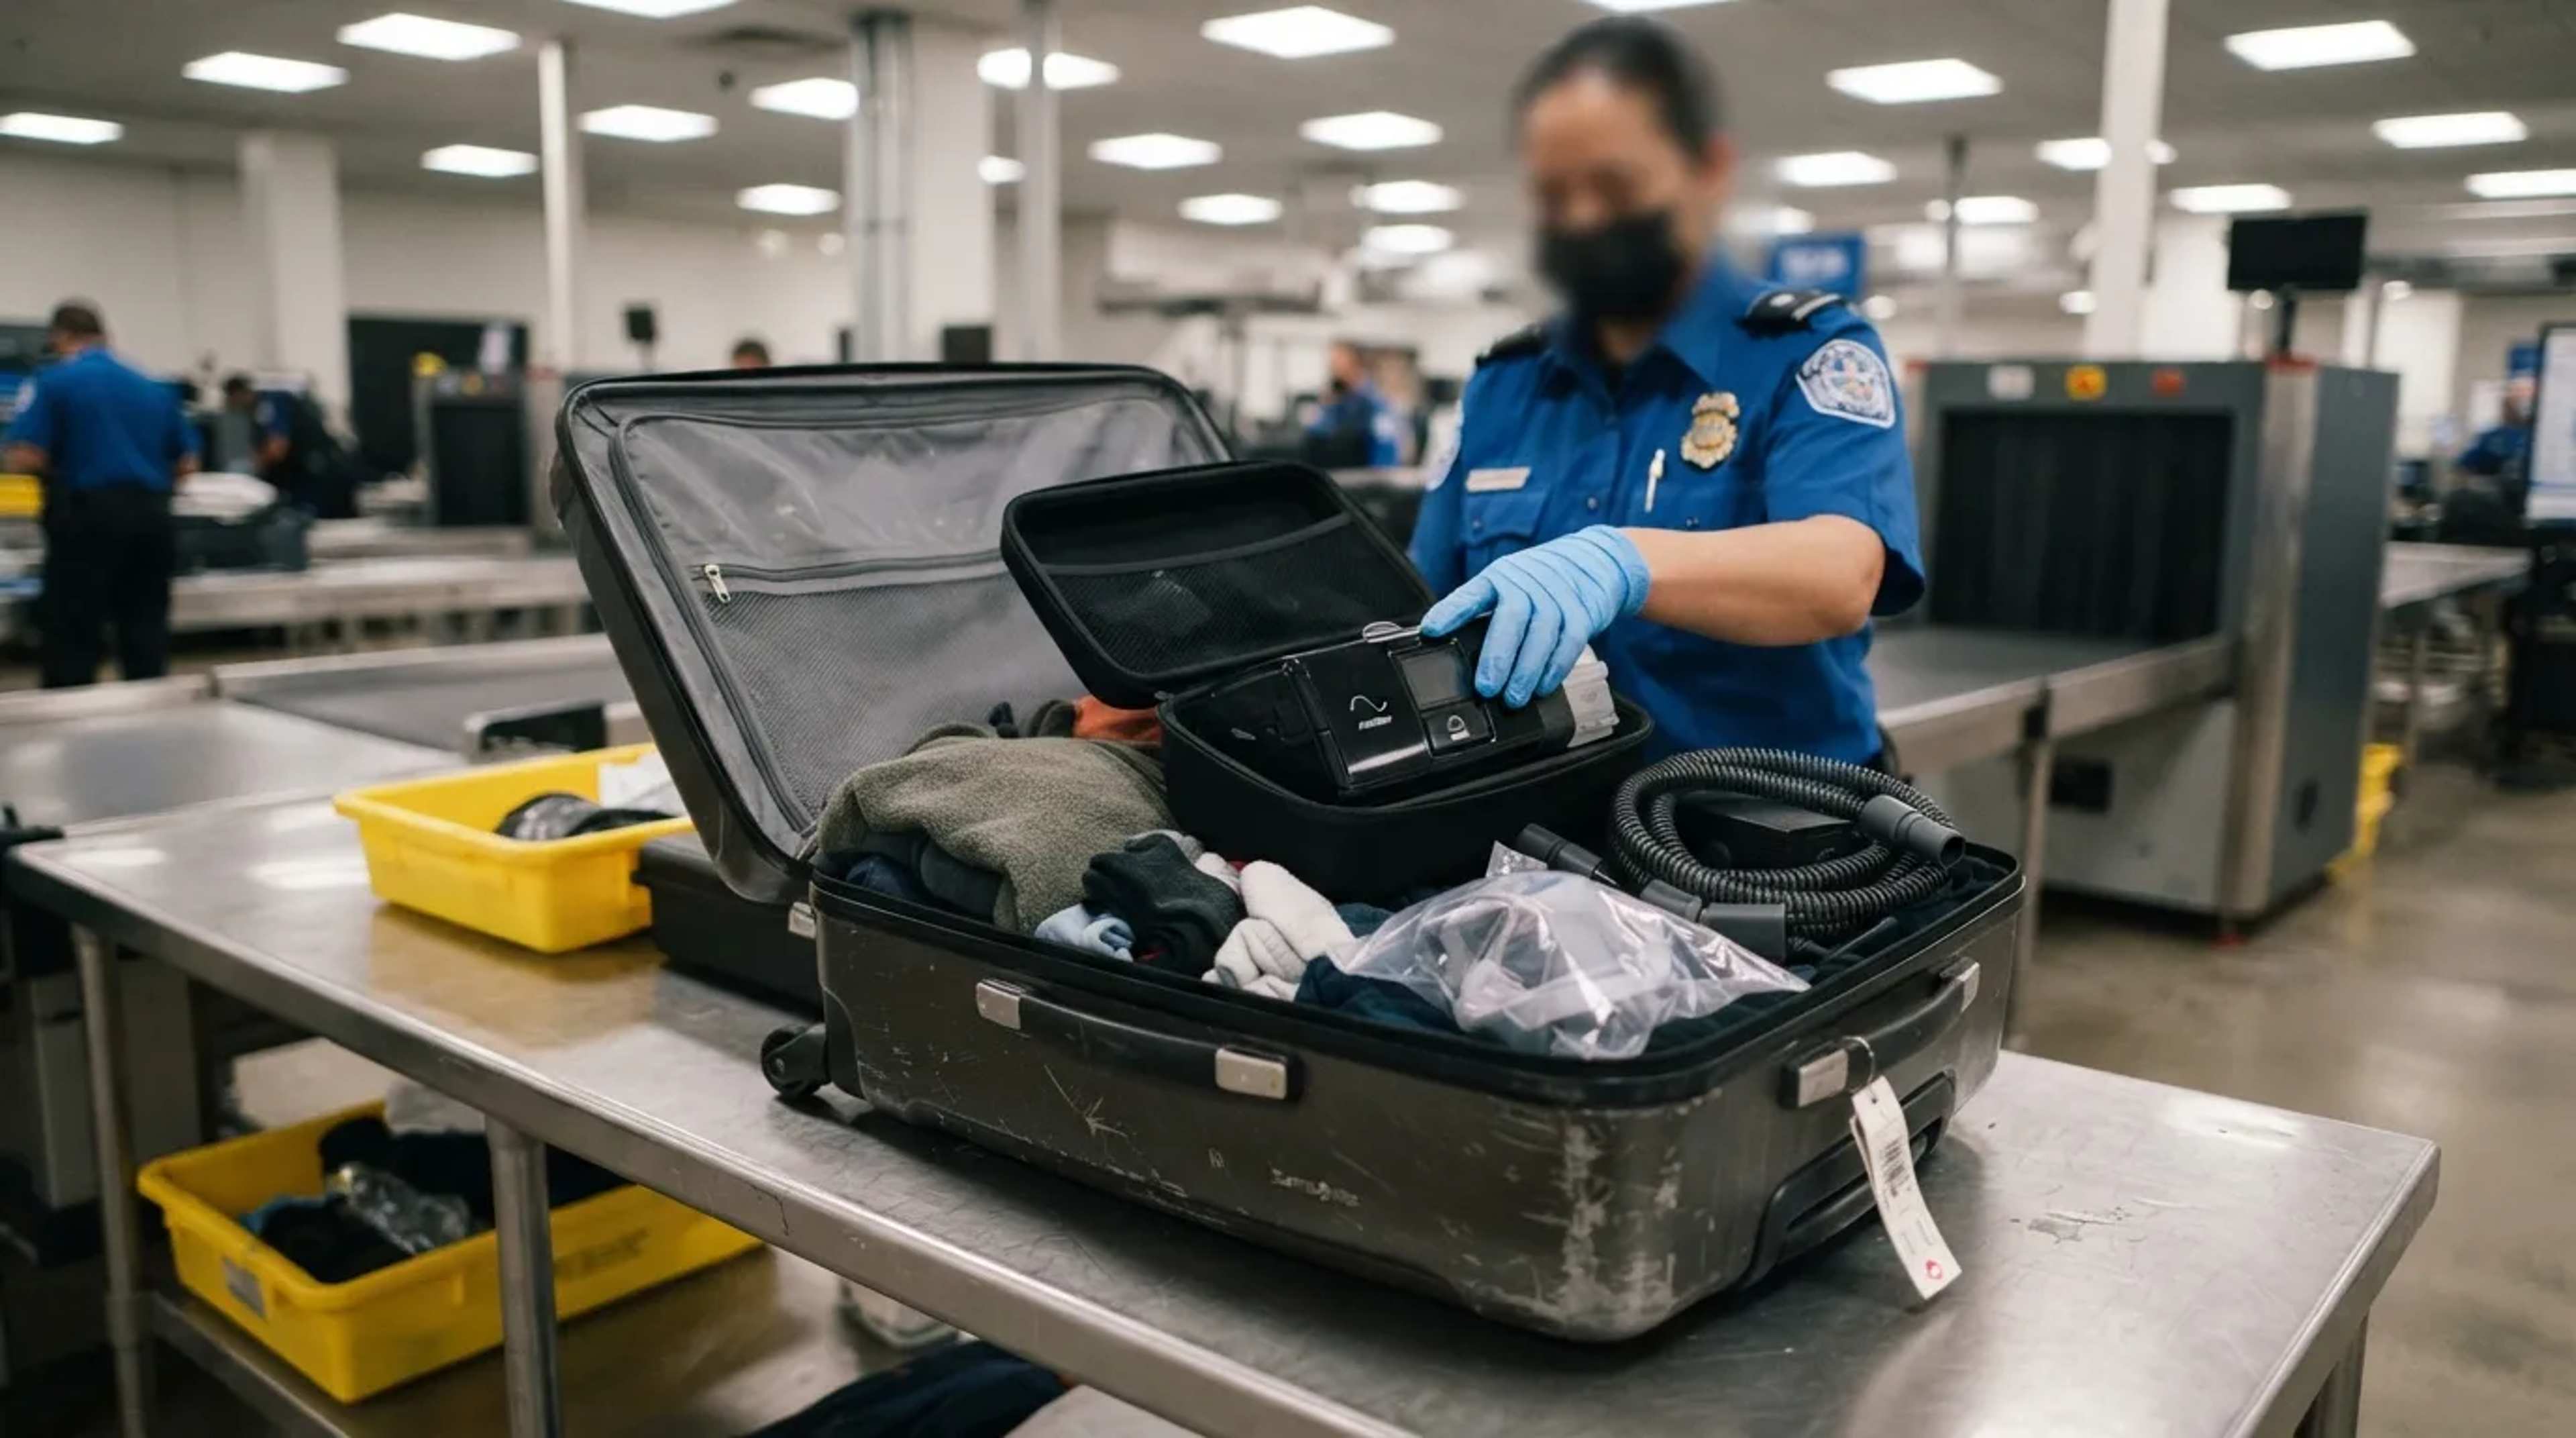
A checked bag can arrive late or not at all, and a missed dose is not something the airline can fix that evening. So seasoned travelers keep daily medication in the carry-on, in the original labeled bottles. TSA generally allows medically necessary liquids over 3.4 ounces in reasonable quantities if you mention them to the officer at the start of screening.3
A weekly pill organizer is handy on the plane, but it should not replace the labeled bottles, because the label answers any question about what you are carrying. A quick phone photo of each label also gives you something to show a pharmacist if a bottle goes missing. If you have a complicated regimen, check TSA’s medication guidance before you pack.
Worth Knowing
- Daily medication belongs in the carry-on, not the checked bag.
- Original labeled bottles answer questions before they are asked.
- Tell the officer about medical liquids at the start of screening.
- A phone photo of each label is a free backup.
Everything else about the trip, including the boarding pass, usually sits on a phone with a battery that can fail.
#14 – The Boarding Pass Screenshot That Works Without Signal
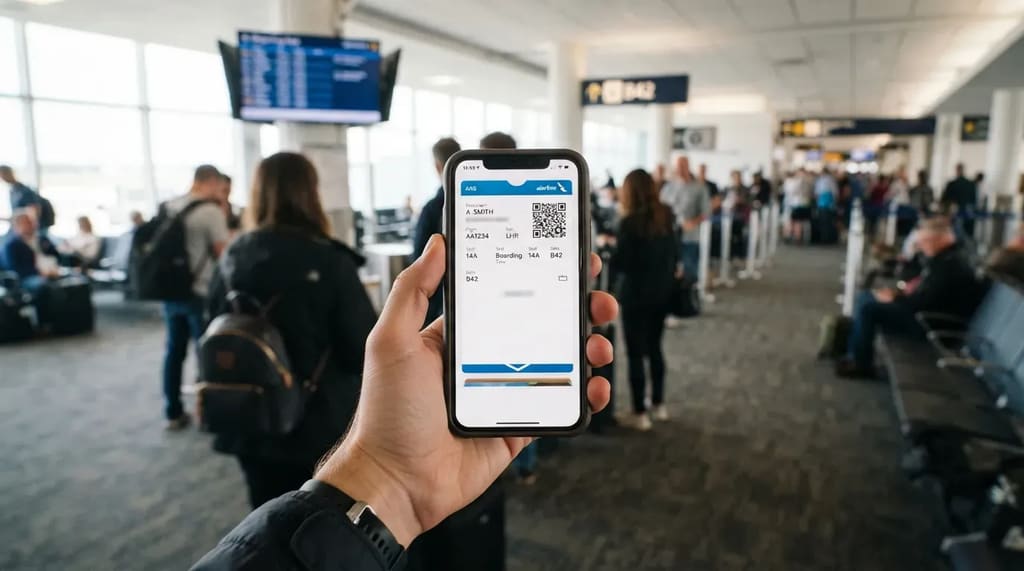
An airline app that needs a connection to load your pass is a poor thing to depend on in a crowded terminal with weak reception. A screenshot opens instantly and needs no signal. TSA’s own instructions for its ConfirmID receipt accept a printed copy or a screenshot, which shows how routine the habit has become.
A screenshot is enough for most trips. A paper copy costs only the ink, though, and it covers the one case a screenshot cannot: a phone that dies before you board. If your battery has been unreliable lately, print one.
The pass shows only the gate assigned when you saved it, and airlines revise gates.
#13 – The Gate Number That Changed After You Saved It
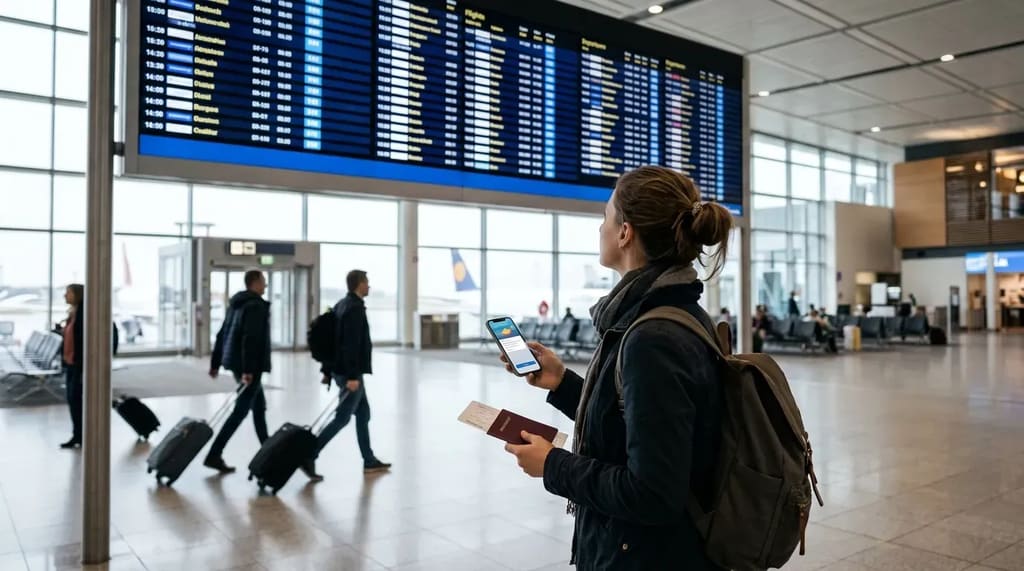
Gate assignments can change between check-in and boarding, especially at large airports with long walks between concourses. Experienced travelers glance at the departure monitor once they clear security instead of trusting the number on the pass.
Turning on the airline app’s notifications helps, since a gate change often reaches your phone before it reaches the board. If the new gate is a train ride away, you want to learn that while you still have time to walk it.
#12 – A Name on the Ticket That Matches the ID
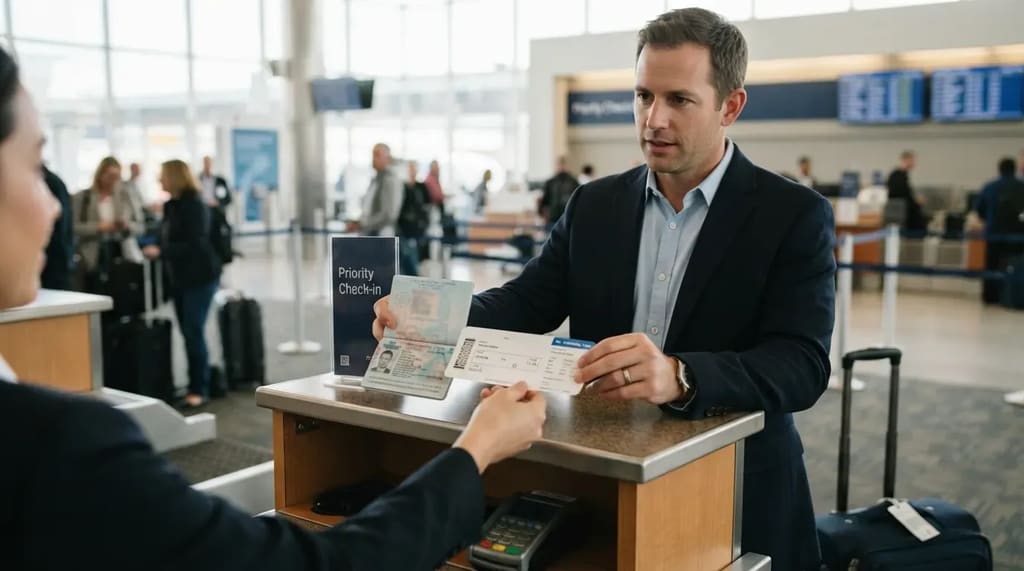
The name on your reservation should match your government ID. A small gap, such as a missing middle name, is usually not a problem. A nickname in place of a legal first name is the kind of mismatch worth fixing with the airline before you leave home. Fixing it at the counter eats into time you may not have.
Most U.S. airlines open online check-in about 24 hours before departure, and that is a good moment to look over the name, the seat and the baggage details. Doing it early gives you a full day to correct anything.
A matching name gets you to the belt, where the loose keys and coins in your pockets decide how long you stay.
#11 – Pockets Emptied Before the Line Even Moves
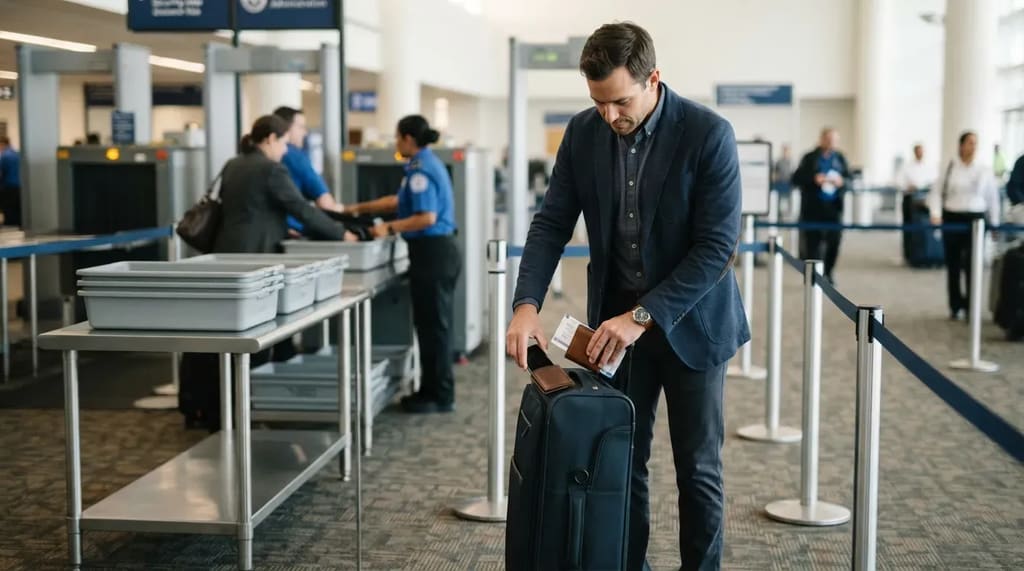
Experienced travelers put keys, coins, phone and wallet into the carry-on while they are still waiting, well before they reach the bins. With nothing metal in their pockets, the walk-through scanner has little to flag. The loose items that go into a bin are also the ones that get left behind on the belt.
Rules differ by lane. In the PreCheck lane, electronics and liquids stay in the bag, and shoes, belt and a light jacket stay on. In a standard lane, follow the signs and the officers, because requirements for laptops and liquids can vary from one checkpoint to another.
#10 – The Contact Card Hidden Inside the Suitcase
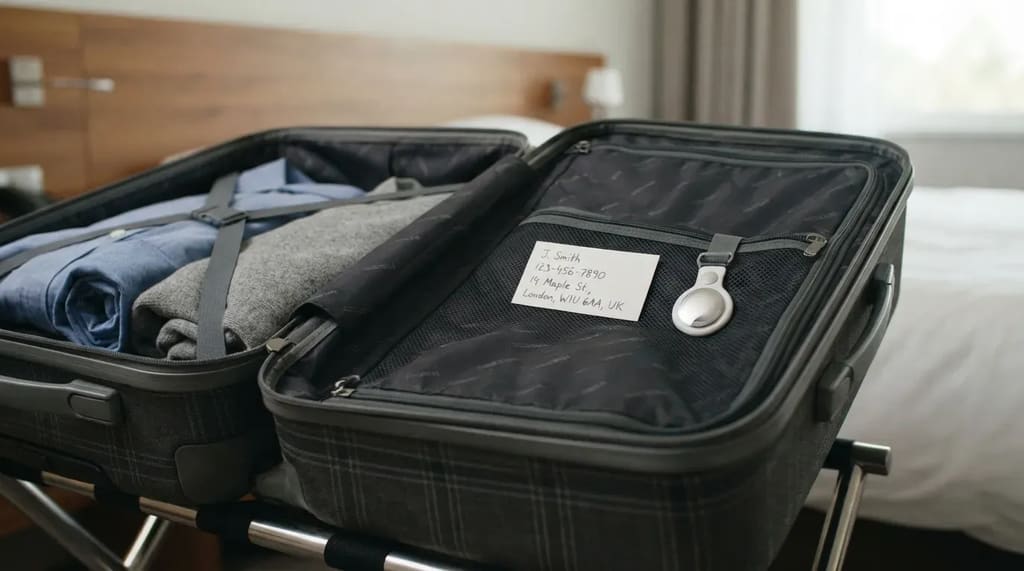
Luggage tags on the handle get ripped off in transit, so experienced travelers also put a card with a name, a phone number and the destination address inside the bag. If the outside tag is lost, whoever opens the suitcase still knows where it belongs. It costs nothing and weighs nothing.
A small tracker tucked inside adds a second way to find the bag. Whichever you use, remember what a checked suitcase can and cannot hold, because spare lithium batteries do not belong in it.
Quick Compare
- Outside tag: easy to read, and easy to lose in transit.
- Card inside: stays with your things, with name, phone and destination address.
- Tracker inside: a second way to find the bag while it is still on the move.
#9 – The Watt-Hour Label Behind the Power Bank’s Big Number
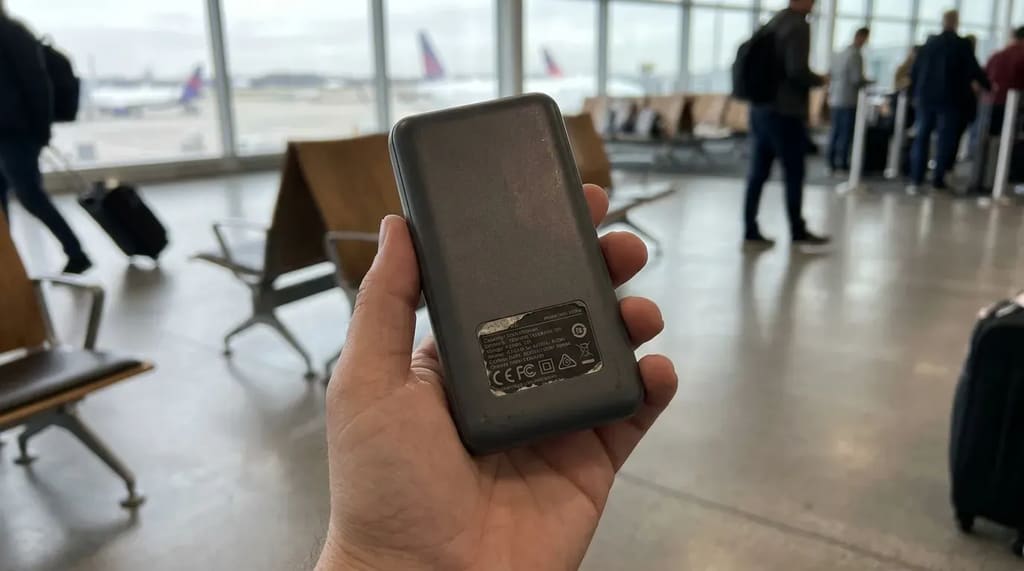
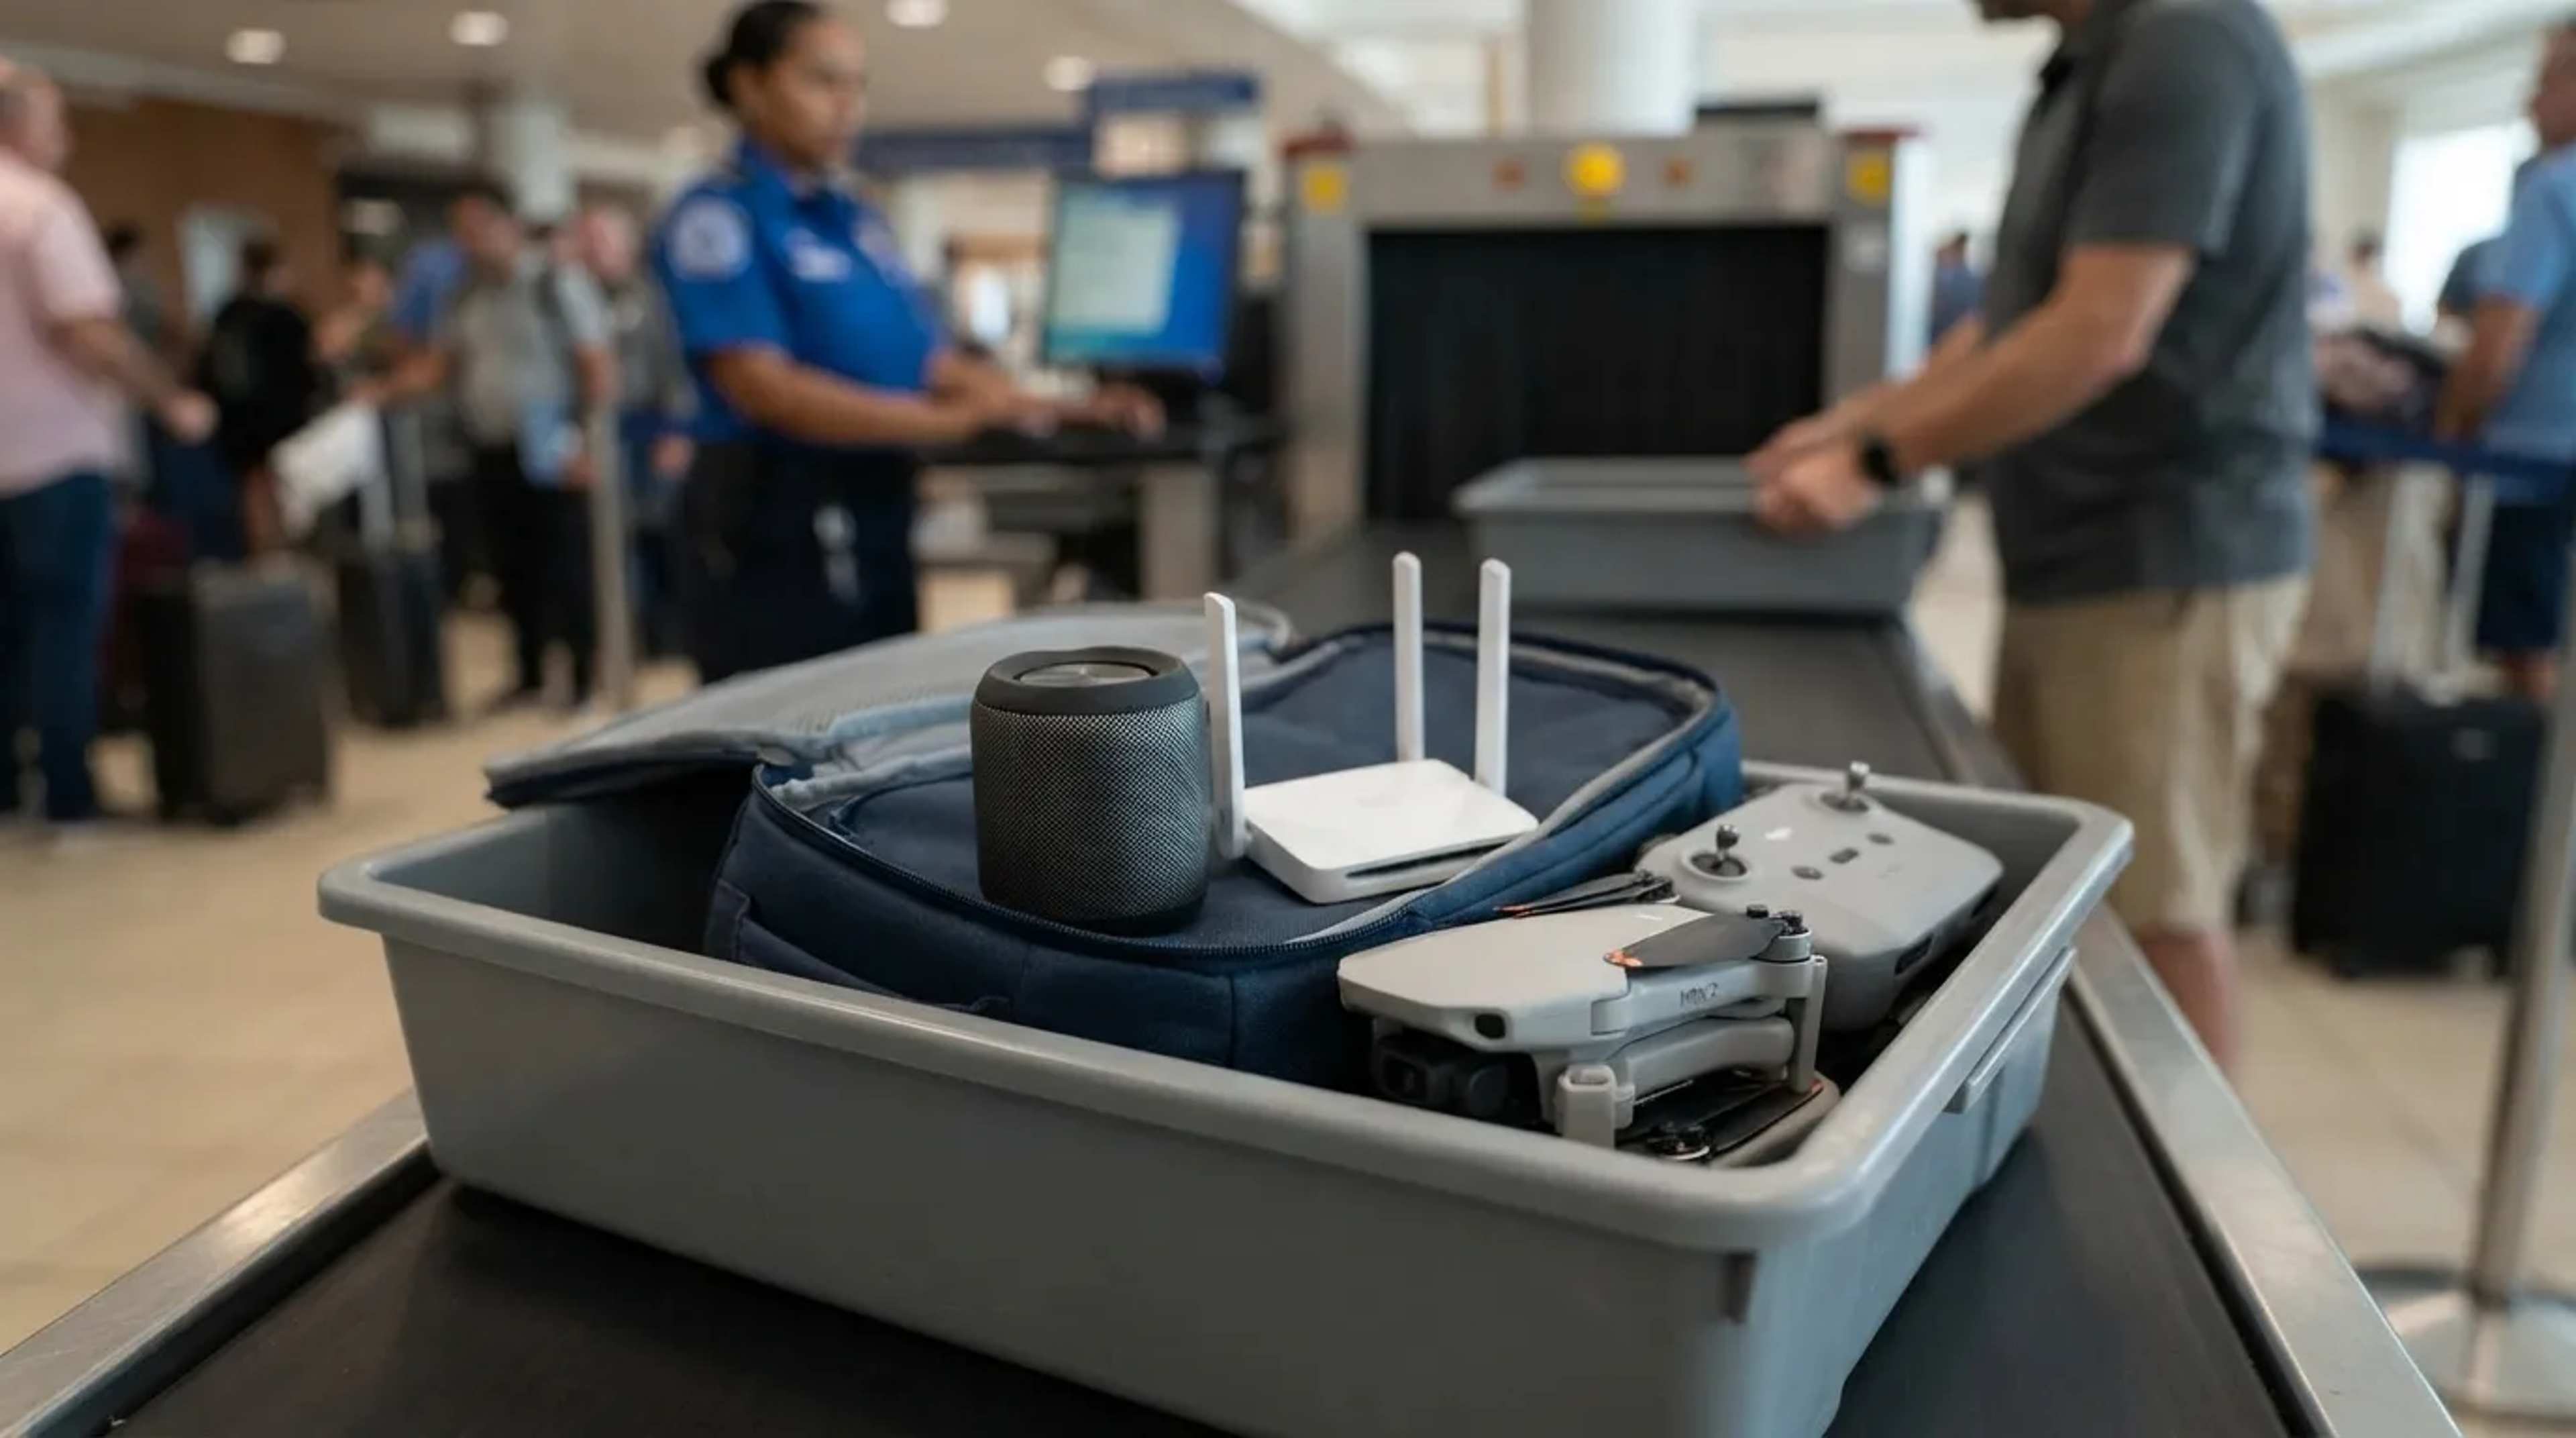
The rule for power banks is written in watt-hours, not the milliamp-hours printed in big letters on the box. FAA guidance allows power banks up to 100 Wh, requires airline approval for 101 to 160 Wh, and limits you to two spares in that range. Anything over 160 Wh is not allowed on a passenger aircraft.4
Converting is simple. At 3.7 volts, a 10,000 mAh pack is about 37 Wh, while a 30,000 mAh pack is about 111 Wh and needs airline approval. For a phone and a tablet on a trip, a 10,000 to 20,000 mAh pack is plenty and never raises a question. Buying the biggest pack on the shelf mostly buys you paperwork.
A compliant pack still has a location rule, and that is the part that catches travelers at the gate.
#8 – Why the Power Bank Never Rides in the Hold
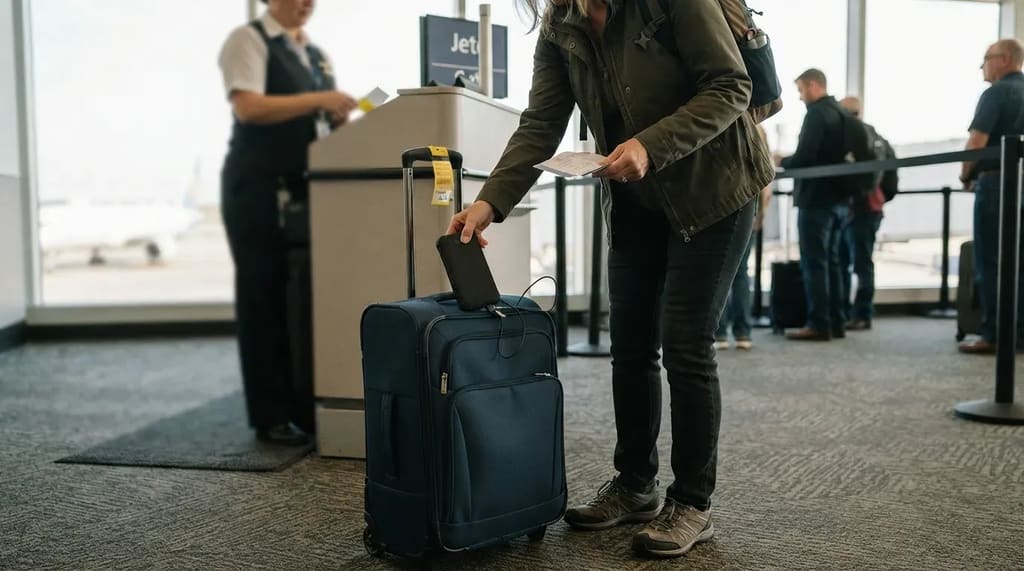
The TSA and FAA ban spare lithium batteries, including power banks, from checked bags. So a power bank belongs in the carry-on. If your carry-on is checked at the gate or planeside, the FAA says to take the power bank out and keep it in the cabin.4
That gate-check moment is where seasoned travelers stand out. When an agent says the overhead bins are full and tags your bag, they pull the battery pack and the phone charger out first, before the bag leaves their hands.
Once the pack is in the cabin, how many you may carry and how you may use them depends on the airline.
#7 – Two Power Banks, No Outlet Top-Ups, Covered Terminals
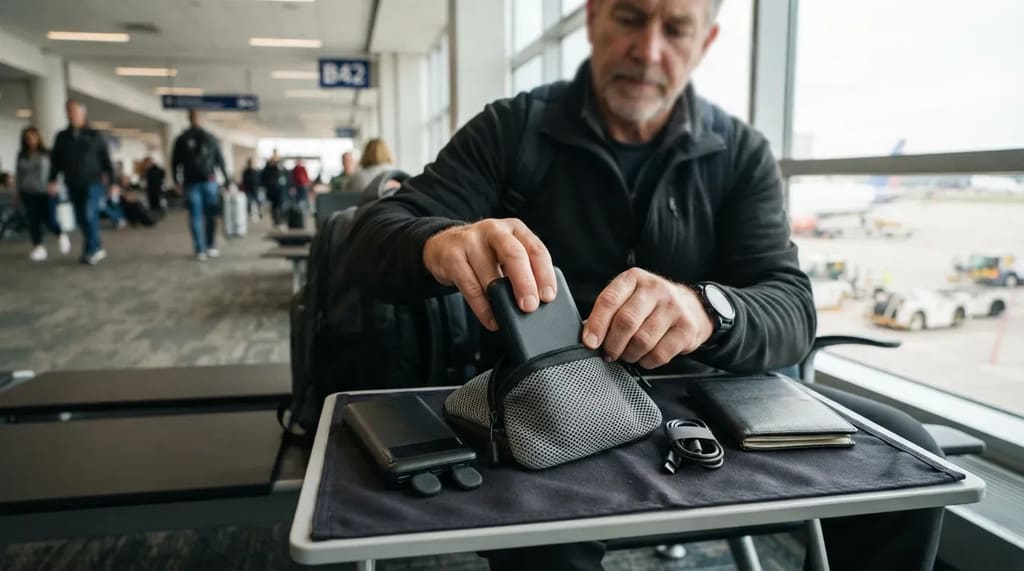
A global aviation standard that took effect on March 27, 2026, limits passengers to two power banks and bans recharging them in flight. The FAA’s own page sets no cap for packs under 100 Wh, but airlines can be stricter. Southwest limits passengers to one power bank, while American and Delta allow two.5 So the airline’s number is the one that counts.
The ban on recharging targets a specific habit. Plugging a power bank into a seatback USB port to top it up mid-flight is now off the table.
Each bank should also be protected against short circuits when not in use, with original packaging, taped terminals or a separate pouch rather than a loose pocket. If you own three packs, bring two. A spare “just in case” is not worth a conversation at the gate.
Fast Facts
- The global two-bank limit and the in-flight recharging ban began March 27, 2026.
- Southwest allows one power bank per passenger. American and Delta allow two.
- Those three airlines cap each bank at 100 Wh.
- Keep the pack within reach, not in the overhead bin.
#6 – The Number That Puts PreCheck on Your Boarding Pass
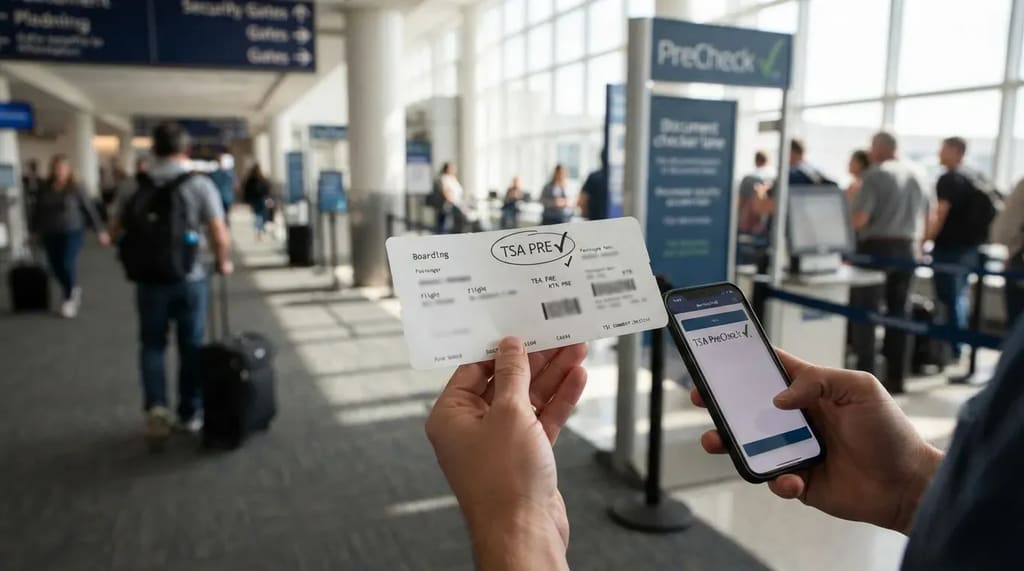
Enrolling in PreCheck gives you a Known Traveler Number, and that number has to be on each reservation. If it is missing, the airline prints a pass without the PreCheck marking, and you wait in the standard line even though you paid to skip it.
Experienced travelers save the number in every airline profile and in each booking. They also look for the PreCheck mark on the boarding pass before heading to the checkpoint. The marking is not guaranteed on every itinerary, but a number that was never entered guarantees you will not get it.
#5 – Five Years of PreCheck for About $17 a Year
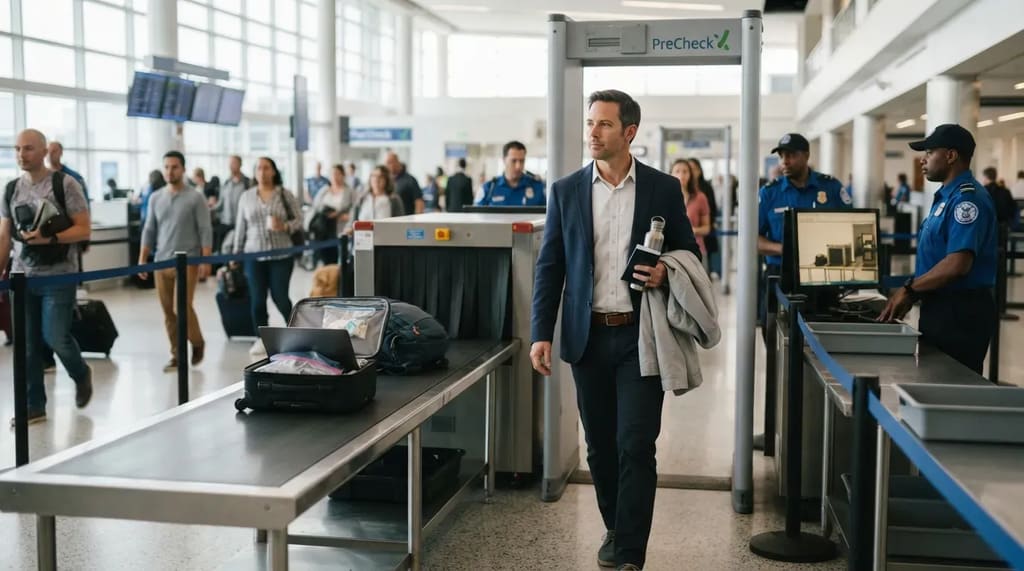
PreCheck costs roughly $76.75 to $85 for five years, depending on the enrollment provider.6 In that lane, electronics and liquids stay in the bag, and shoes, belt and a light jacket stay on. Since everyone now keeps their shoes on, the remaining advantages are the unpacked bag and the shorter line.
Whether it pays off depends on how often you fly. If you take two or three trips a year, the fee is easy to justify, but if you fly once every couple of years, skip it. Many premium travel cards will also cover the fee, so check your card’s benefits before you pay out of pocket.
PreCheck speeds up the domestic checkpoint only, which leaves the passport line on the way back from abroad untouched.
#4 – Global Entry Costs $35 More and Covers Both Lines
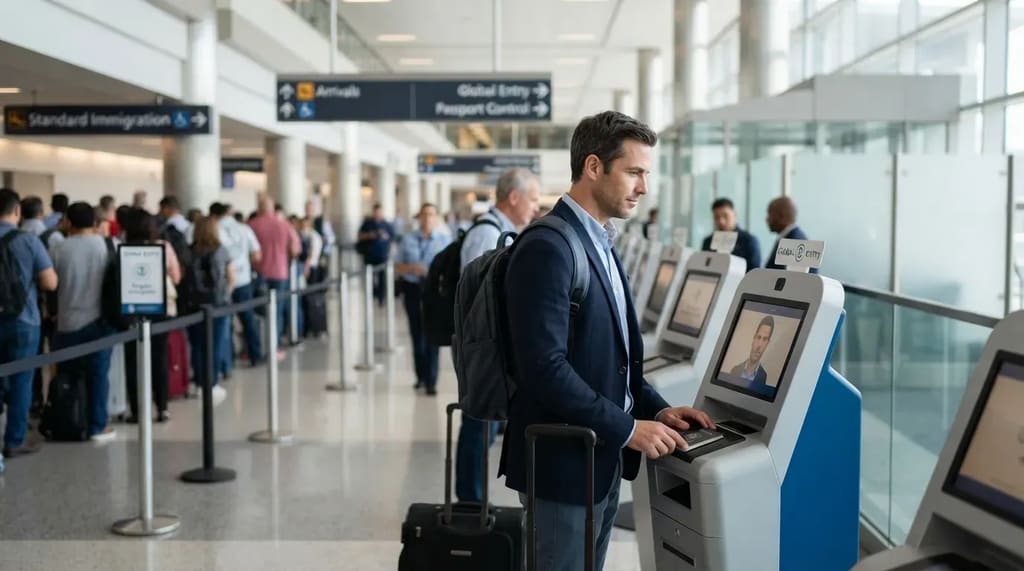
Global Entry is $120 and includes PreCheck.6 7 That is $35 more than the most expensive PreCheck provider, and it also covers the arrivals hall. If you ever leave the country, Global Entry beats PreCheck alone.
Many travel credit cards reimburse the $120 Global Entry or $85 PreCheck fee once every four years, which can make the upgrade free. If you only fly domestically, the extra $35 buys you nothing.
A passport that qualifies you for Global Entry also settles identity questions at the domestic checkpoint.
Related Stories From Travelbinger
#3 – The Passport That Beats a Missing Star
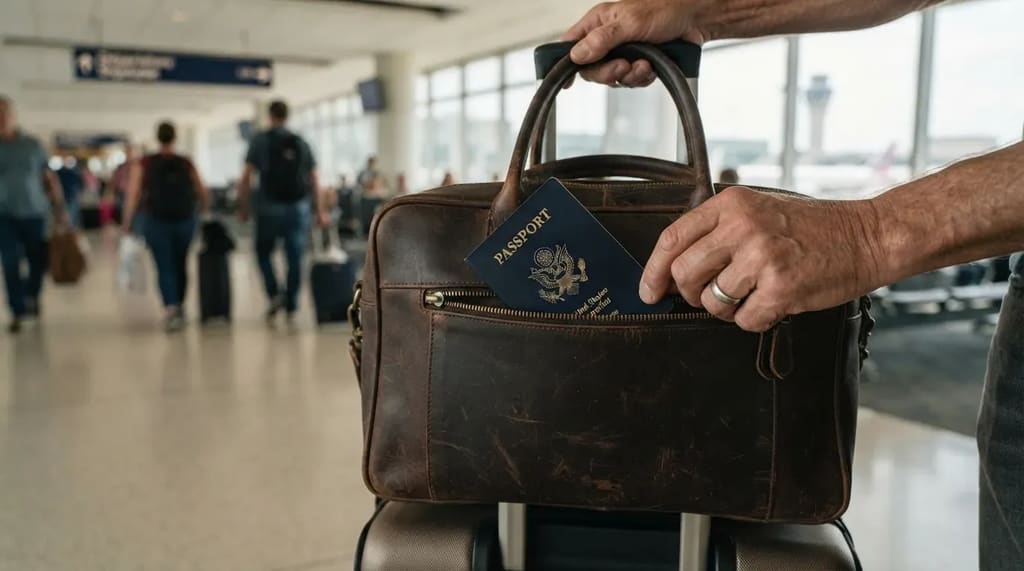
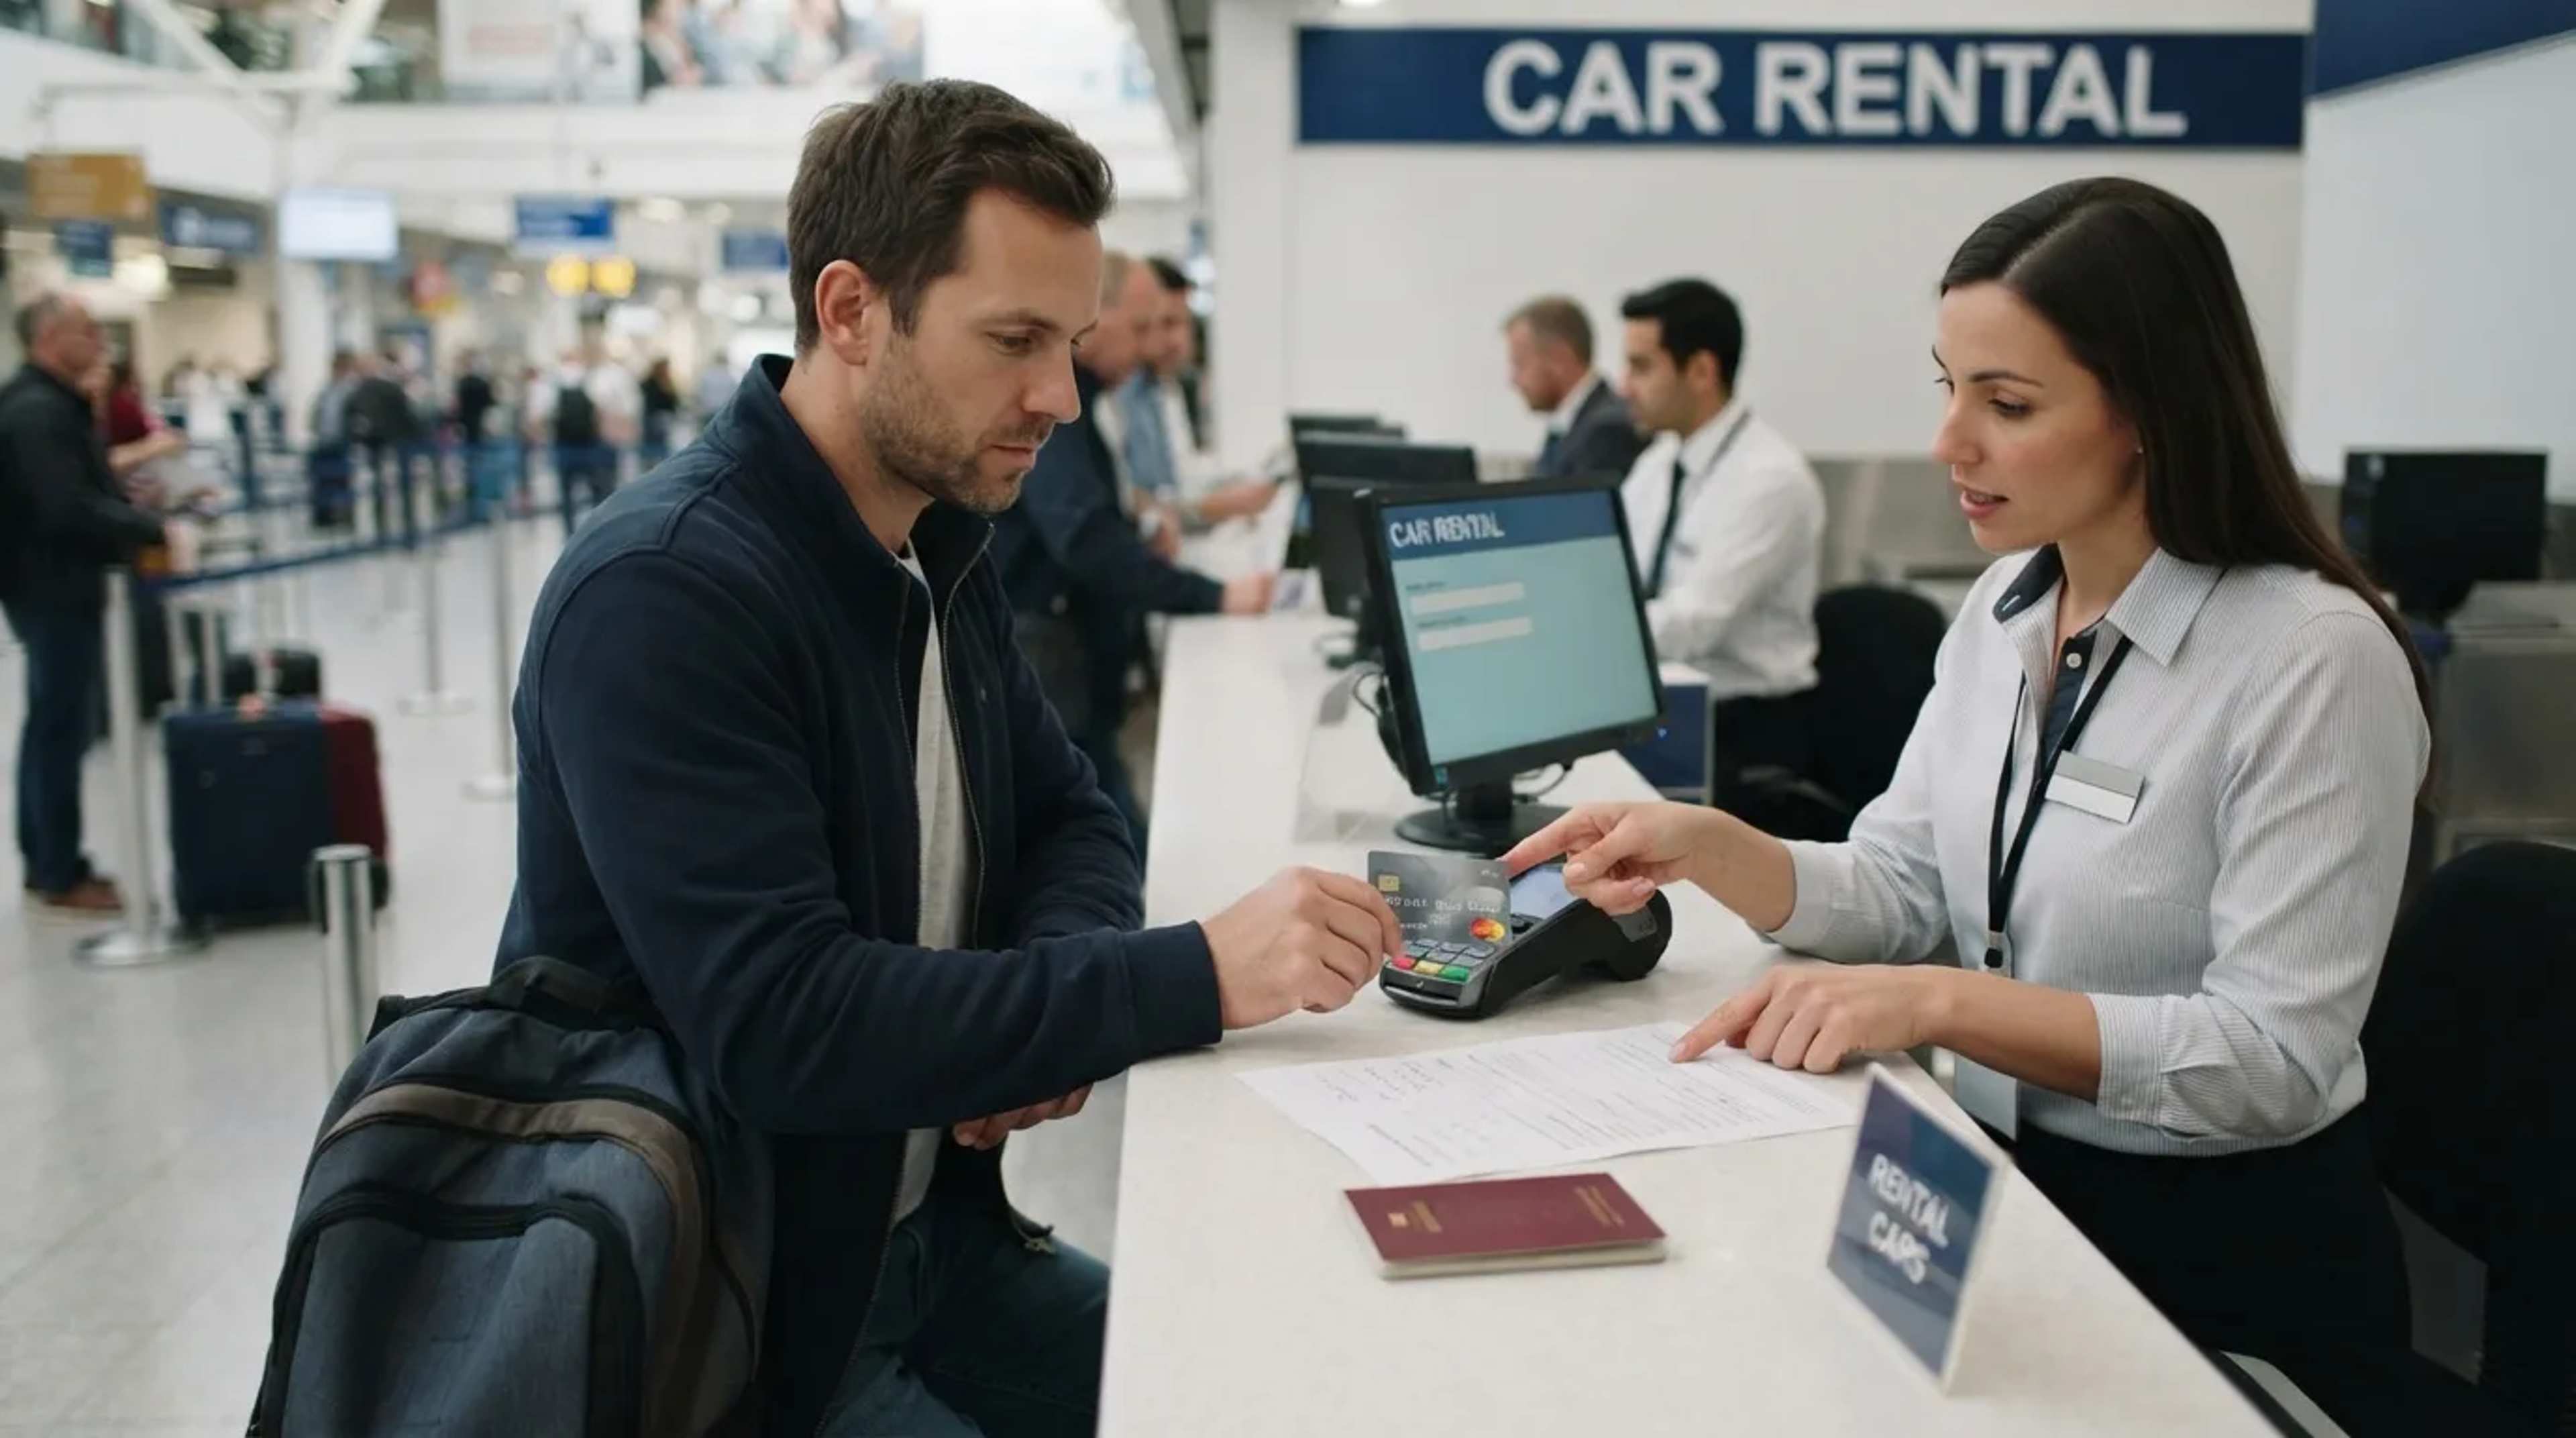
If you bring a valid passport, you do not need to pay the ConfirmID fee or go through that process.8 That makes it the simplest backup for a traveler whose driver’s license does not meet the federal standard. It works for domestic flights as well as international ones.
If your license already carries the REAL ID star, there is no need to take a passport on a domestic trip. Seasoned travelers who do carry one keep it in the same zippered pocket every time, so it never gets left behind. Age does not change the rule: the fee applies equally to seniors who lack a compliant ID.
At a Glance
- License with the REAL ID star: no extra fee for domestic flights.
- Valid passport: no ConfirmID fee, and it works at home and abroad.
- ConfirmID: $45, a 10-day window, and no promise it works.
Without a passport or a compliant license, the remaining route is a paid one, with steps to finish before you reach the airport.
#2 – The $45 Receipt You Pay for Before the Airport
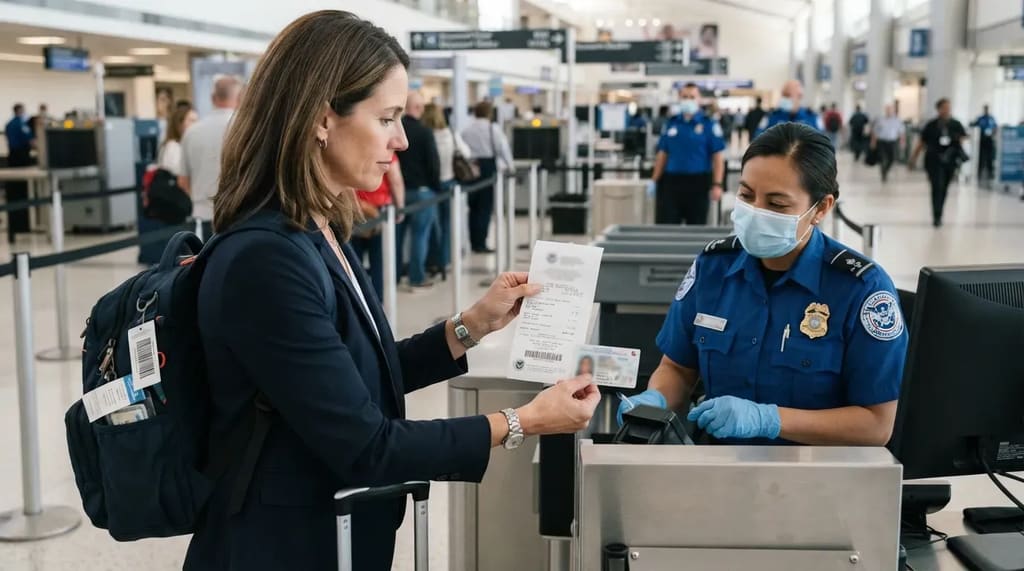
Travelers without a REAL ID or other acceptable identification can use TSA ConfirmID by paying $45 for a 10-day travel period. TSA recommends paying early, through Pay.gov, and you must show proof of payment at the checkpoint.8 You show the receipt, printed or as a screenshot, to the officer along with any government-issued ID.
The 10-day window covers a round trip if both flights fall inside it. Each traveler 18 or older without acceptable ID has to go through the process separately, so a couple traveling together pays twice.
Even a paid and completed ConfirmID carries a catch that makes the star on your license worth far more than $45.
#1 – The Star on Your License, Checked Before You Book
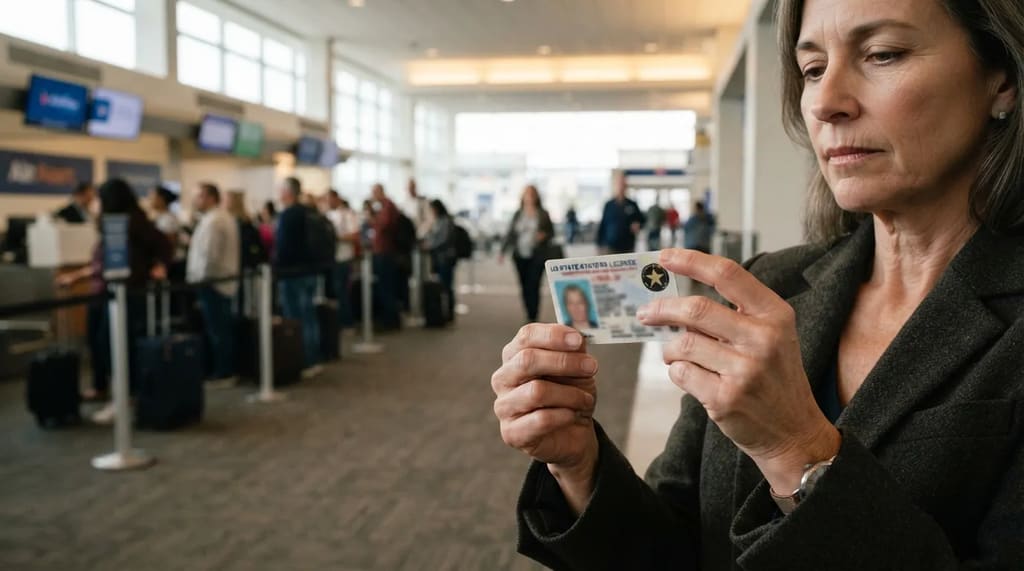
TSA began enforcing REAL ID on May 7, 2025. Early data reported by TSA in February 2026 put compliance at 95 to 99 percent of travelers presenting REAL ID or another acceptable form of identification. That leaves a small group who learn about the star at the counter, and for them the fee is only part of the cost.
The rest is uncertainty. Paying for ConfirmID gives you an attempt at verification, and TSA says there is no guarantee it can verify your identity.8 The $45 is nonrefundable even if TSA cannot verify you.
A look at the corner of your license costs nothing and takes a minute, and it is the single habit on this list tied to the biggest bill. Treat ConfirmID as the emergency exit, not the plan.
Every habit above is finished before you reach the terminal, and none of them is hard. The difference between a smooth travel day and a stressful one is usually decided at the kitchen table, not at the checkpoint.
So pick one evening a few weeks before your next flight and go through the list there: license, power bank label, boarding pass, medication bag. It takes about as long as a cup of coffee.
What is the one thing you set out the night before every flight that has never let you down?
- Travel + Leisure Footwear Screening: https://travel.yahoo.com/advice/travel-tips/articles/tsa-no-longer-requires-travelers-141500685.html
- ABC News Shoe Removal Ends: https://abcnews.com/Politics/homeland-security-ends-mandatory-shoe-removal-airport-screening/story?id=123581156
- Medically Necessary Liquids Guidance: https://www.insuremytrip.com/travel-advice/travel-planning/3-1-1-rule-tsa-carry-on-tips/
- FAA Airline Passenger Batteries: https://www.faa.gov/hazmat/packsafe/resources/airline-passengers-batteries
- Airline Power Bank Limits: https://titanpowerplus.com/blogs/news/power-bank-rules-on-planes-carry-on-count-use
- NerdWallet PreCheck vs Global Entry: https://www.nerdwallet.com/travel/learn/can-i-upgrade-tsa-precheck-to-global-entry
- CBP Global Entry: https://www.cbp.gov/travel/trusted-traveler-programs/global-entry
- TSA ConfirmID FAQs: https://www.tsa.gov/tsaconfirm-id/confirmid-faqs